Getting Started with the 3D Camera
Welcome to the VisSDK Visualization Gallery 3D Camera
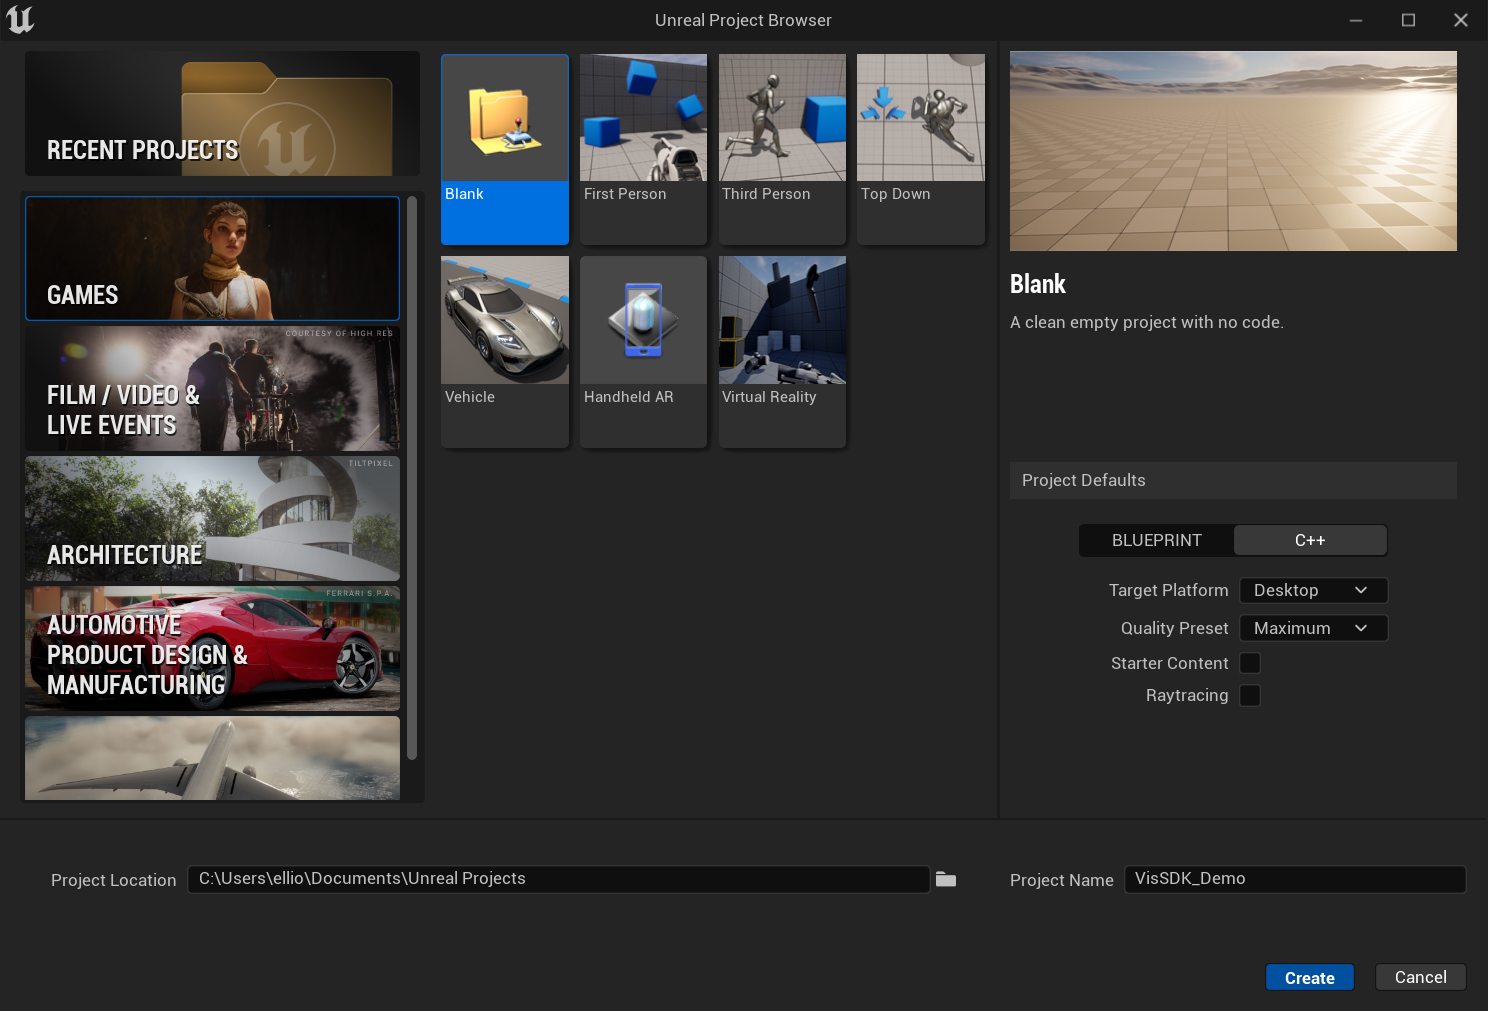
When setting up your Unreal project meant for the Cyma Rubin Visualization Gallery you will need to utilize a pre-built Unreal project which includes a custom First-Person camera created for use in the space. This pre-built project will give you a basis to either start a new project or migrate the camera to an existing project. The camera has defined features that can be altered for optimization within your specific project, however, the instructions within this section are for general use and may not pertain to a specialization you require. If any questions arise while following these instructions or adjusting the camera, please contact library_hightechspaces@ncsu.edu.
Setting Up Your Project
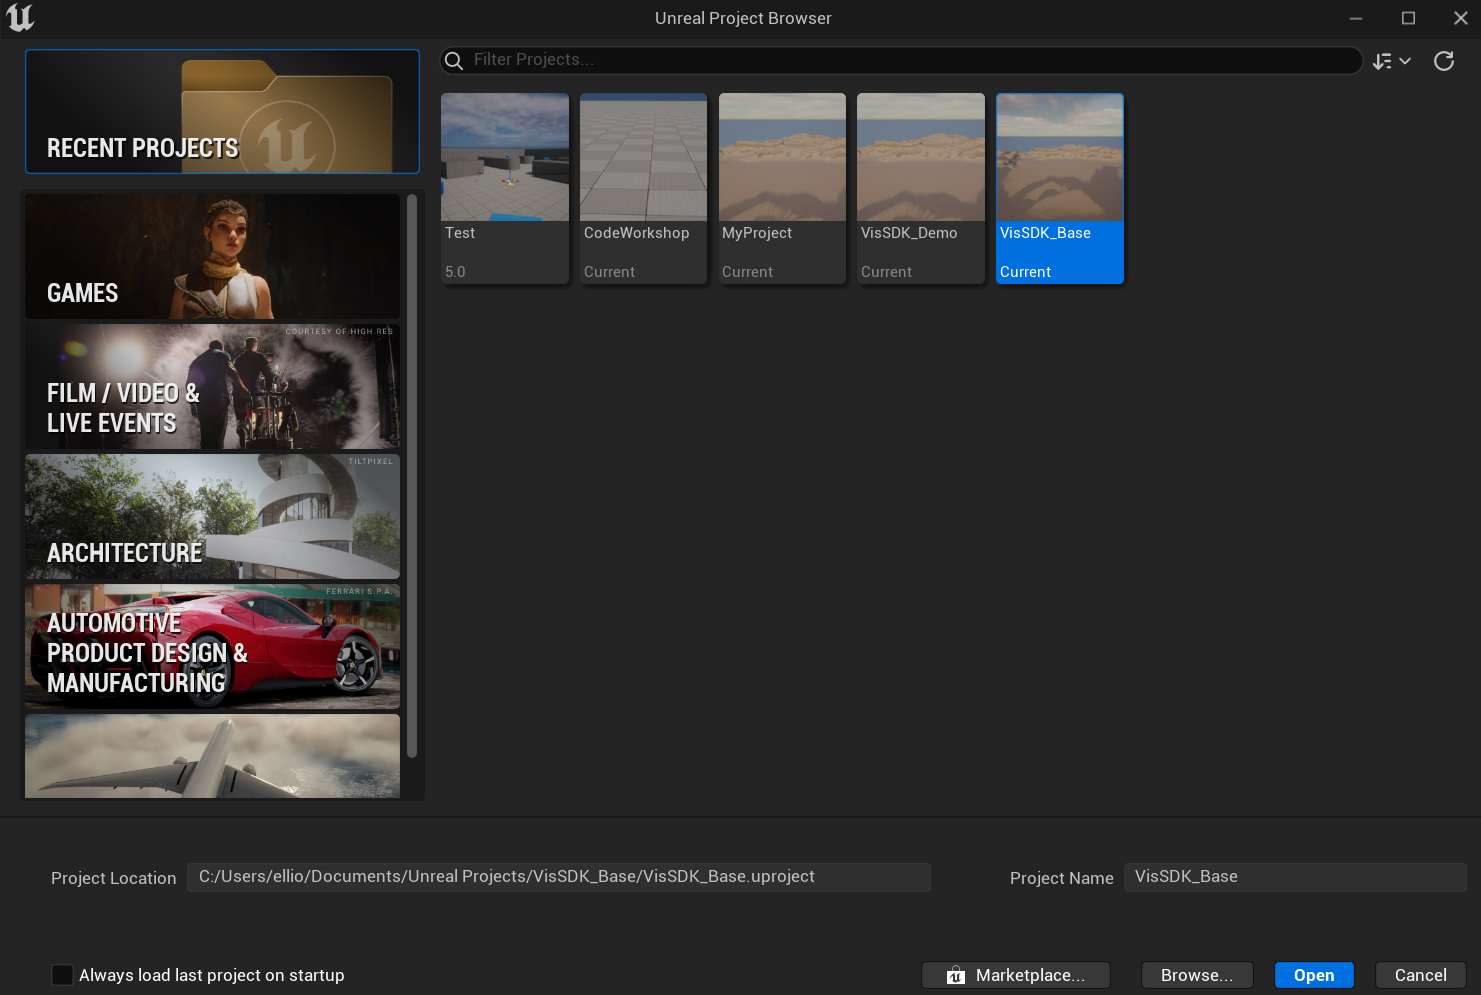
Before anything else, you are going to need to download the base Unreal project. The camera system was developed for Unreal 5.1. If you already have a project created on a different version of Unreal and you are adapting it for the Visualization Gallery, that is perfectly fine. Just know that some of the instructions provided may differ if you are using a different version and this instruction set does its best to keep the instructions general, but images and videos may not reflect your exact Unreal setup.
Download the Unreal VisSDK Base
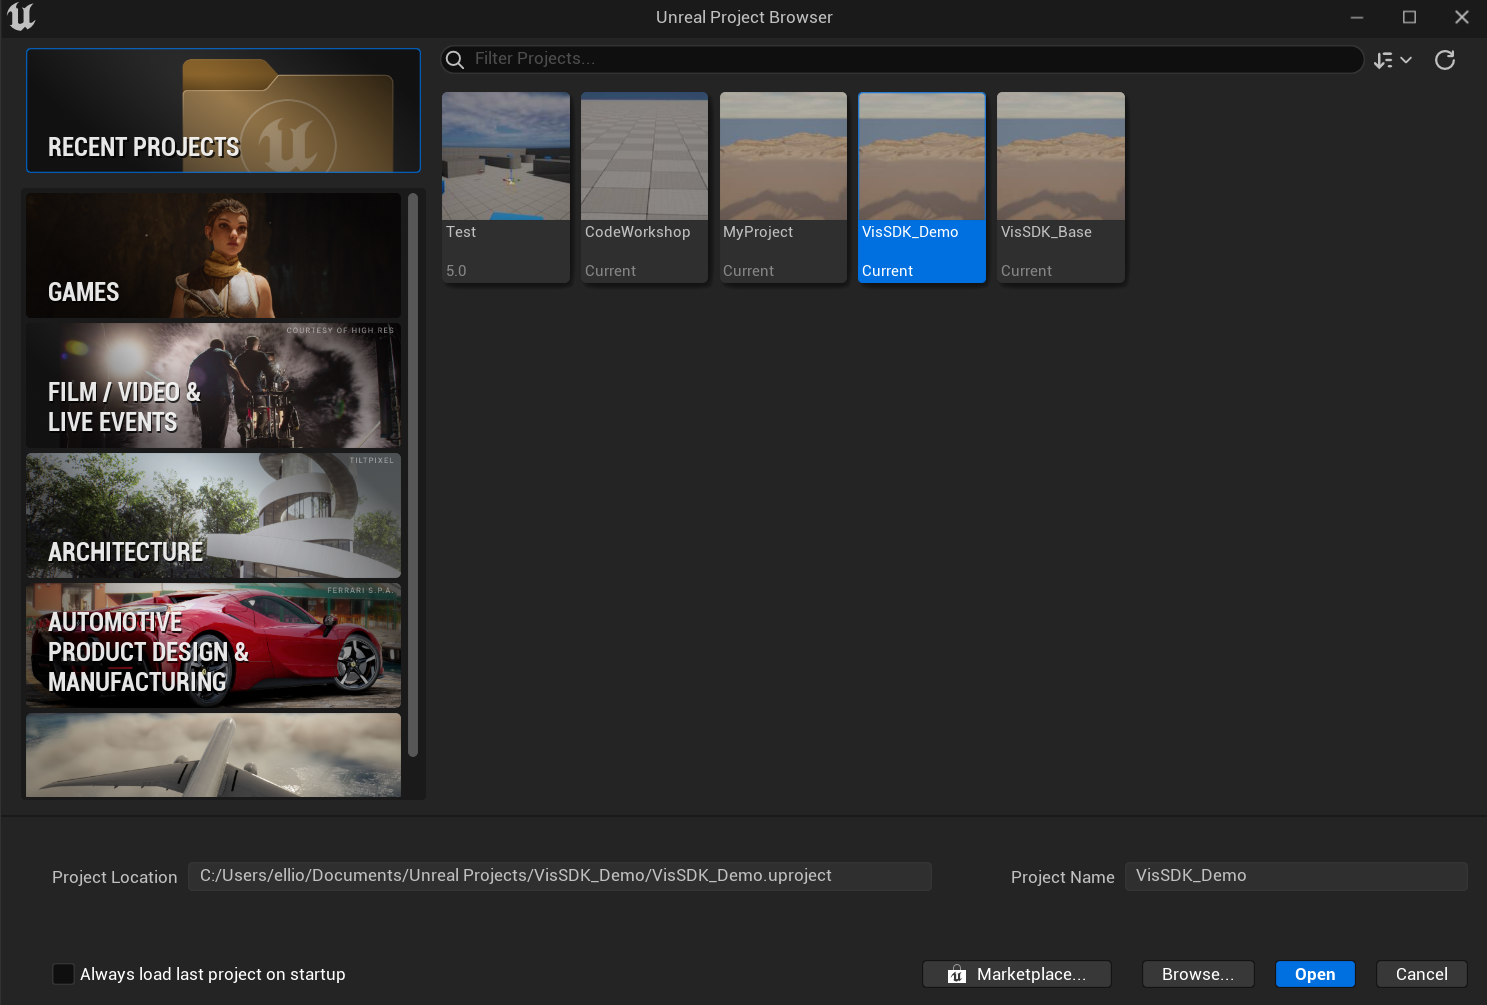
Below you will find the link to a github repo with the base project. You will want to download the zip file named VisSDK_Base.zip.
Asset Migration
If you are starting a new Unreal project for the Visualization Gallery, your project setup is now complete and you can skip over this section of the instructions. If you are wanting to add the custom camera to an existing Unreal project, follow along with these instructions. Please note that this process is fairly involved and requires a lot of moving around and manipulation of files.
Firstly, you are going to need to ensure that your Unreal project is a C++ project and not a Blueprints project.
If your project is already a C++ project, great. If not, you will need to convert it to a C++ project. To do this, all you will need to do is add a new C++ class and all the necessary files and folders will be created automatically. A guide on how to do this can be found here.
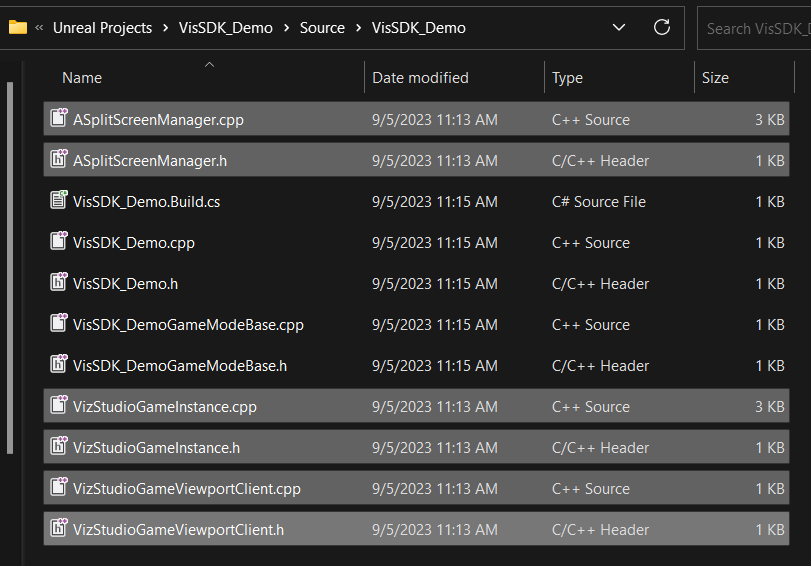
With the base project downloaded, you will now need to migrate the assets from it to your existing project. To do so, you first are going to need to close the Unreal Engine. Next, open your File Explorer of choice, and you are going to need to copy and paste the following files from the VisSDK_Base’s Source/VisSDK_Base folder into your project’s Source/Your_Project_Name folder. For this explanation, the project name is VisSDK_Demo.
- ASplitScreenManager.cpp and .h
- VizStudioGameInstance.cpp and .h
- VizStudioGameViewportClient.cpp and .h

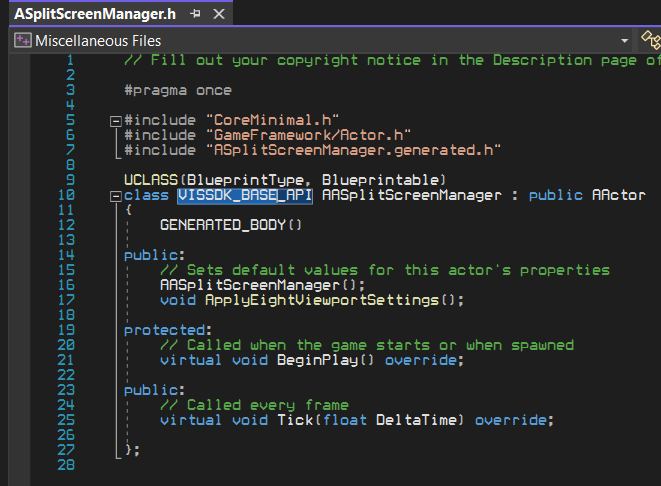
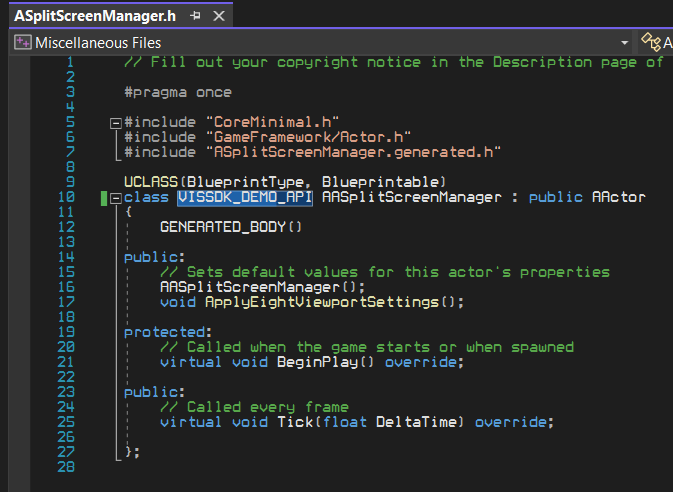
With these C++ files now in your project’s Source folder, you are going to need to Open each of the .h files and Find and Replace (ctrl h)
- Find: VISSDK_BASE
- Replace: YOUR_PROJECT_NAME
The following images show an example of this with the ASplitScreenManager.h file. You will need to do this with VizStudioGameInstance.h and VizStudioGameViewportClient.h as well. Don’t forget to save these changes.
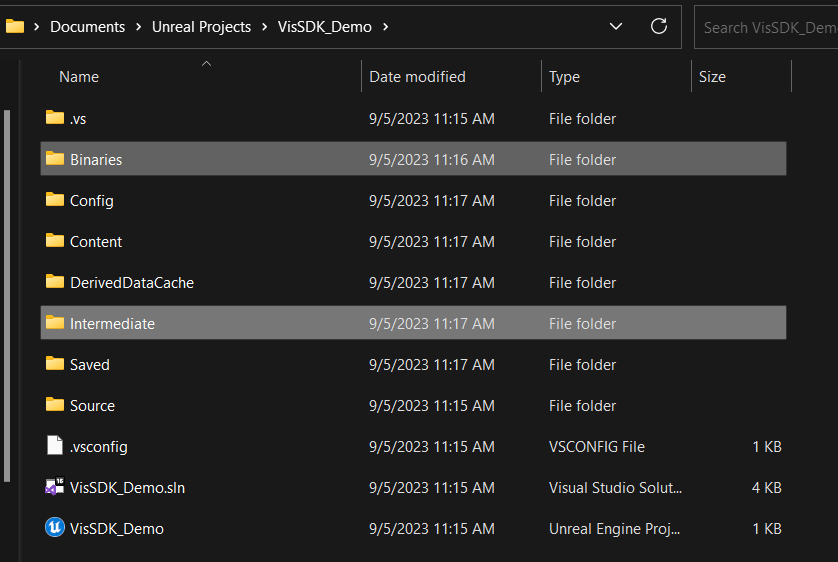
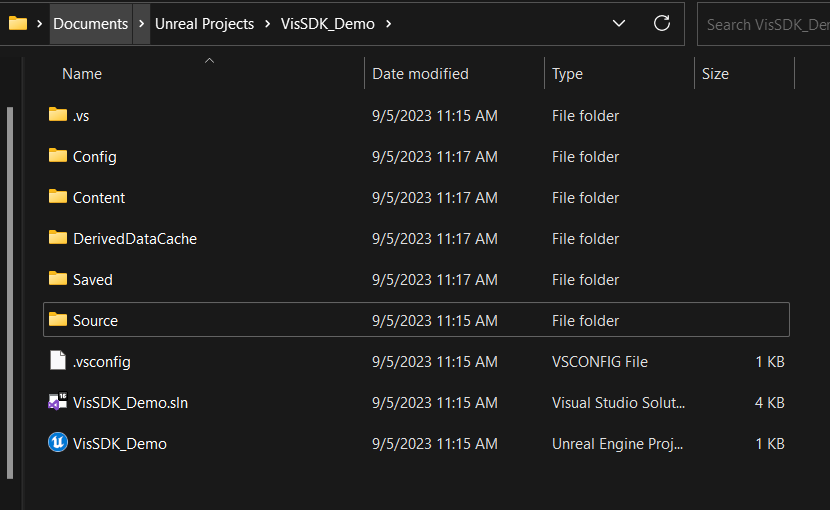
With the header files edited and saved, you will need to navigate to your project’s root folder and delete the Binaries and Intermediate folders.
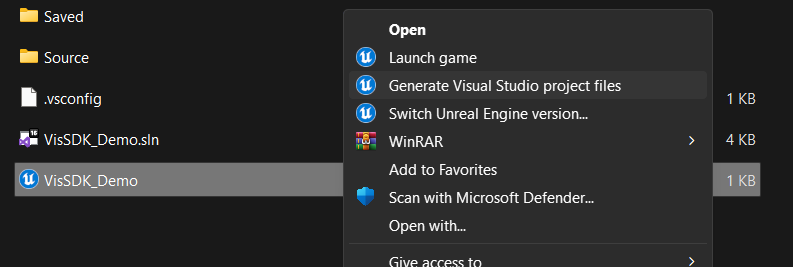
With these folders deleted, you will now need to regenerate the Visual Studio project files. To do this, you can right click the .uproject file and select Generate Visual Studio project files.
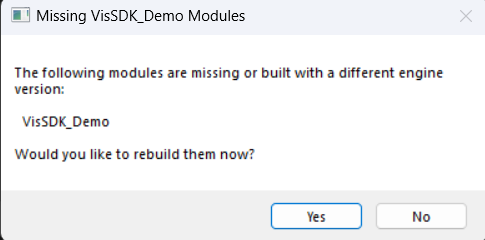
Now open your project and when asked to build, say yes.
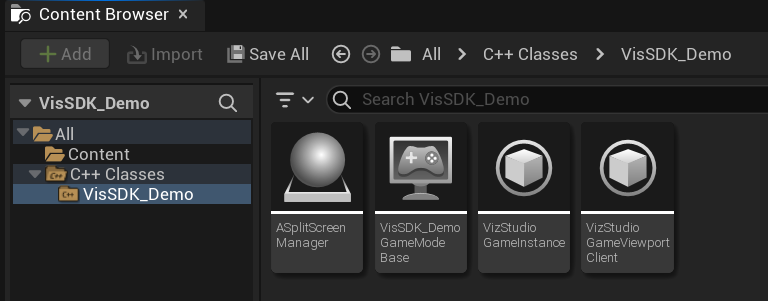
When the project opens, check the C++ Classes folder and ensure the 3 classes are there.
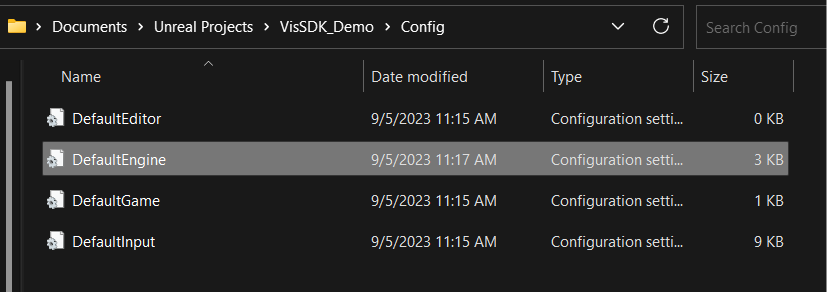
To continue, first close your project, then navigate to the Config folder, and open the DefaultEngine.ini file.
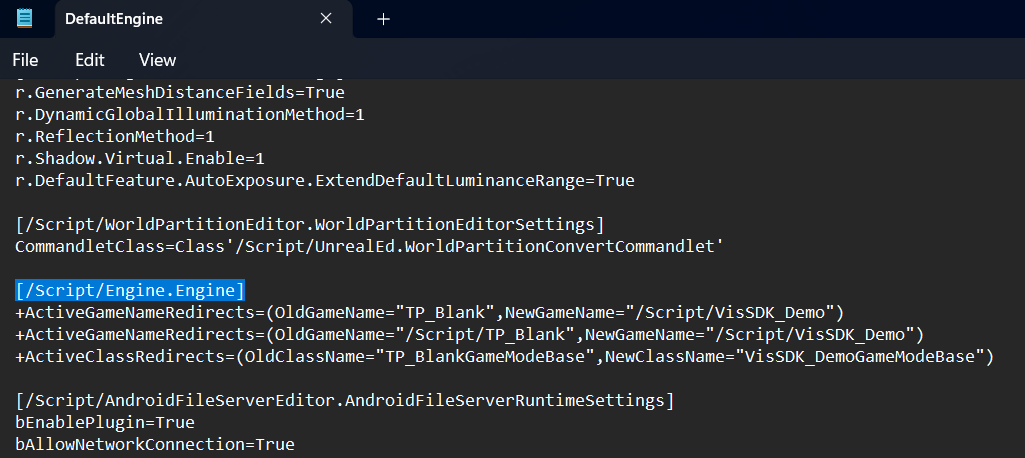
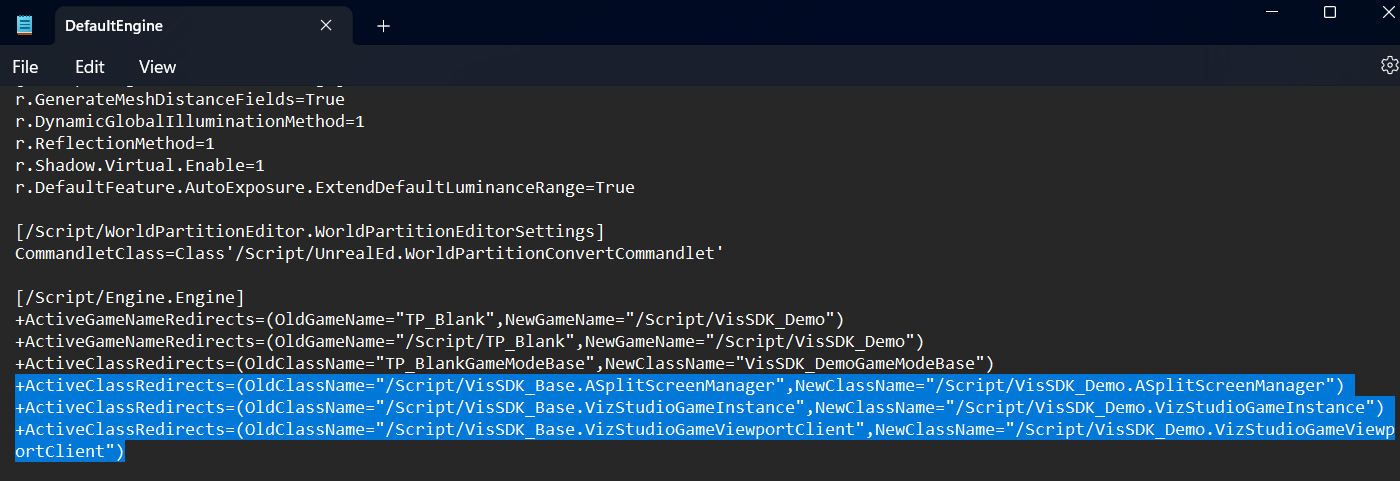
With this file opened, scroll down to find the section labeled with [/Script/Engine.Engine] and add the following lines (don’t forget to replace (New Project) with your project name) and save:
- +ActiveClassRedirects=(OldClassName=”/Script/VisSDK_Base.ASplitScreenManager”,NewClassName=”/Script/(New Project).ASplitScreenManager”)
- +ActiveClassRedirects=(OldClassName=”/Script/VisSDK_Base.VizStudioGameInstance”,NewClassName=”/Script/(New Project).VizStudioGameInstance”)
- +ActiveClassRedirects=(OldClassName=”/Script/VisSDK_Base.VizStudioGameViewportClient”,NewClassName=”/Script/(New Project).VizStudioGameViewportClient”)
You can now close this file and open the VisSDK_Base Unreal Project so that we can migrate the necessary Blueprints from the base project into your project.
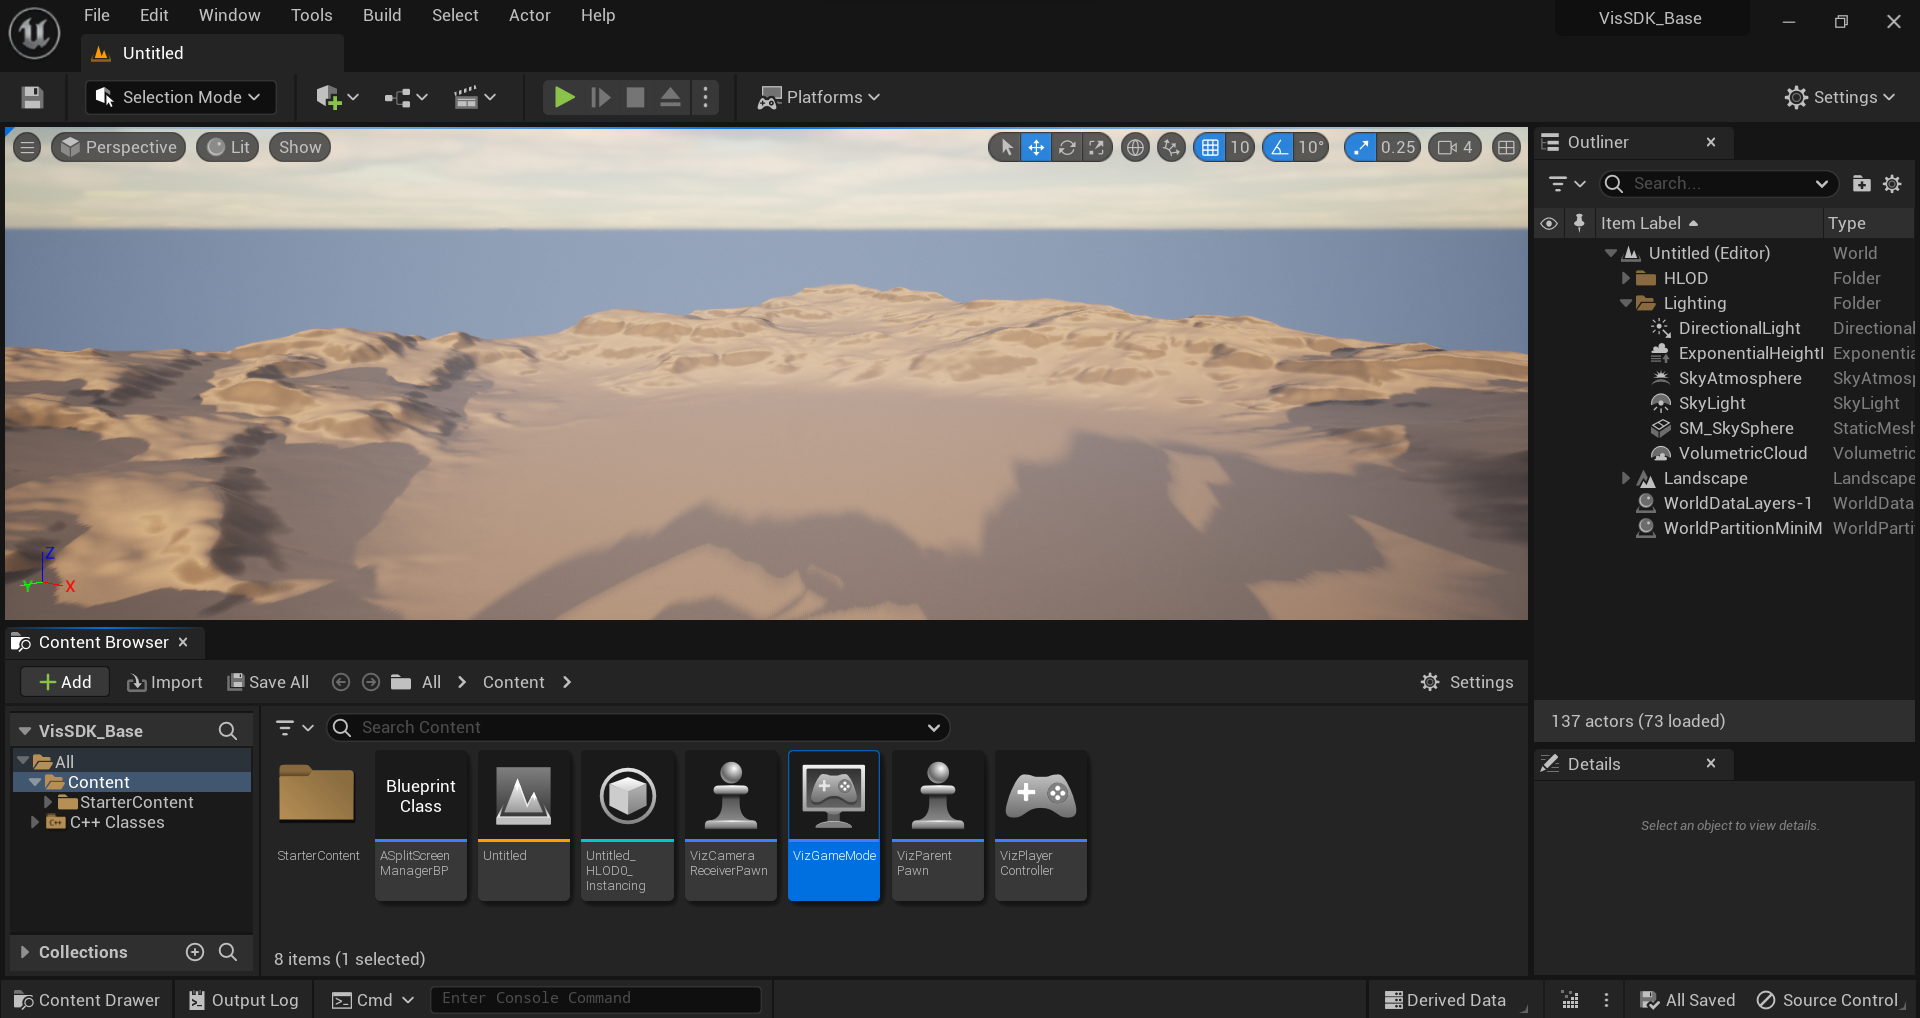
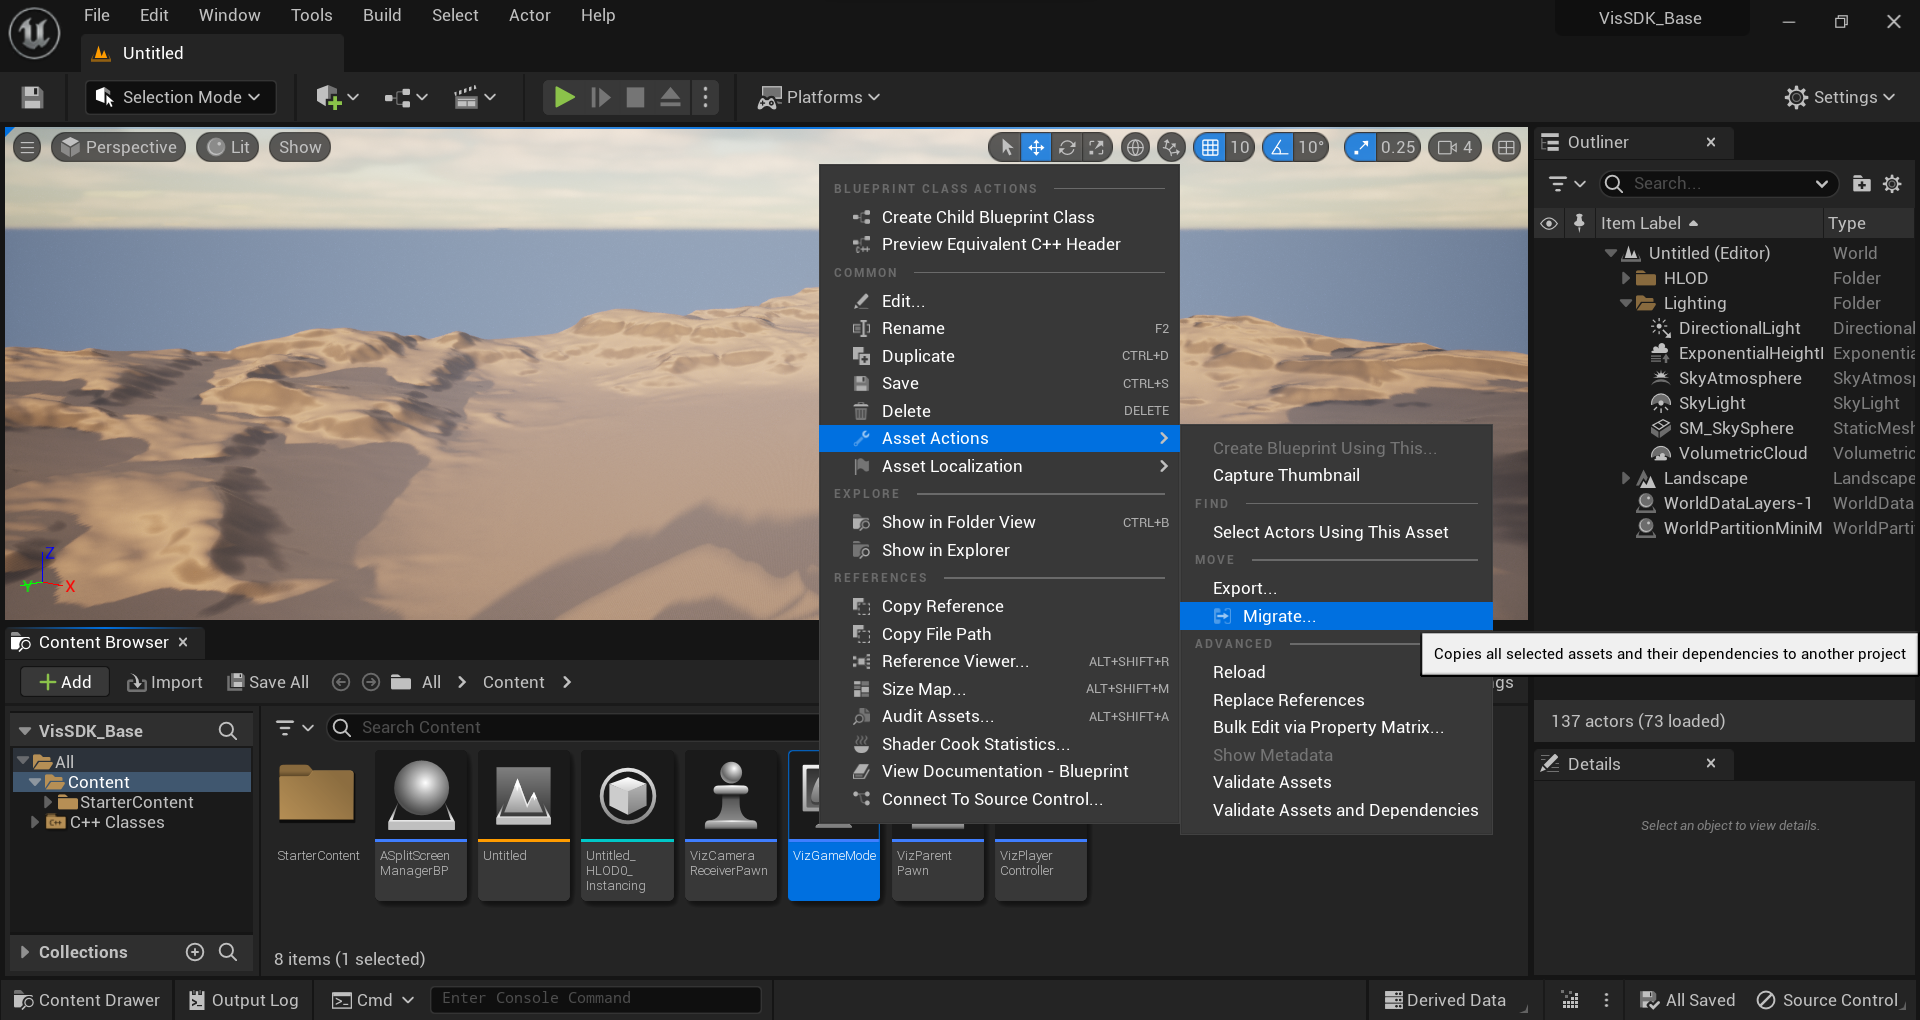
In the Content Browser, you need to right click VizGameMode and select Asset Actions → Migrate.
Select OK.

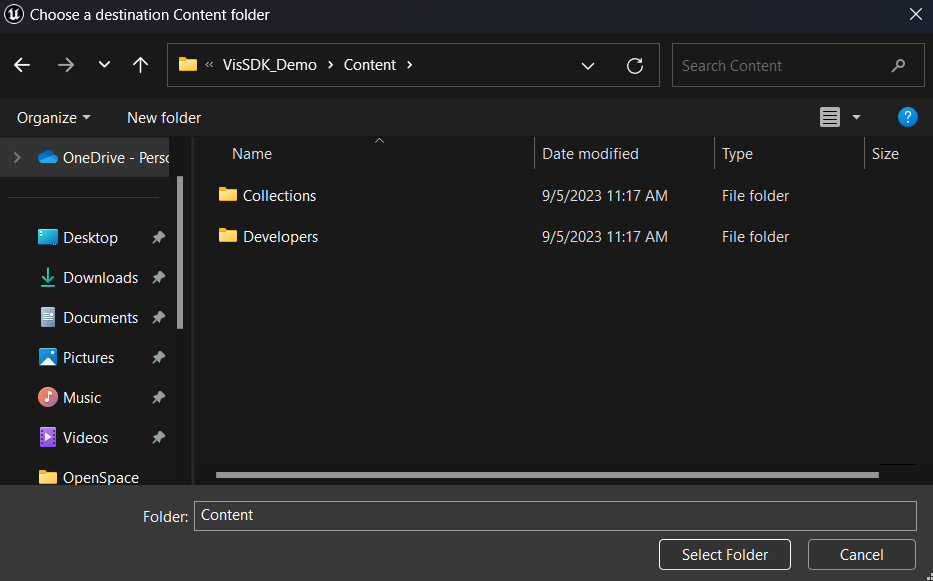
Find the content folder for your project and select that folder as the migration location for the blueprint files.
Once the Blueprints are done migrating, you can close the VisSDK_Base project and open your project.
Once your project is open, double check to make sure that the Blueprints were migrated into your project by checking the Content Browser in the Content folder.
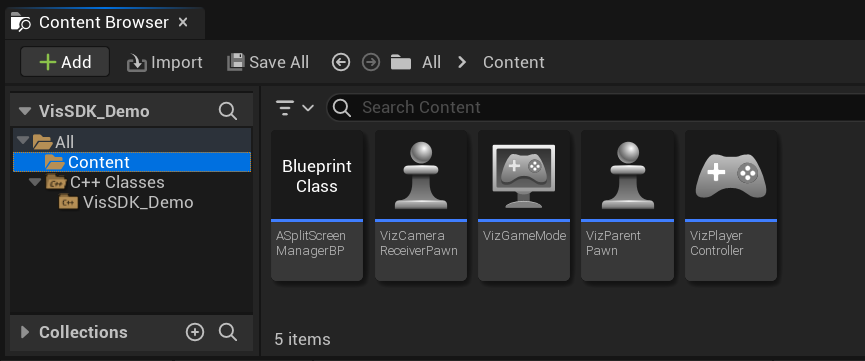
With this done, asset migration is complete.
Project Configuration
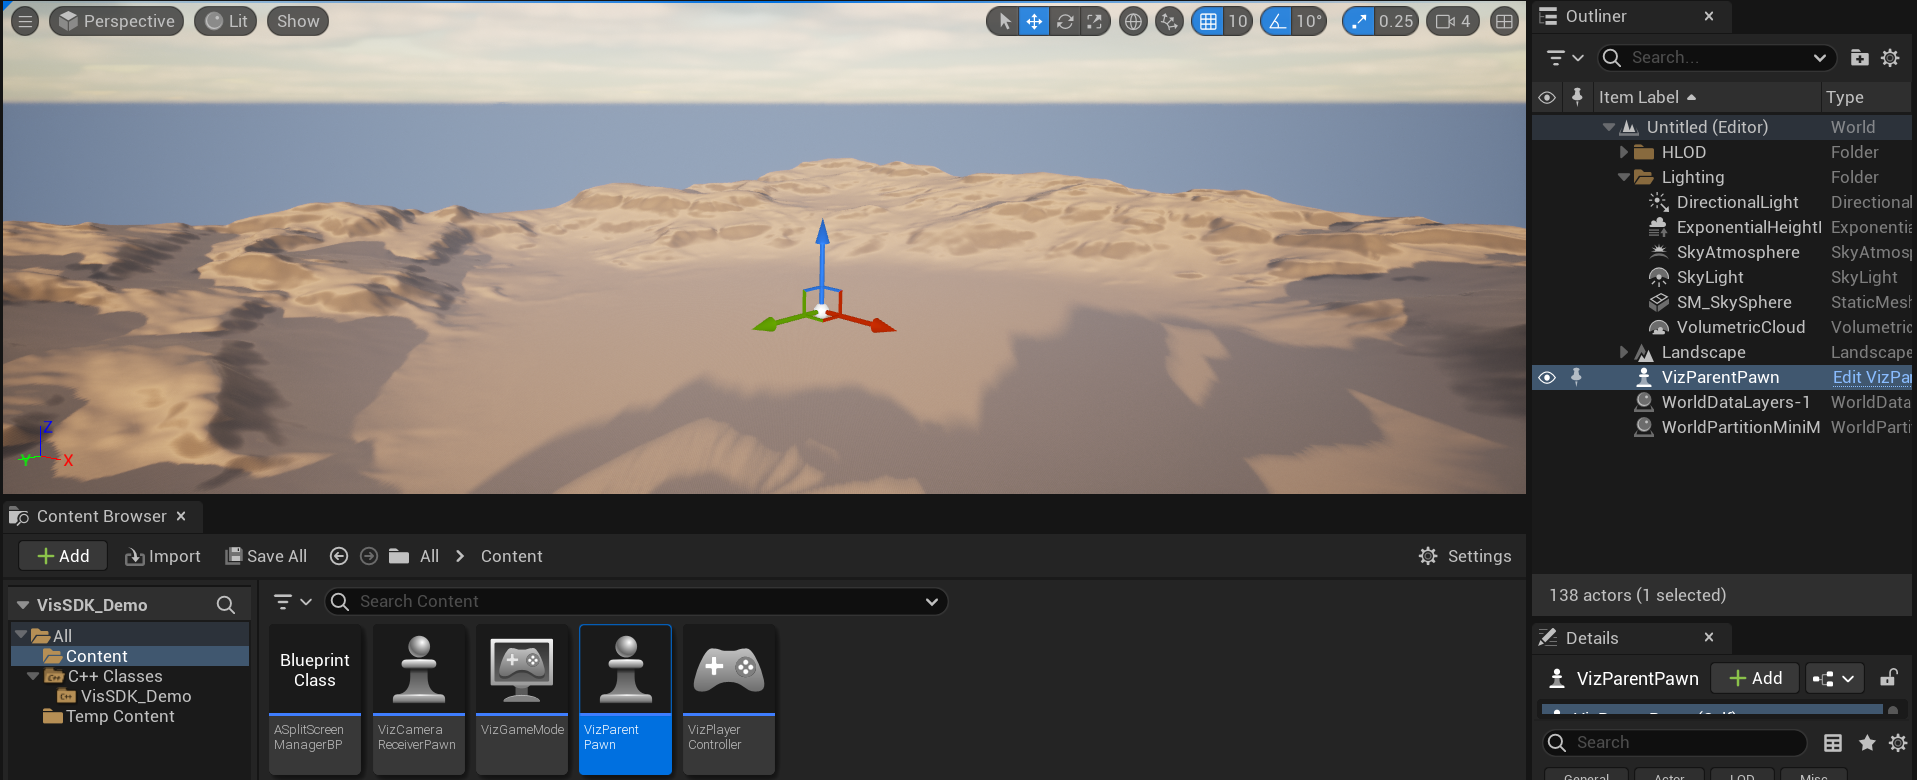
With asset migration complete, you can now drag and drop the VizParentPawn into your Unreal scene and place it where you want the camera to be located.
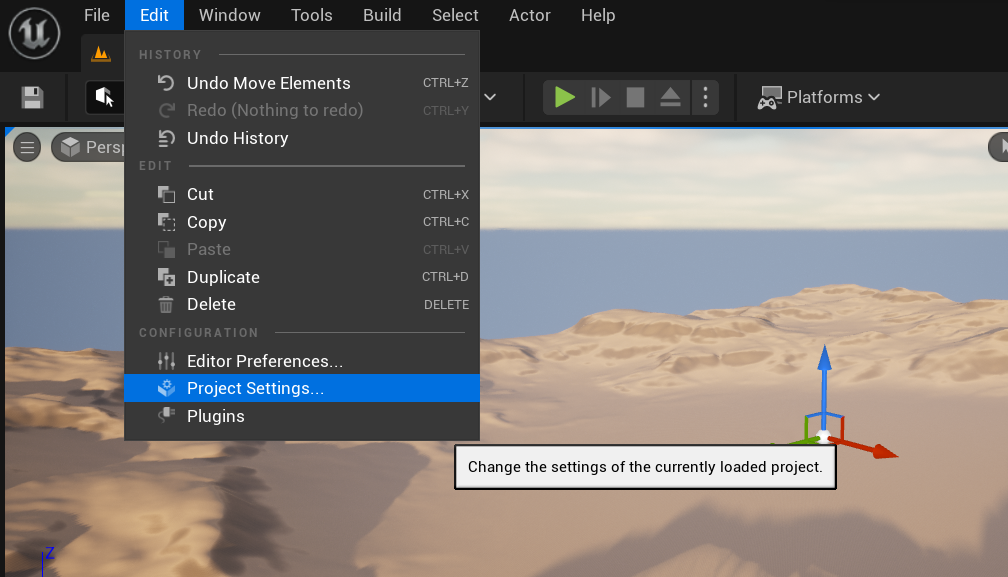
Now that the camera pawn has been added to the scene, you will need to update some of the Project Settings to ensure that the camera works. First, open Edit → Project Settings and navigate to Maps and Modes.
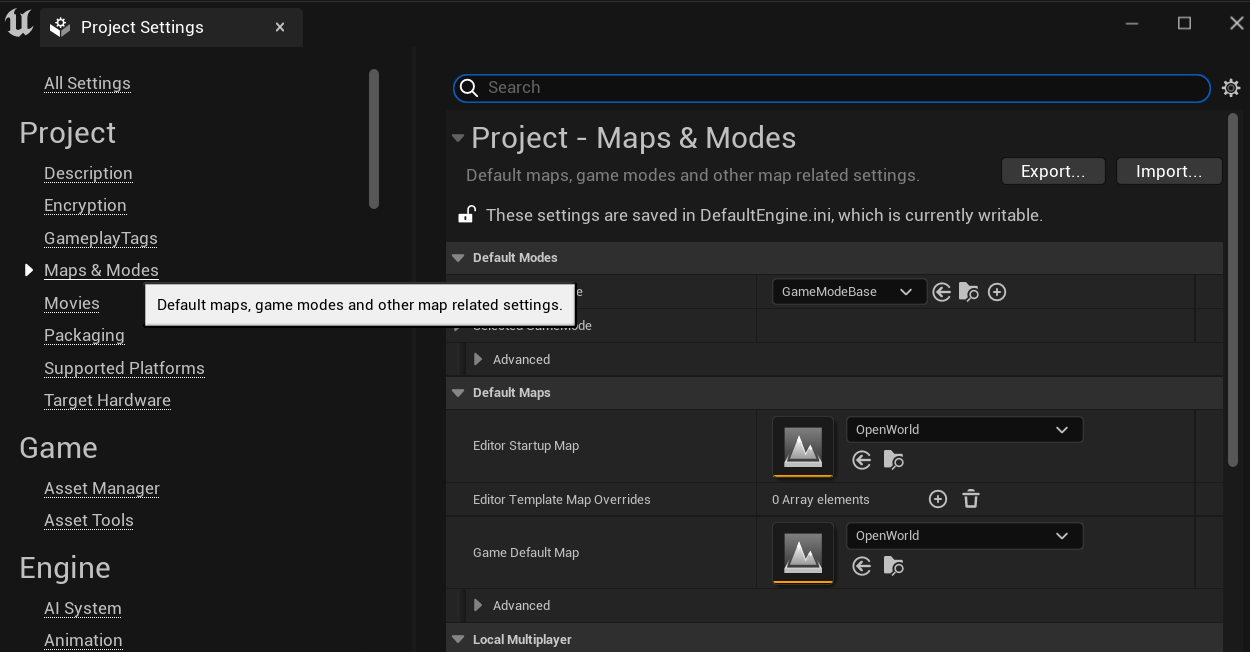
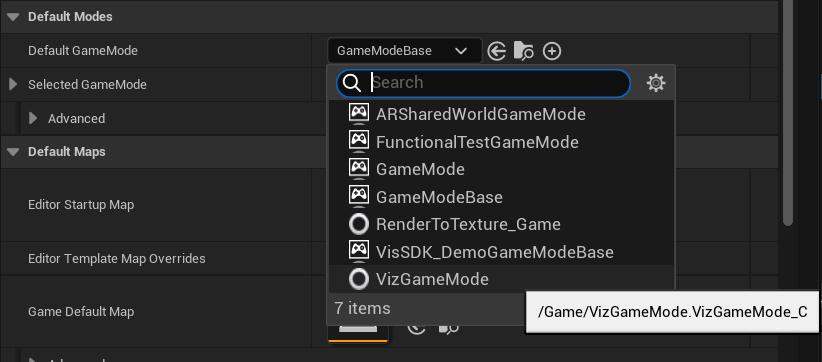
You will now need to set the Default Game Mode to be VizGameMode.

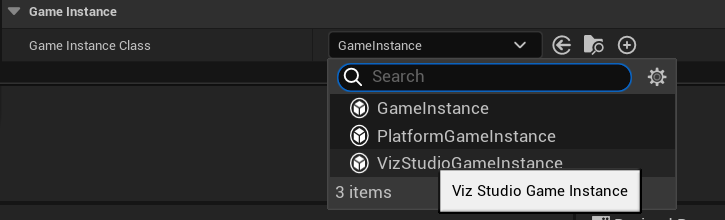
Next, you will need to set the Game Instance to be VizStudioGameInstance.

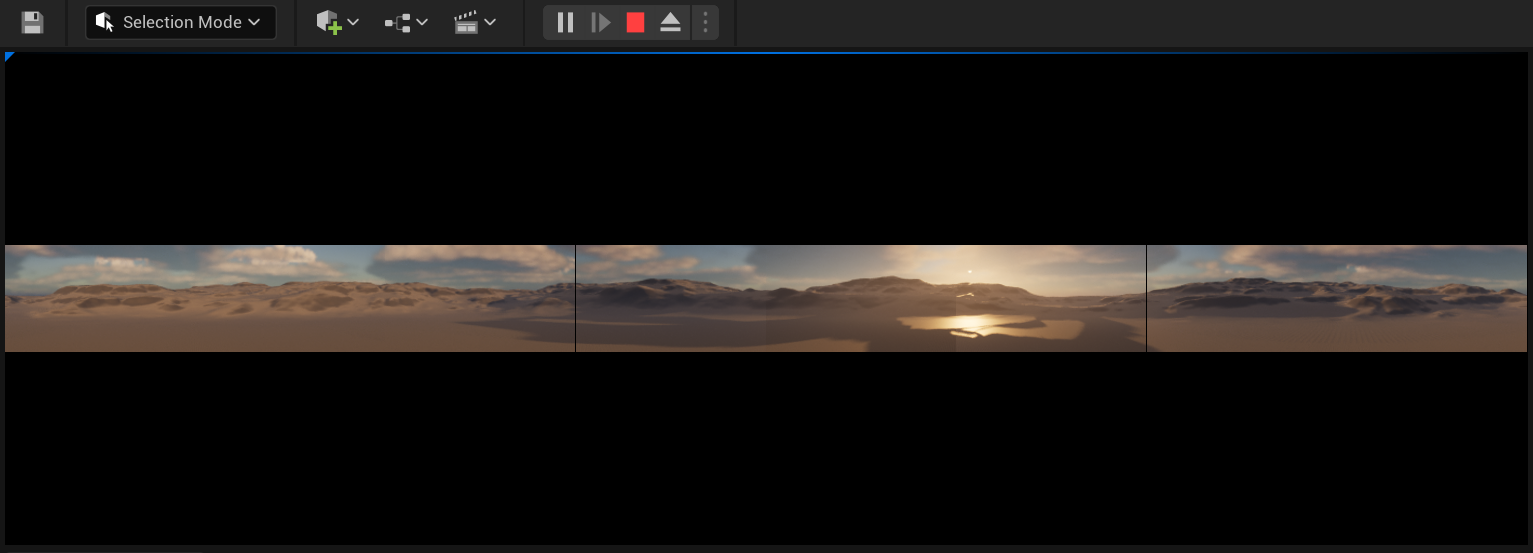
With these settings set, you can now test your project by hitting Play. If the camera looks like a long rectangle showing a 360 degree view of your scene, then the project set up is complete.
Further Configuration
If you would like to edit the camera in any way, we recommed that you follow the Advanced Setup section of this course which includes an depth tutorial on creating the Unreal camera for the Visualization Gallery. This tutorial takes you through the steps of creating the Blueprints and details how to add movement and a variety of other features not included in the base camera.
If you are wanting to add movement to your project, please keep motion sickness in mind. The Cyma Rubin Visualization Gallery is an immersive experience, meaning extra precautions need to be taken when working with motion. We would recommend that vertical rotation of the camera array either be minimal or nonexistent. If horizontal rotation is needed, keep the speed of the rotation fairly slow. We would also recommend that any vertical motion be tightly controlled as to not cause a feeling of falling through the floor.
Final Words
Once you have ensured that the camera is set up properly, then you should be all set to view your project within the Visualization Gallery.
In order to schedule time to test your project within the Visualization Gallery, please follow the instructions here.