Getting Started with the 2D Camera
Welcome to the VisSDK Visualization Gallery 2D Camera
When setting up your Unity 2D project meant for the Cyma Rubin Visualization Gallery you will need to follow the following specification instructions to create a 2D camera for use in the space. The camera can be altered for optimization within your specific project, however, the instructions within this section are for general use and creation and may not pertain to a specialization you require. If any questions arise while following these instructions or adjusting the camera, please contact library_hightechspaces@ncsu.edu.
Setting Up Your Project
Before anything else, you are going to need a new or existing Unity 2D project to edit the camera in. The camera system was developed for Unity Version 2021.3.4f1 and if you already have a project created on a different version and you are adapting it for the Visualization Gallery, that is perfectly fine. Just know that some of the instructions provided may differ if you are using a different version and this instruction set does its best to keep the instructions general, but images and videos may not reflect your exact Unity setup.
Custom Resolution
In order for the camera system to function properly, you are going to need to set up a custom resolution for your display within the Game View section of the Unity Editor. While the Visualization Gallery is an array of 8 projectors, what is being displayed is considered only one display, rather than eight, with a resolution of 15360 x 1080. Think of it as all eight views being stitched together into one long string that will wrap around the space.
To set up a custom resolution, you will first need to go to the Game View screen in the Unity Editor.
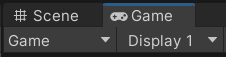
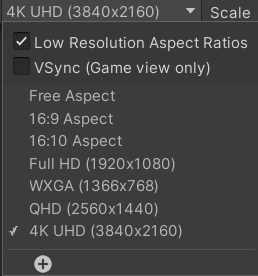
Next to the dropdown labeled Display 1, you will find another dropdown with the aspect ratios.

At the bottom of that dropdown, click the option to create a custom resolution profile.
You can name the profile whatever you choose. For the purposes of this instruction, we will name it “VisStudio”.
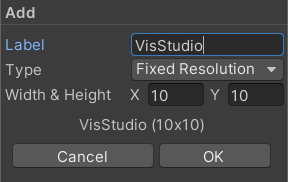
Keep the selection of Fixed Resolution and in the fields below, set the width to be 15360 and the height to be 1080.
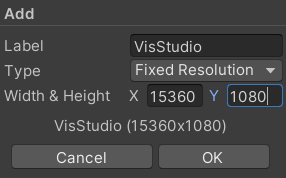
Save the resolution and make sure that it is now the one selected from the dropdown.
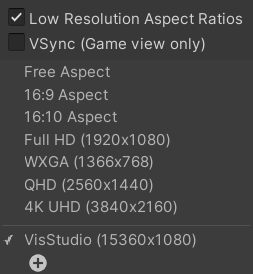
In your game view, the top bar should now look like this.

Now that the custom resolution is created and selected, you are all set to develop 2D scenes for the Visualization Gallery. With that being said, we recommend that you continue through the unit for some helpful tips and considerations that will benefit your development process and your final product.