
An adhesive bind in progress.
An adhesive bind in progress.
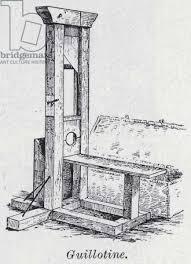
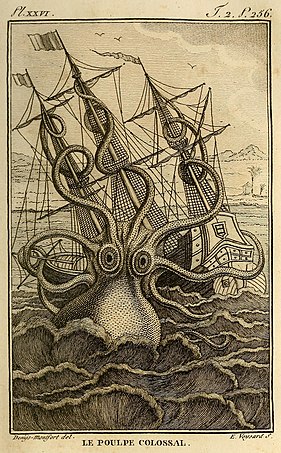
Welcome back to another episode of At The Book Spa! Last time we talked about that great little treatment, the Spine Repair. This time we’re going to get a little more invasive with the book, and while I can’t say for sure that there will be blood, the chances are greater, because we’re actually going to use a guillotine, as well as a Kraken-like piece of equipment called a planax.
Today’s repair treatment from the Preservation Lab at D.H. Hill Library is the Adhesive Bind. Adhesive binds make up a large part of the books you use every day—textbooks and paperbacks. This method is a pretty good one, but it’s not meant to last for centuries. We only choose this treatment when it’s our only option, for reasons I’ll explain later. It’s designed to be a fast and easy way to get books to market. These books are assembled similar to the way notepads are made—glue. Lots and lots of glue.
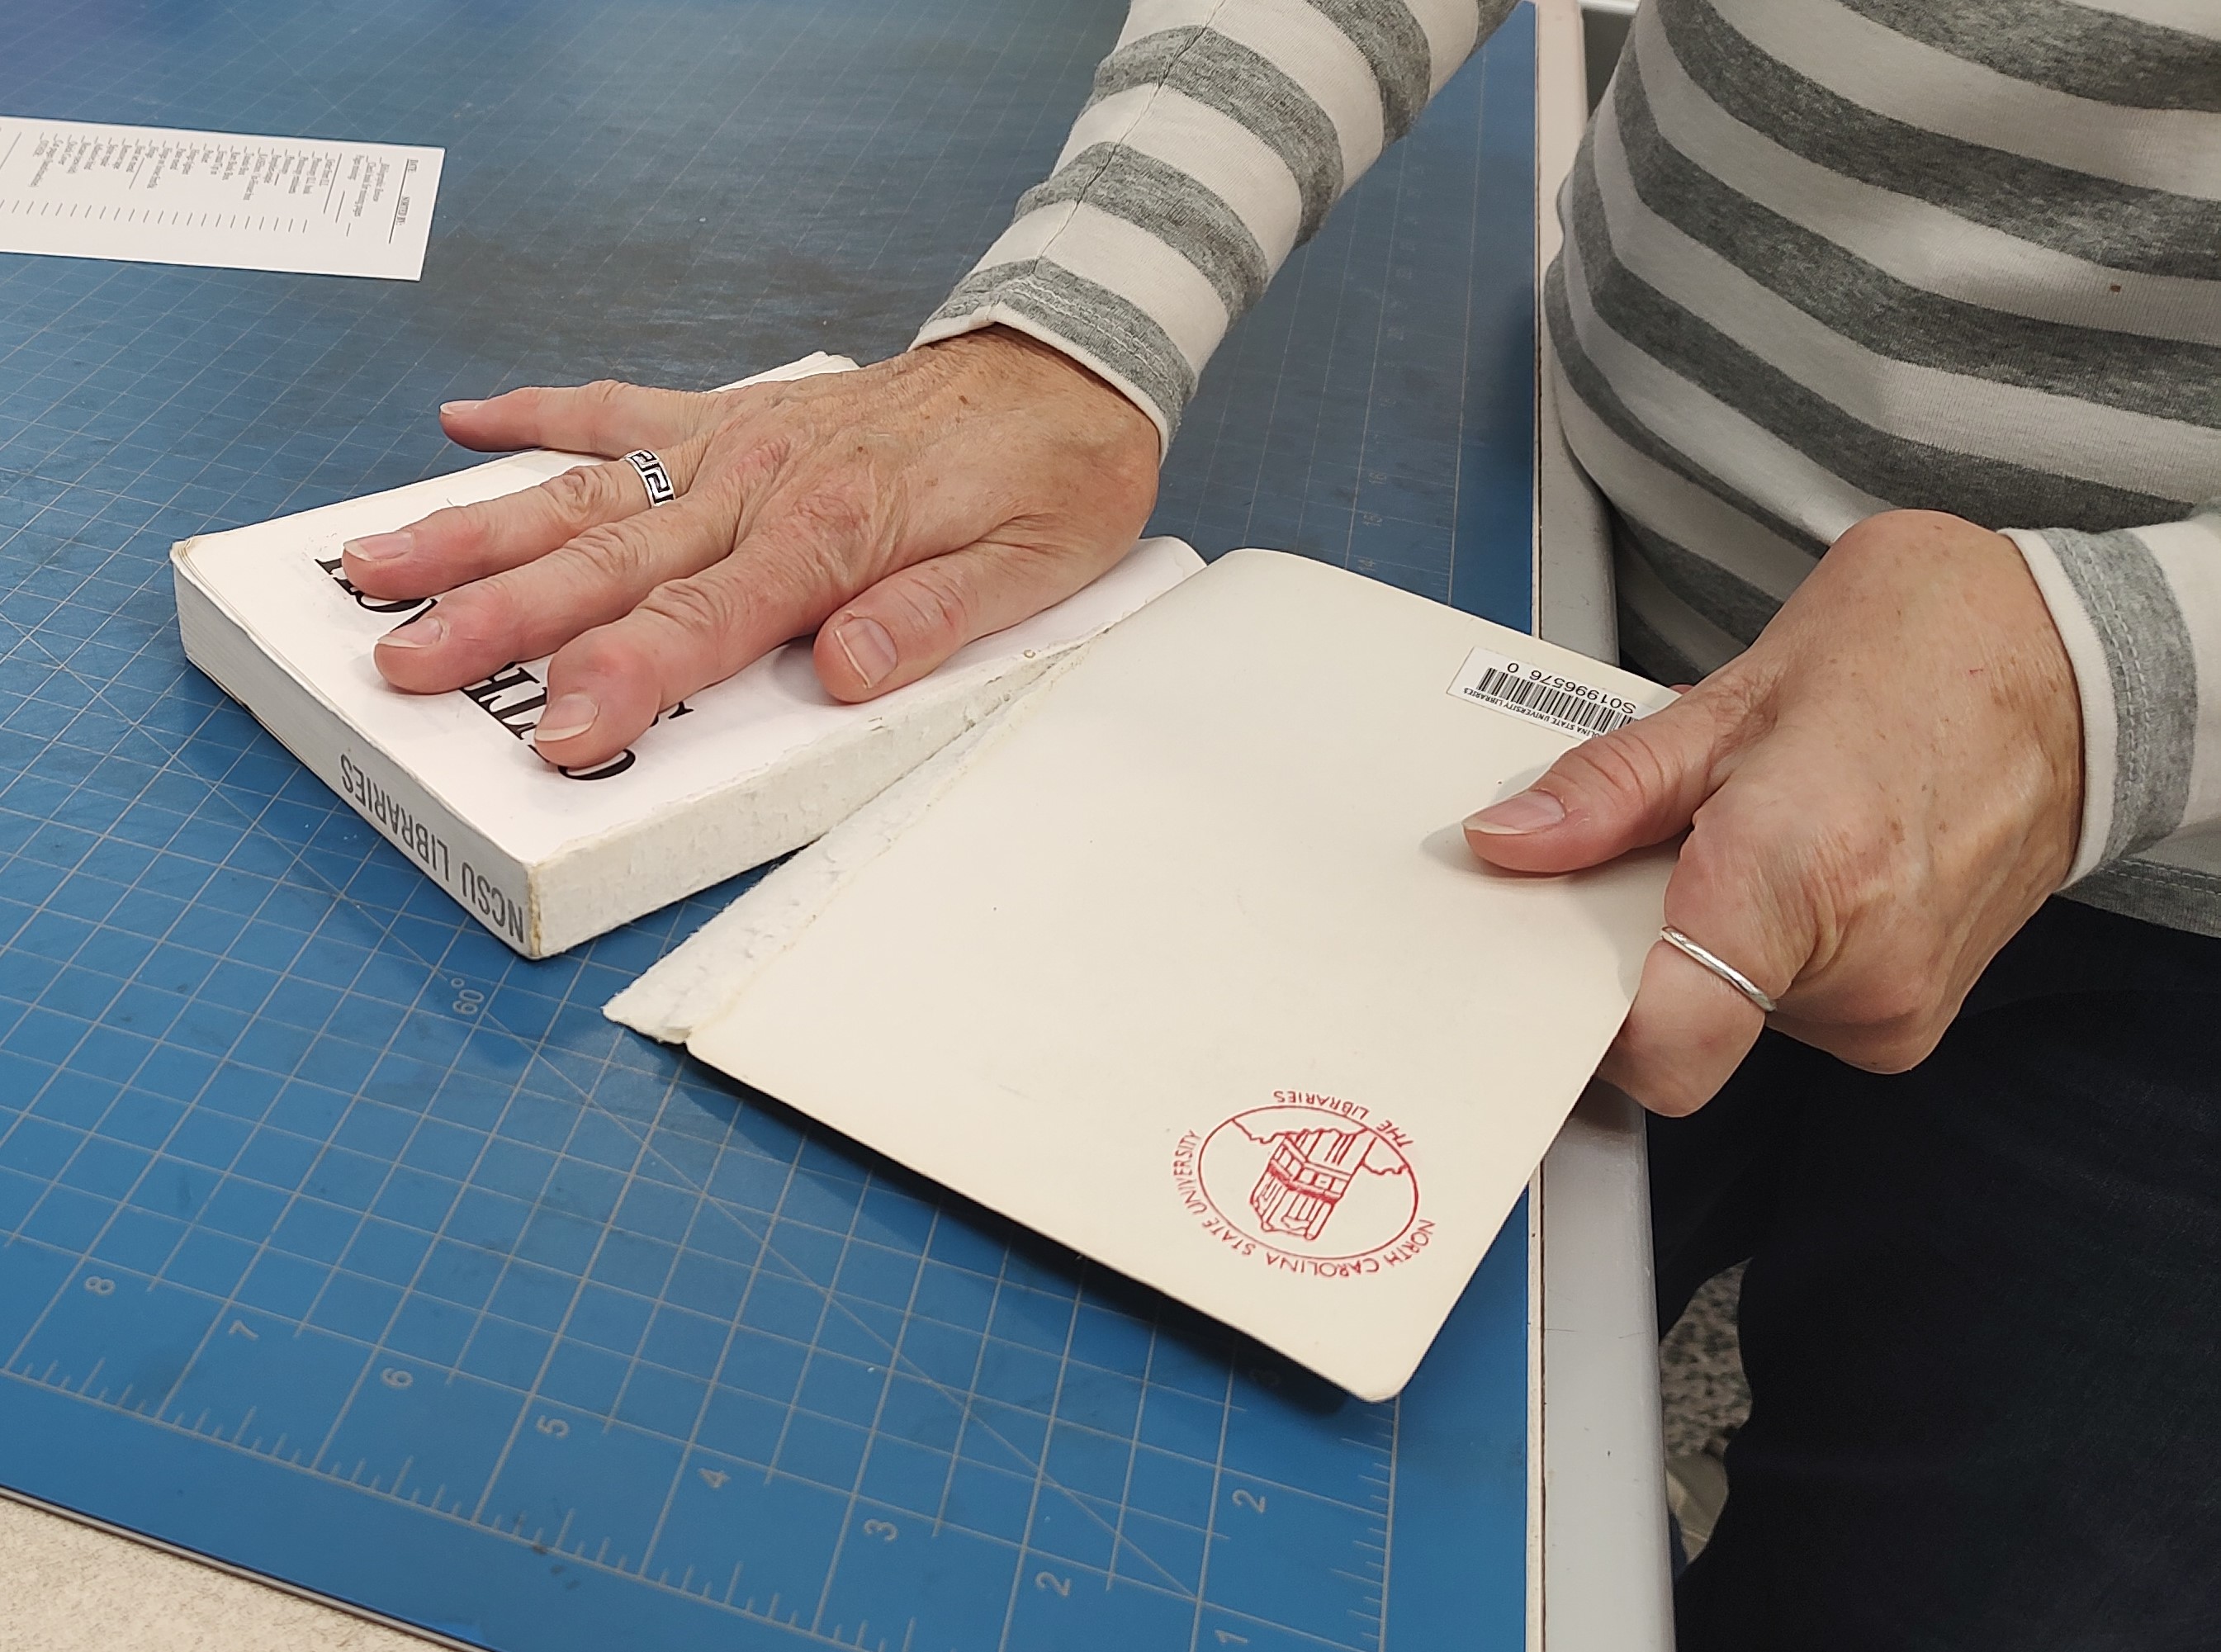
The first step in repairing an adhesive bind is to remove its cover.
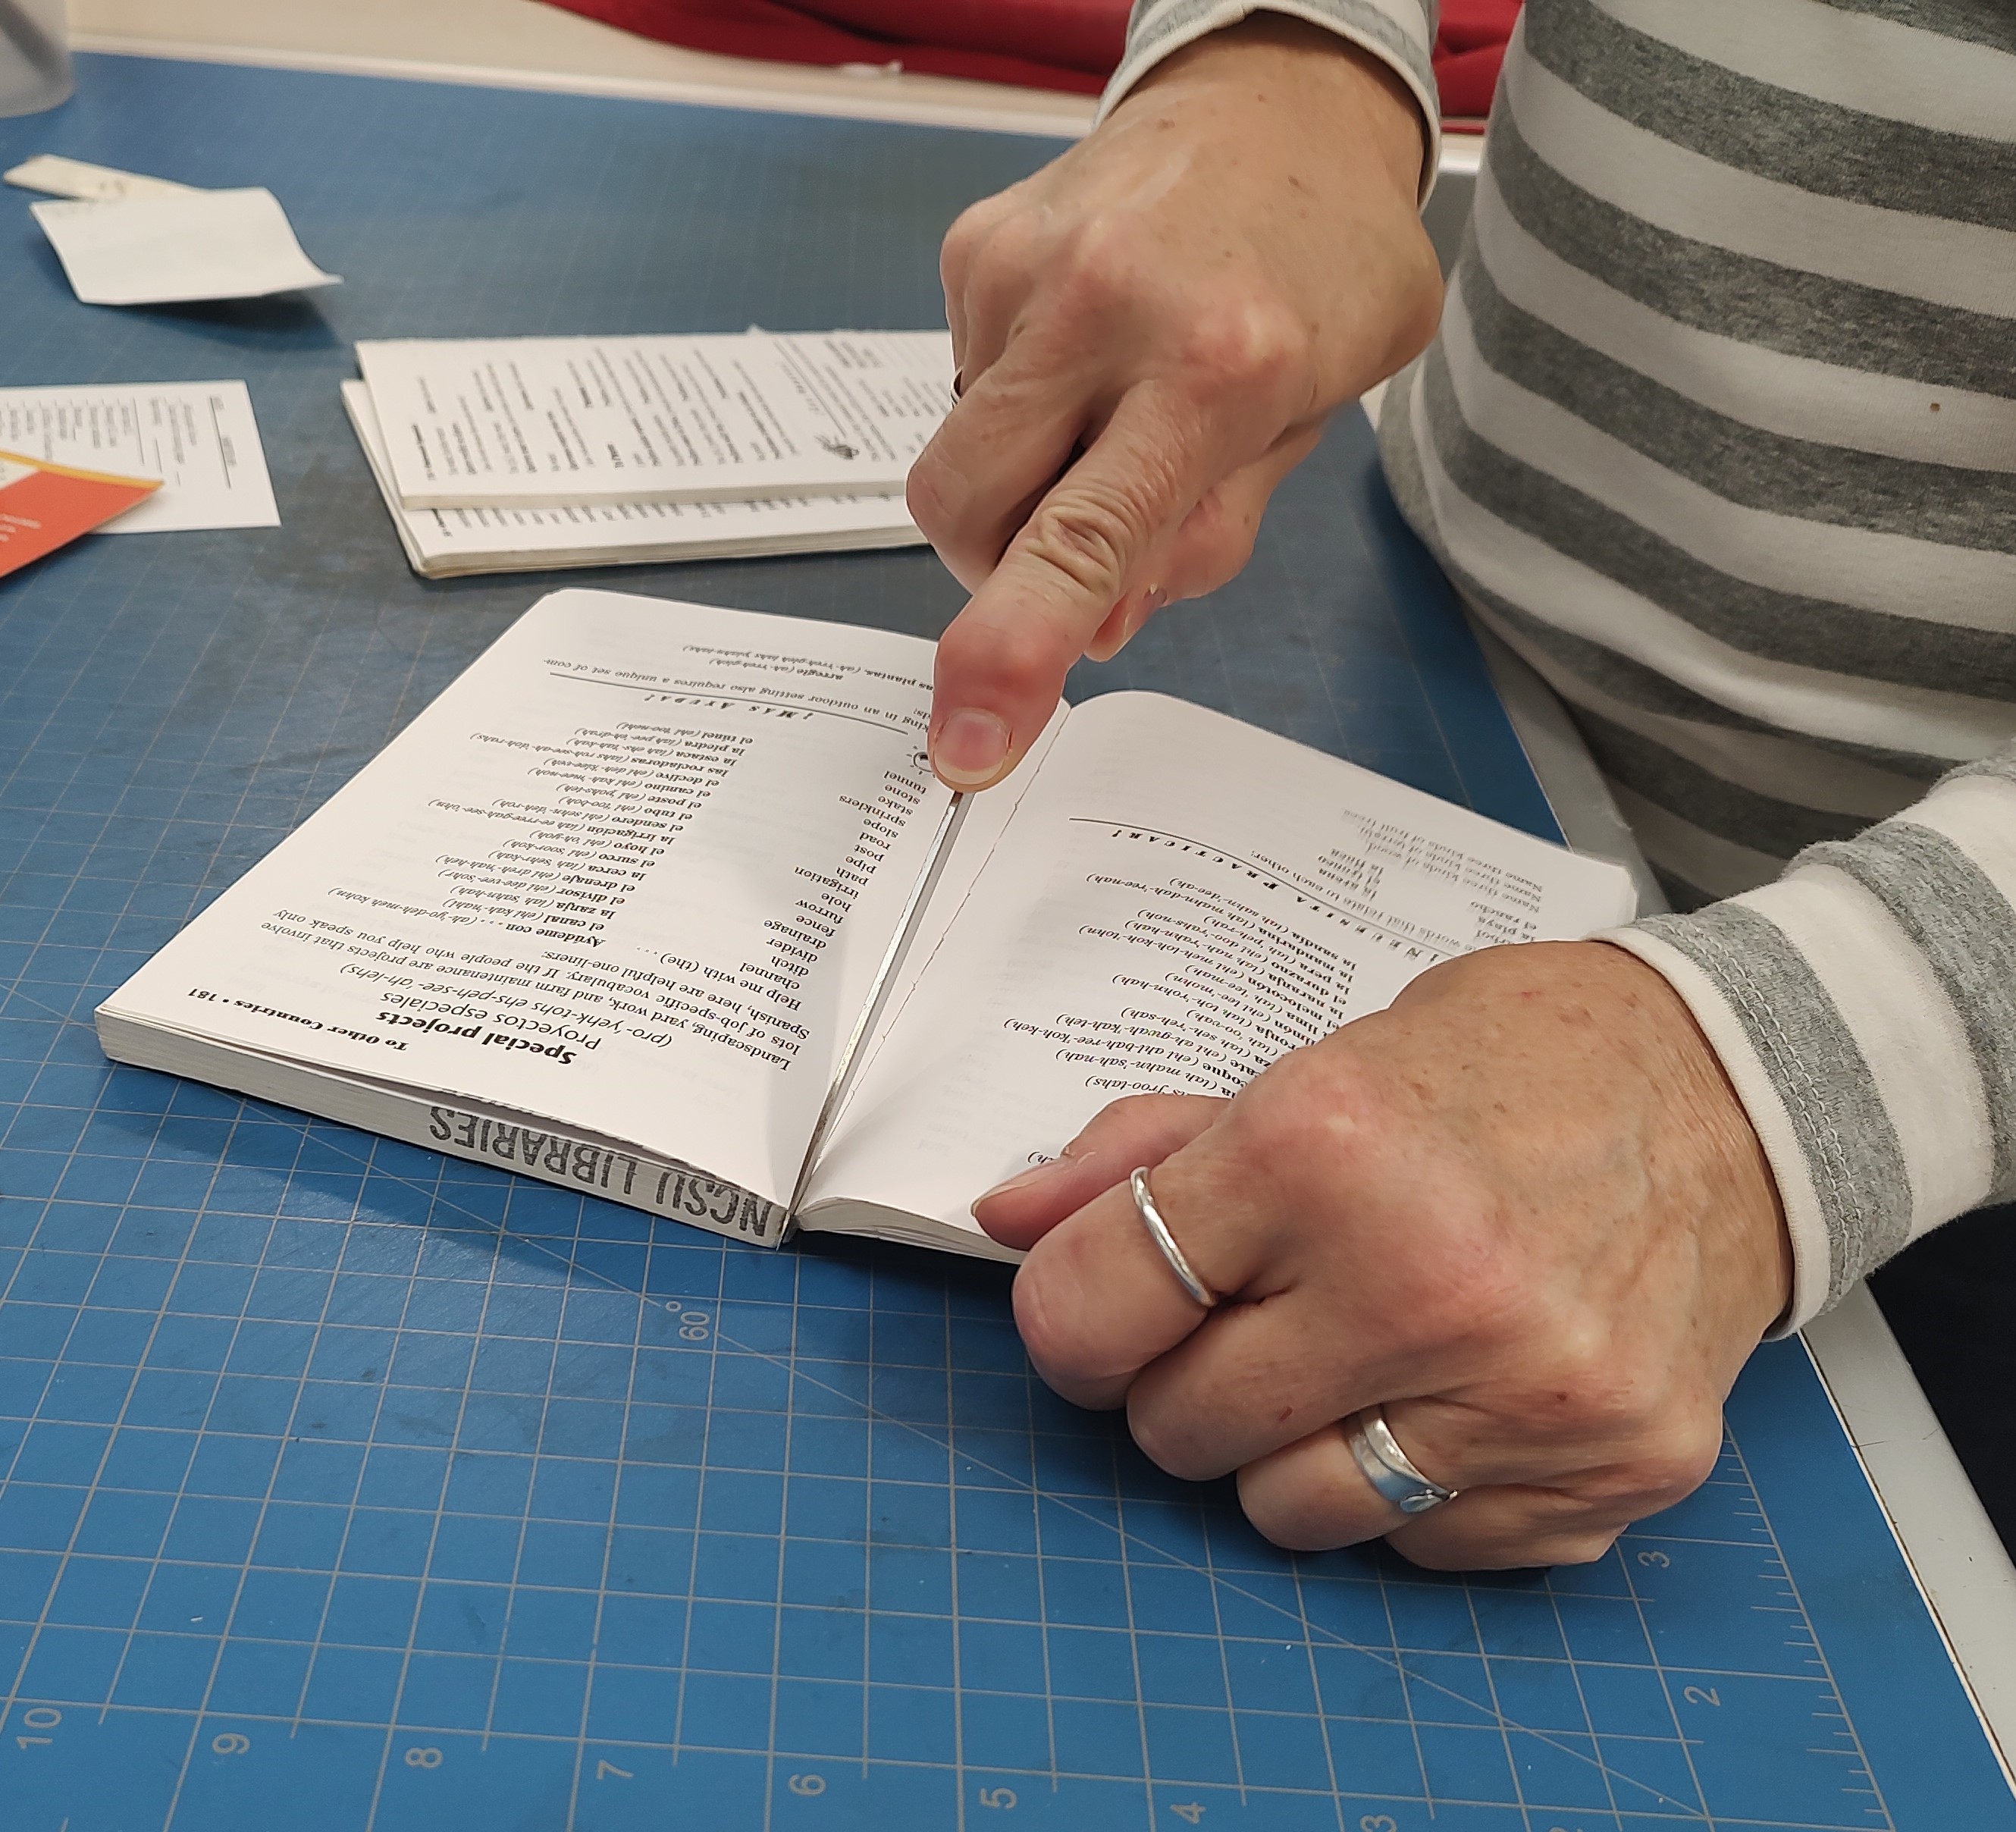
Then the old glue backing of the text block (the pages, or “guts” of the book) needs to be removed. But we do this gradually, by first separating the text block into manageable chunks.
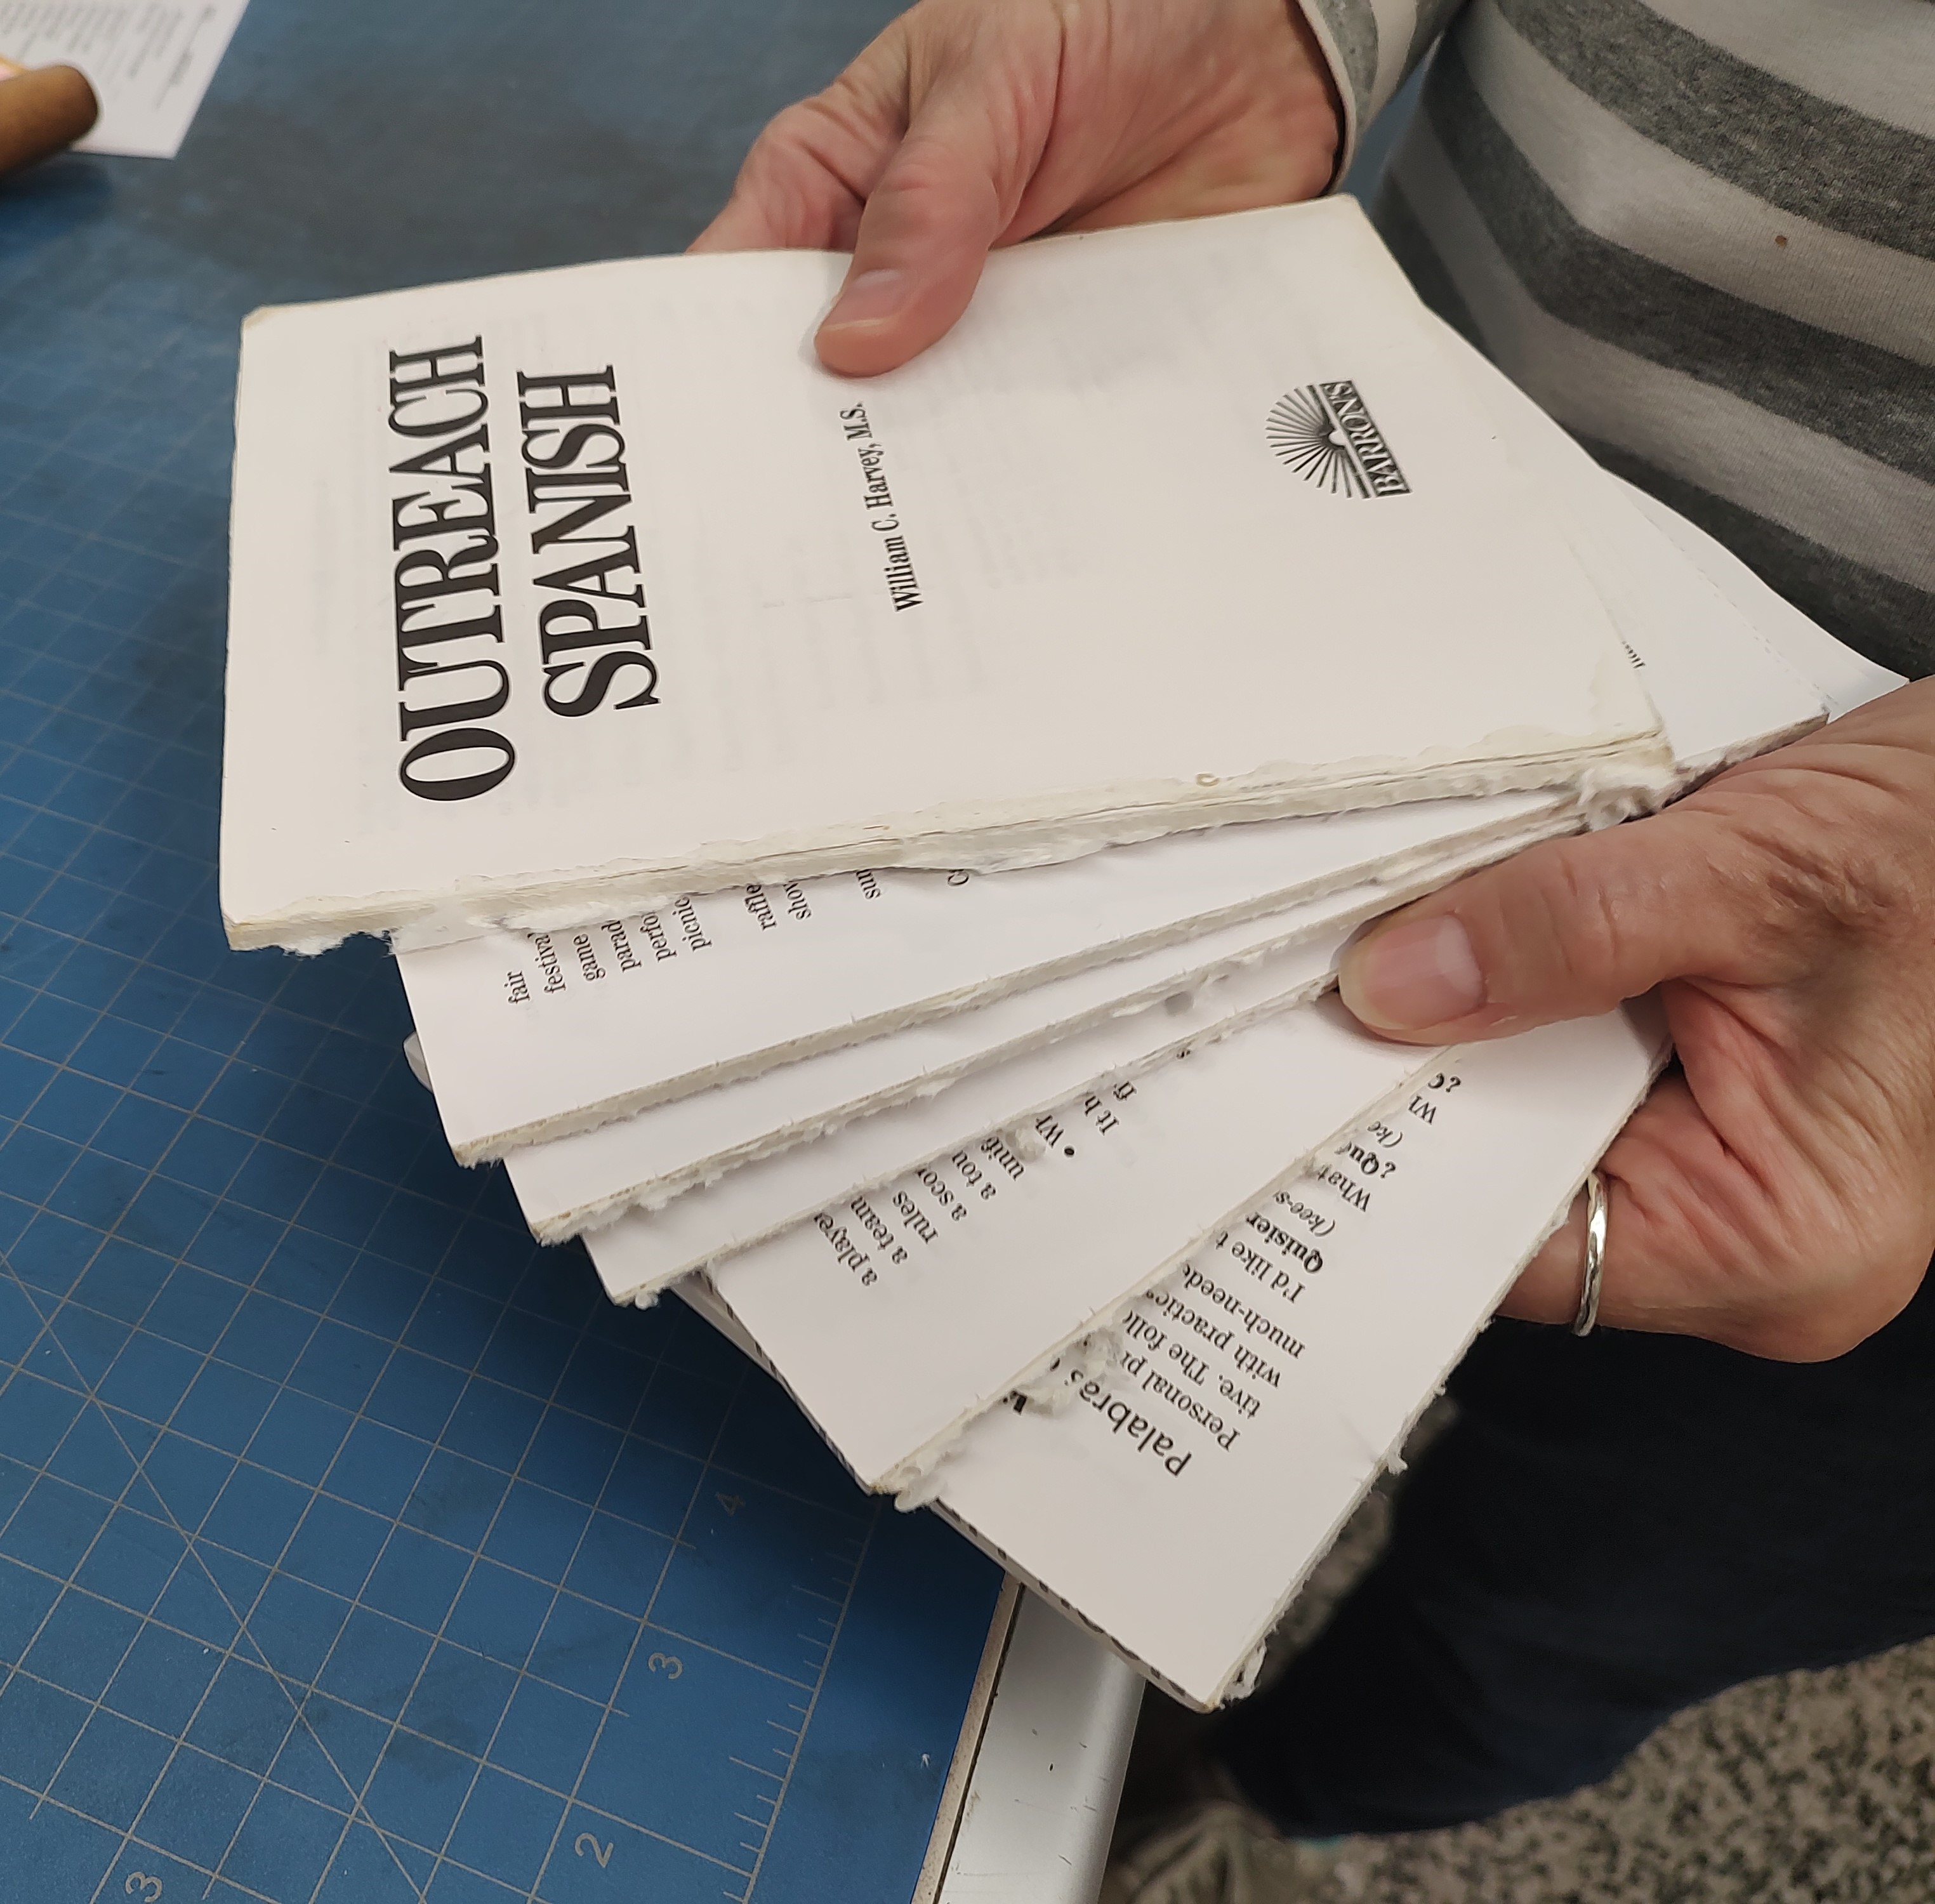
We check the size of the margins to make sure we don’t inadvertently cut off any information. Then it’s time to prepare ourselves to face deadly machinery: the guillotine!
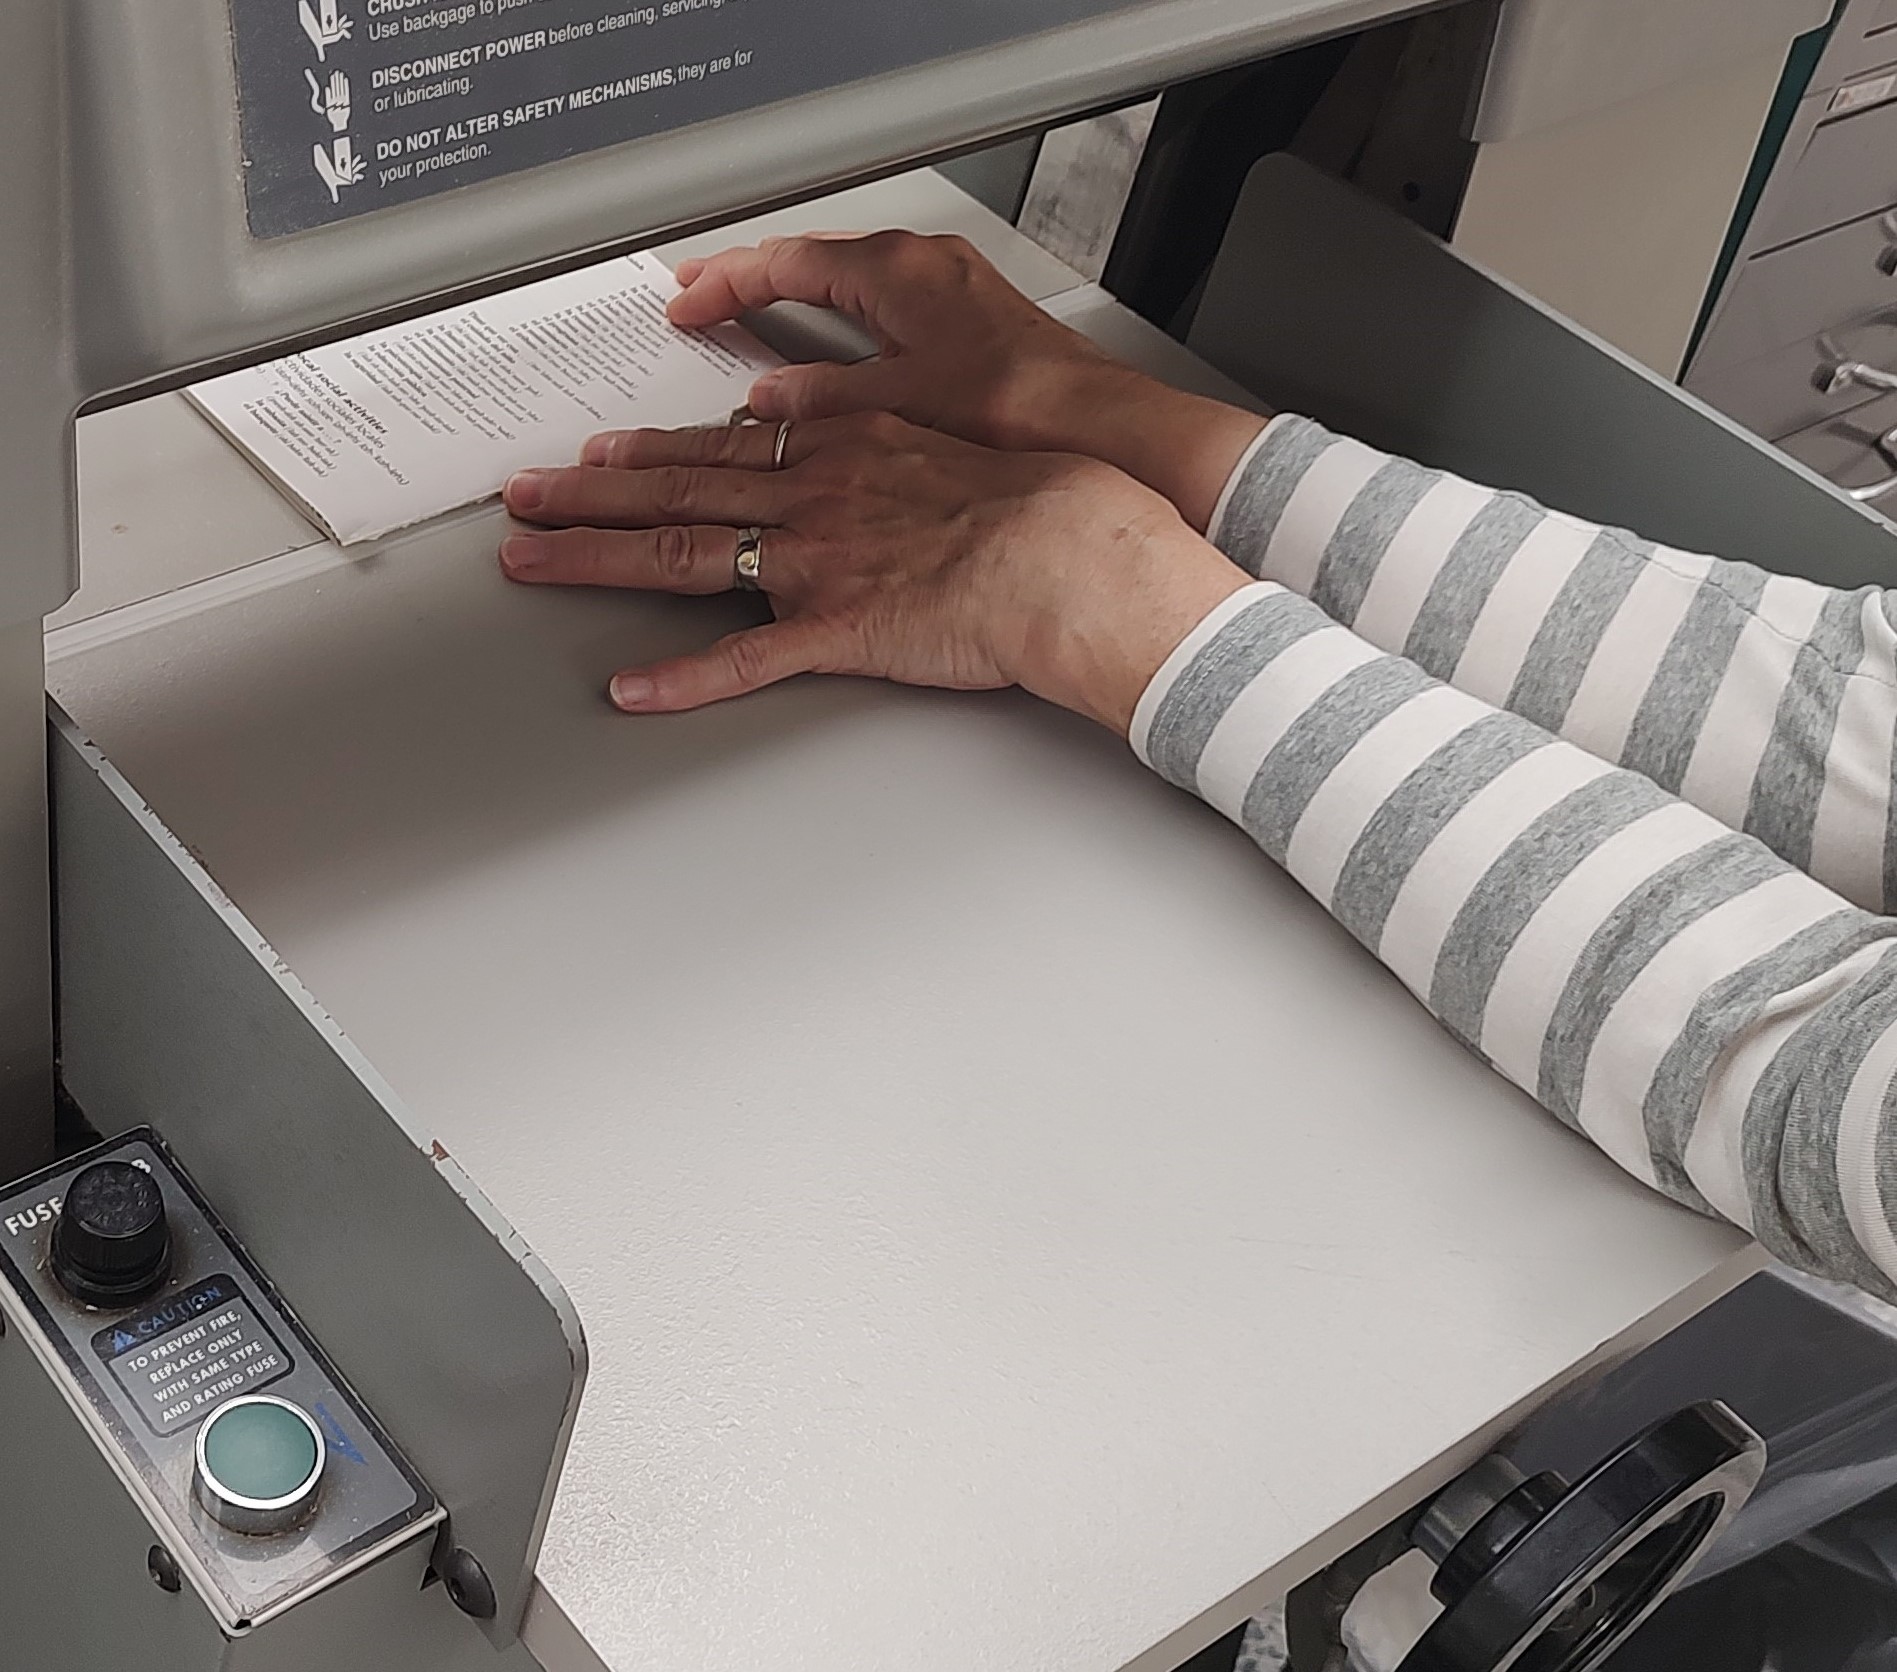
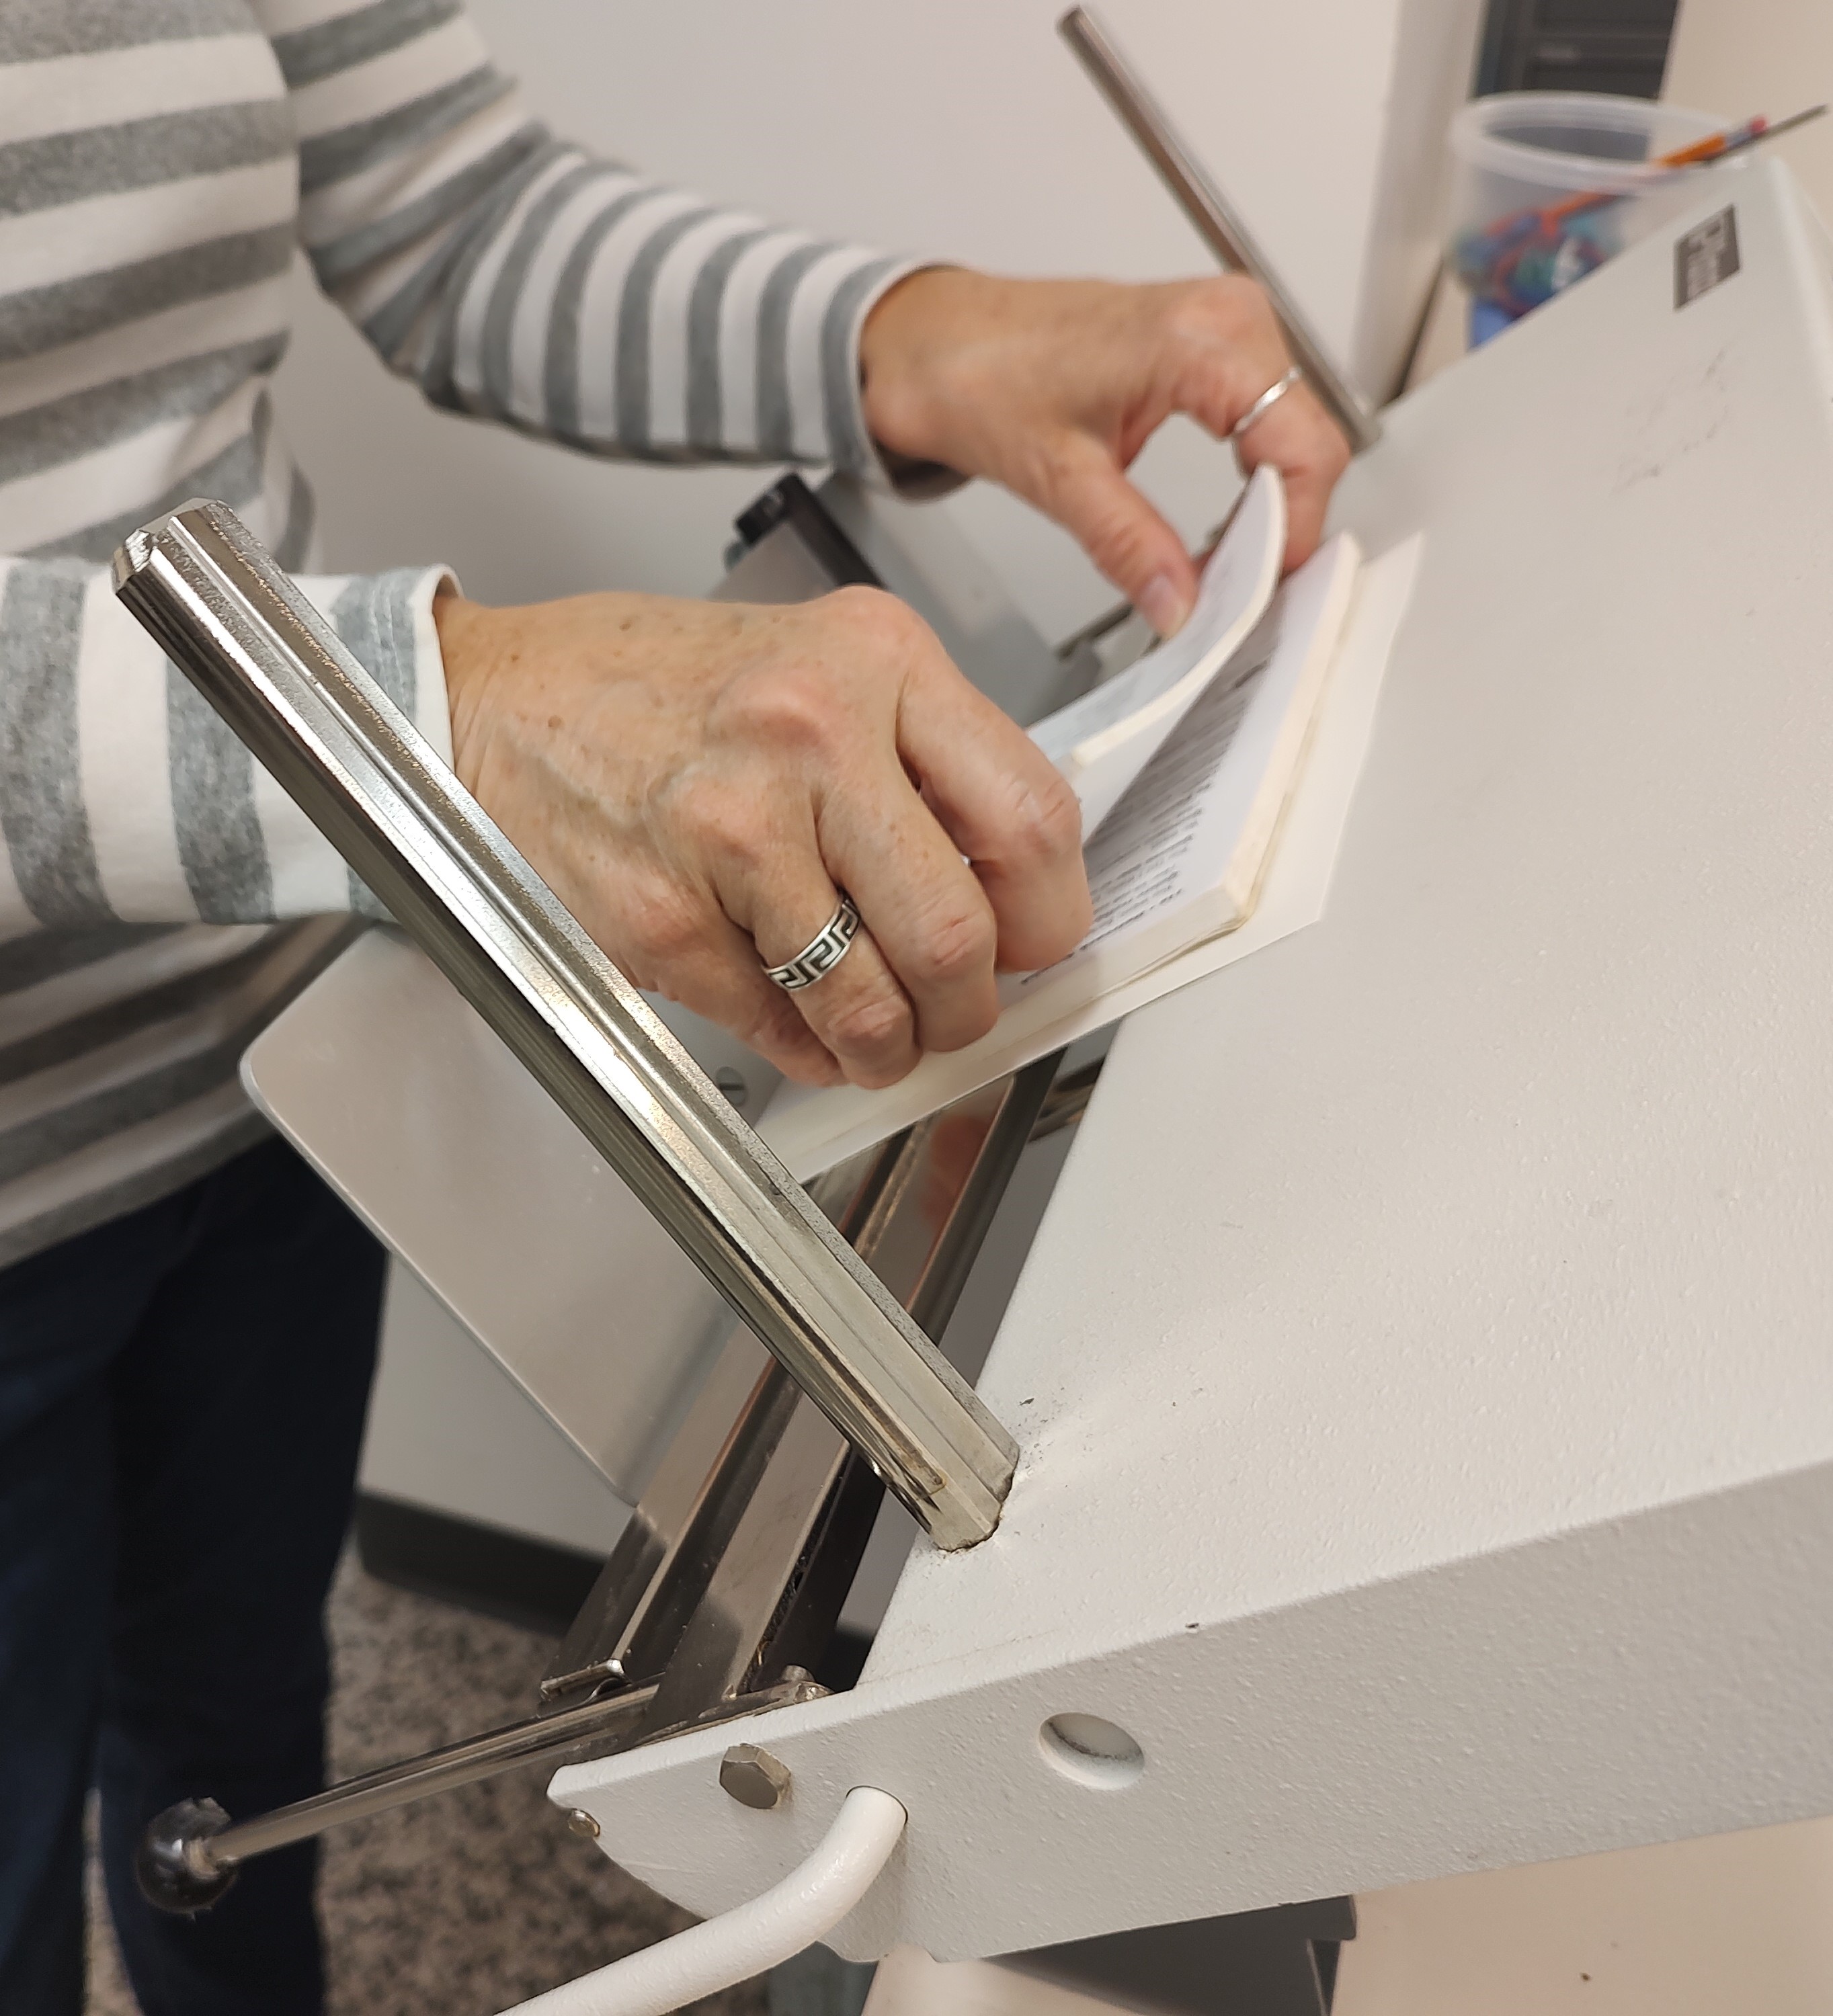
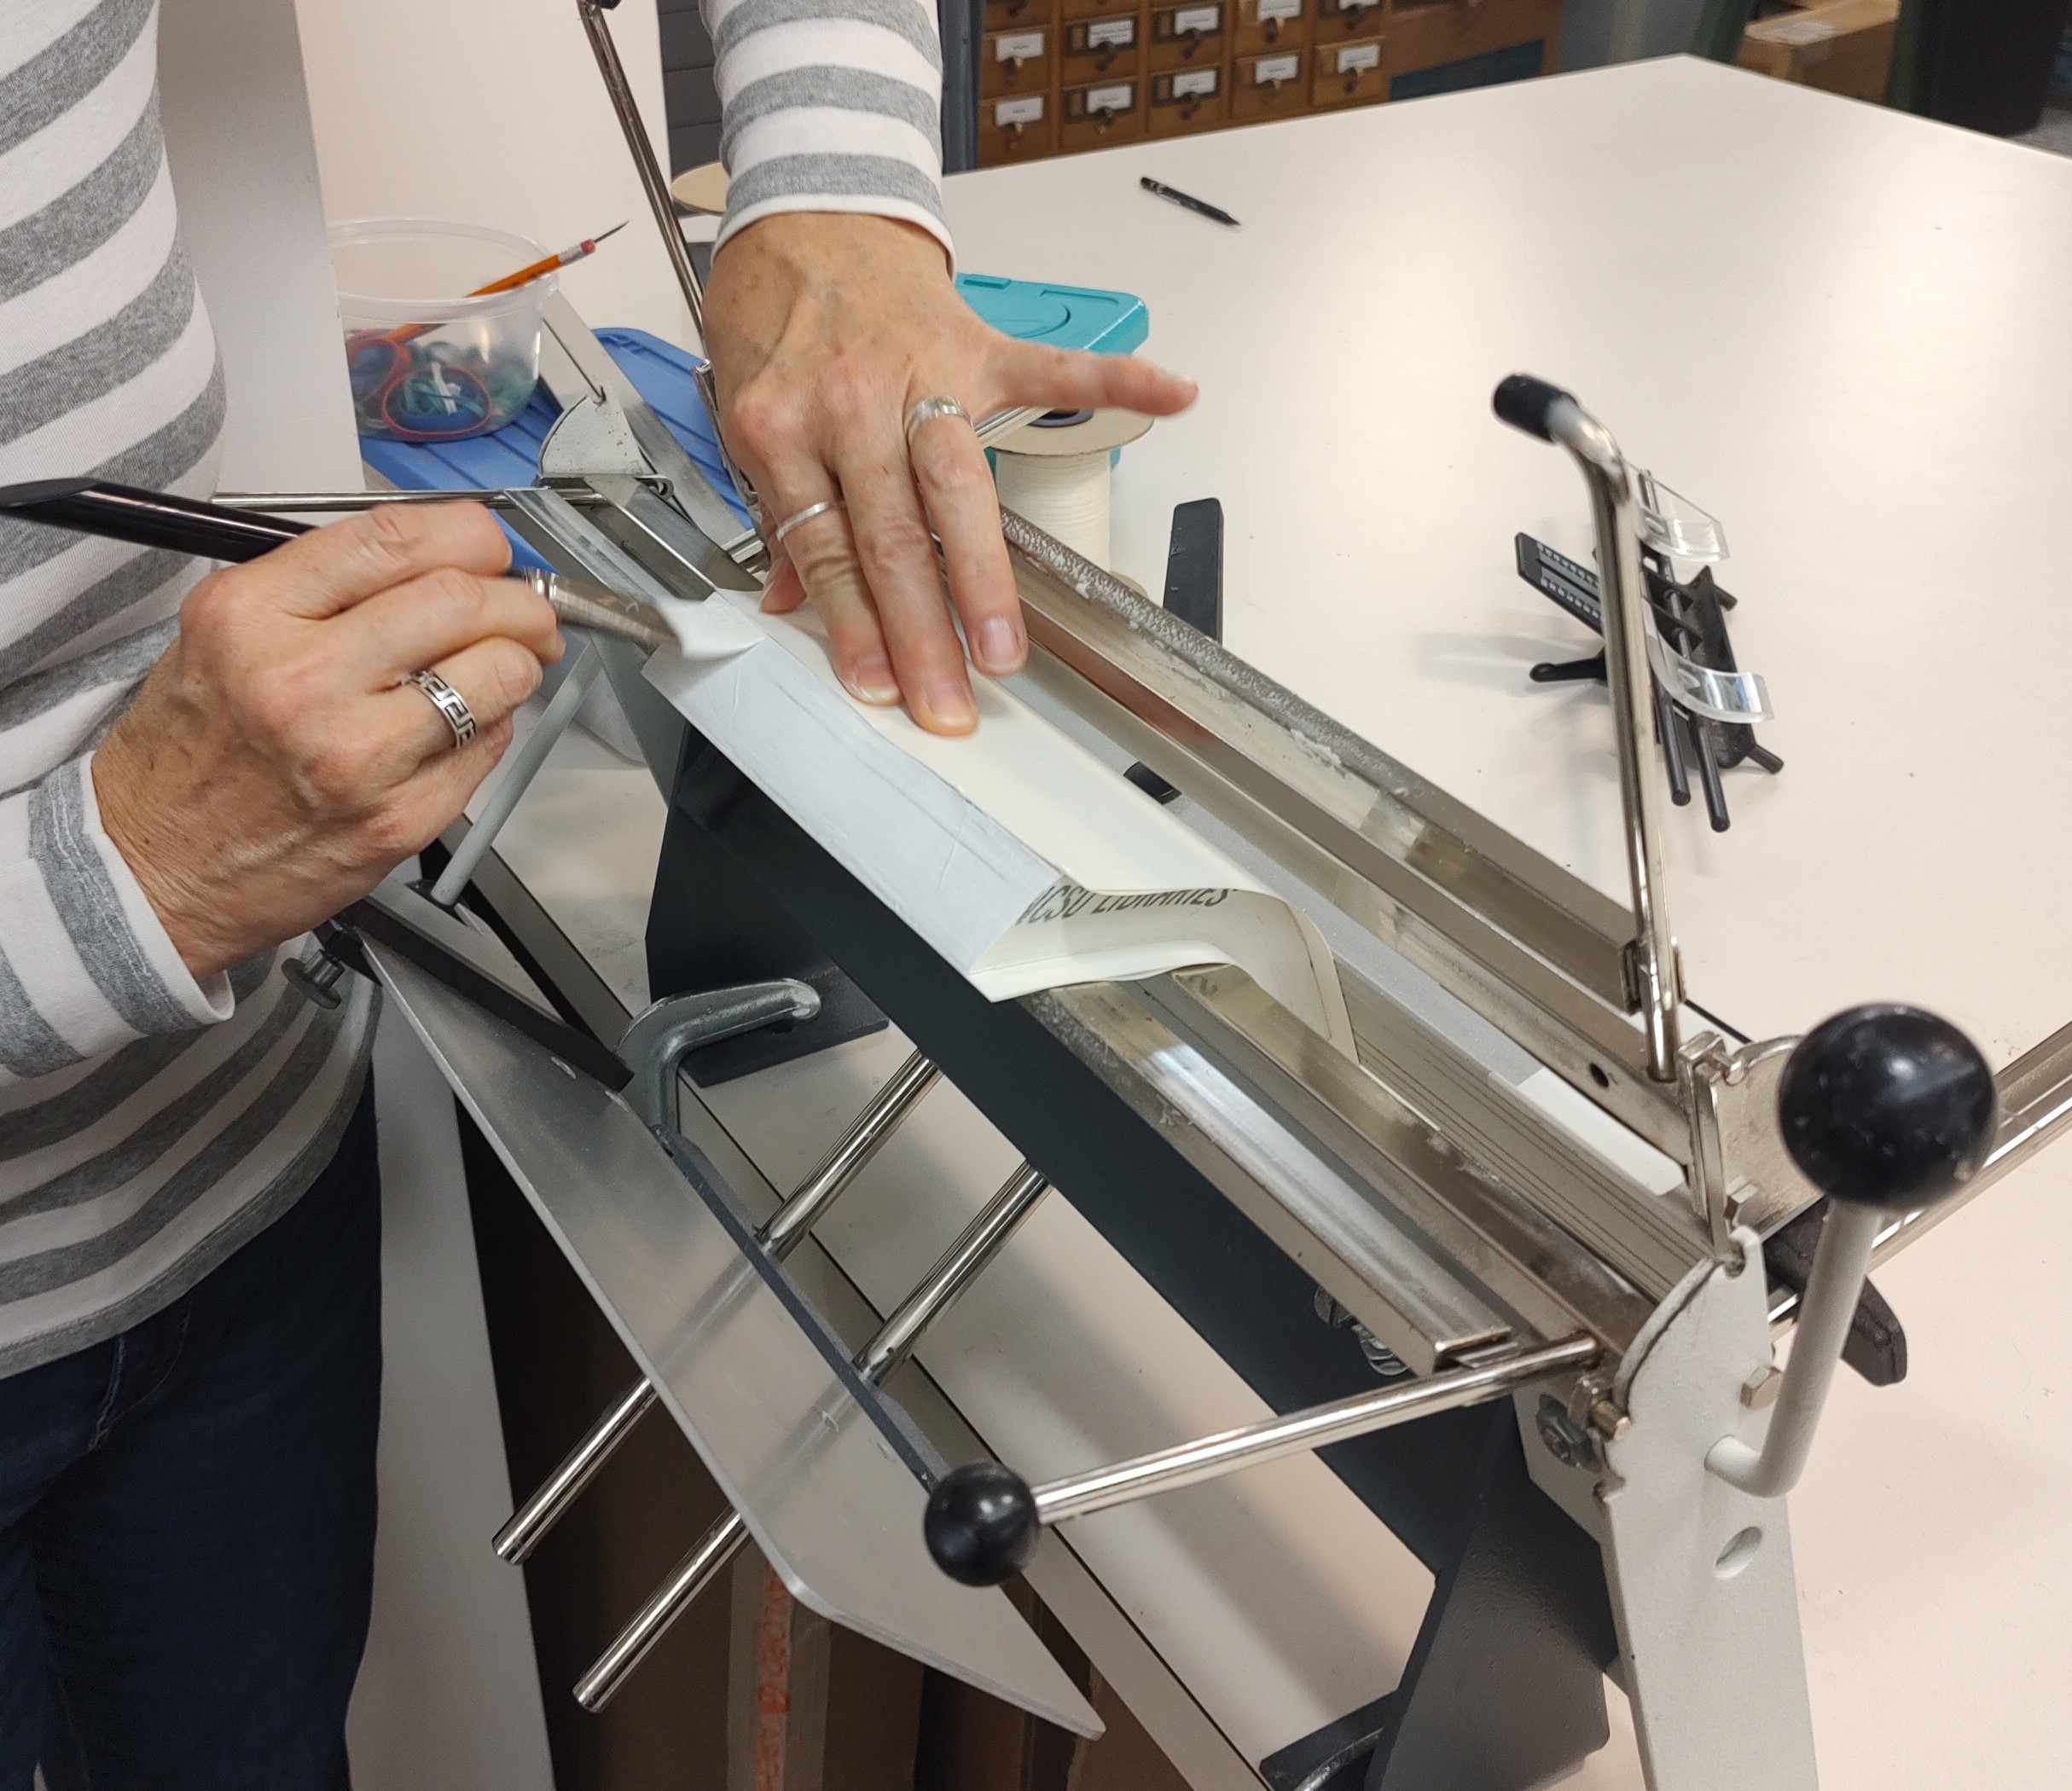
We determine the setting for the guillotine to cut off just the glue, losing as little paper as possible. In this picture you see me using my hands to set the first chunk of pages on the cutting line. Fortunately for me, a sometimes-distracted bookbinder, the guillotine is designed to be impossible to operate with just one hand. So I can’t accidentally cut off my own fingers. Hurray!
As I use both hands (phew!) to press buttons on either side of the machine, the blade glides down and neatly chops off the glued spine of the pages. I then continue chopping off the glued edge for the rest of the sections.
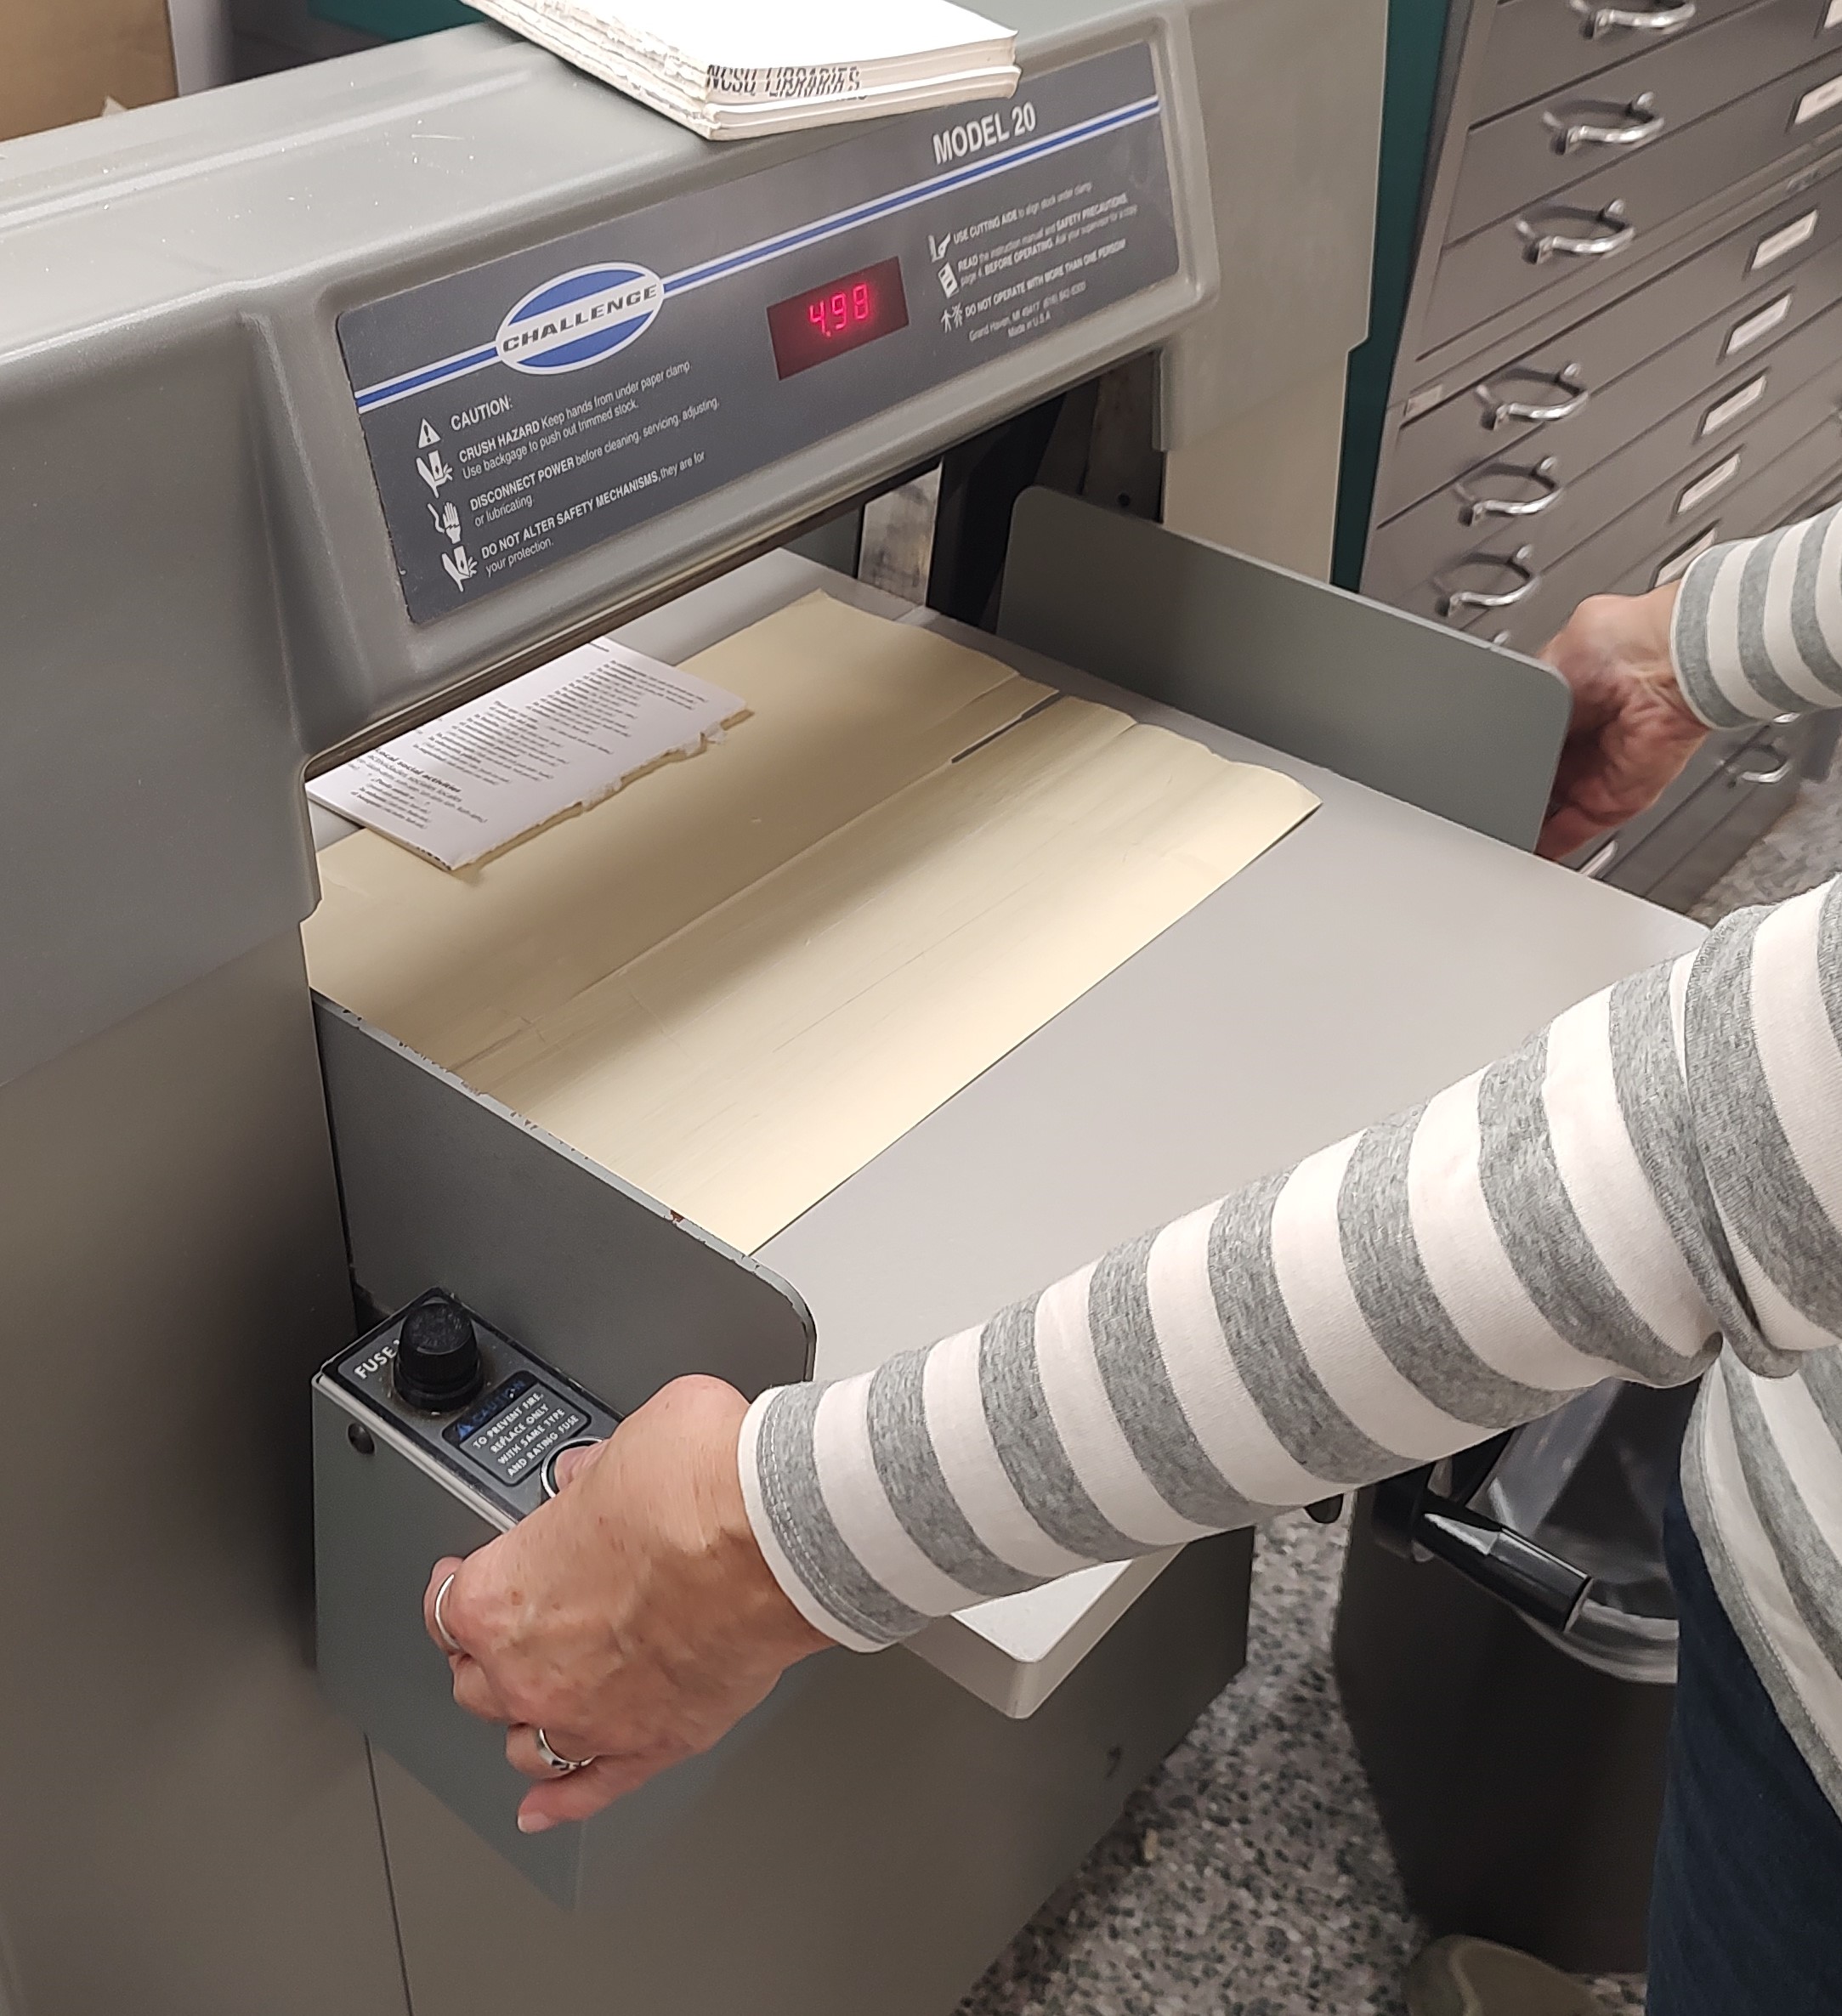
Even though we have cut all of the pages at the same setting, there is still some variation in the cuts. So now I’ll set the guillotine just a hair farther in, place the entire text block in at once, and make one final cut to be sure all of the pages are exactly the same width. This is why we only do this treatment when absolutely necessary–we don’t like having to cut even a small amount away from the textblock.
Count fingers—ten! No blood. We’ve conquered the guillotine; it’s time to face the Kraken!
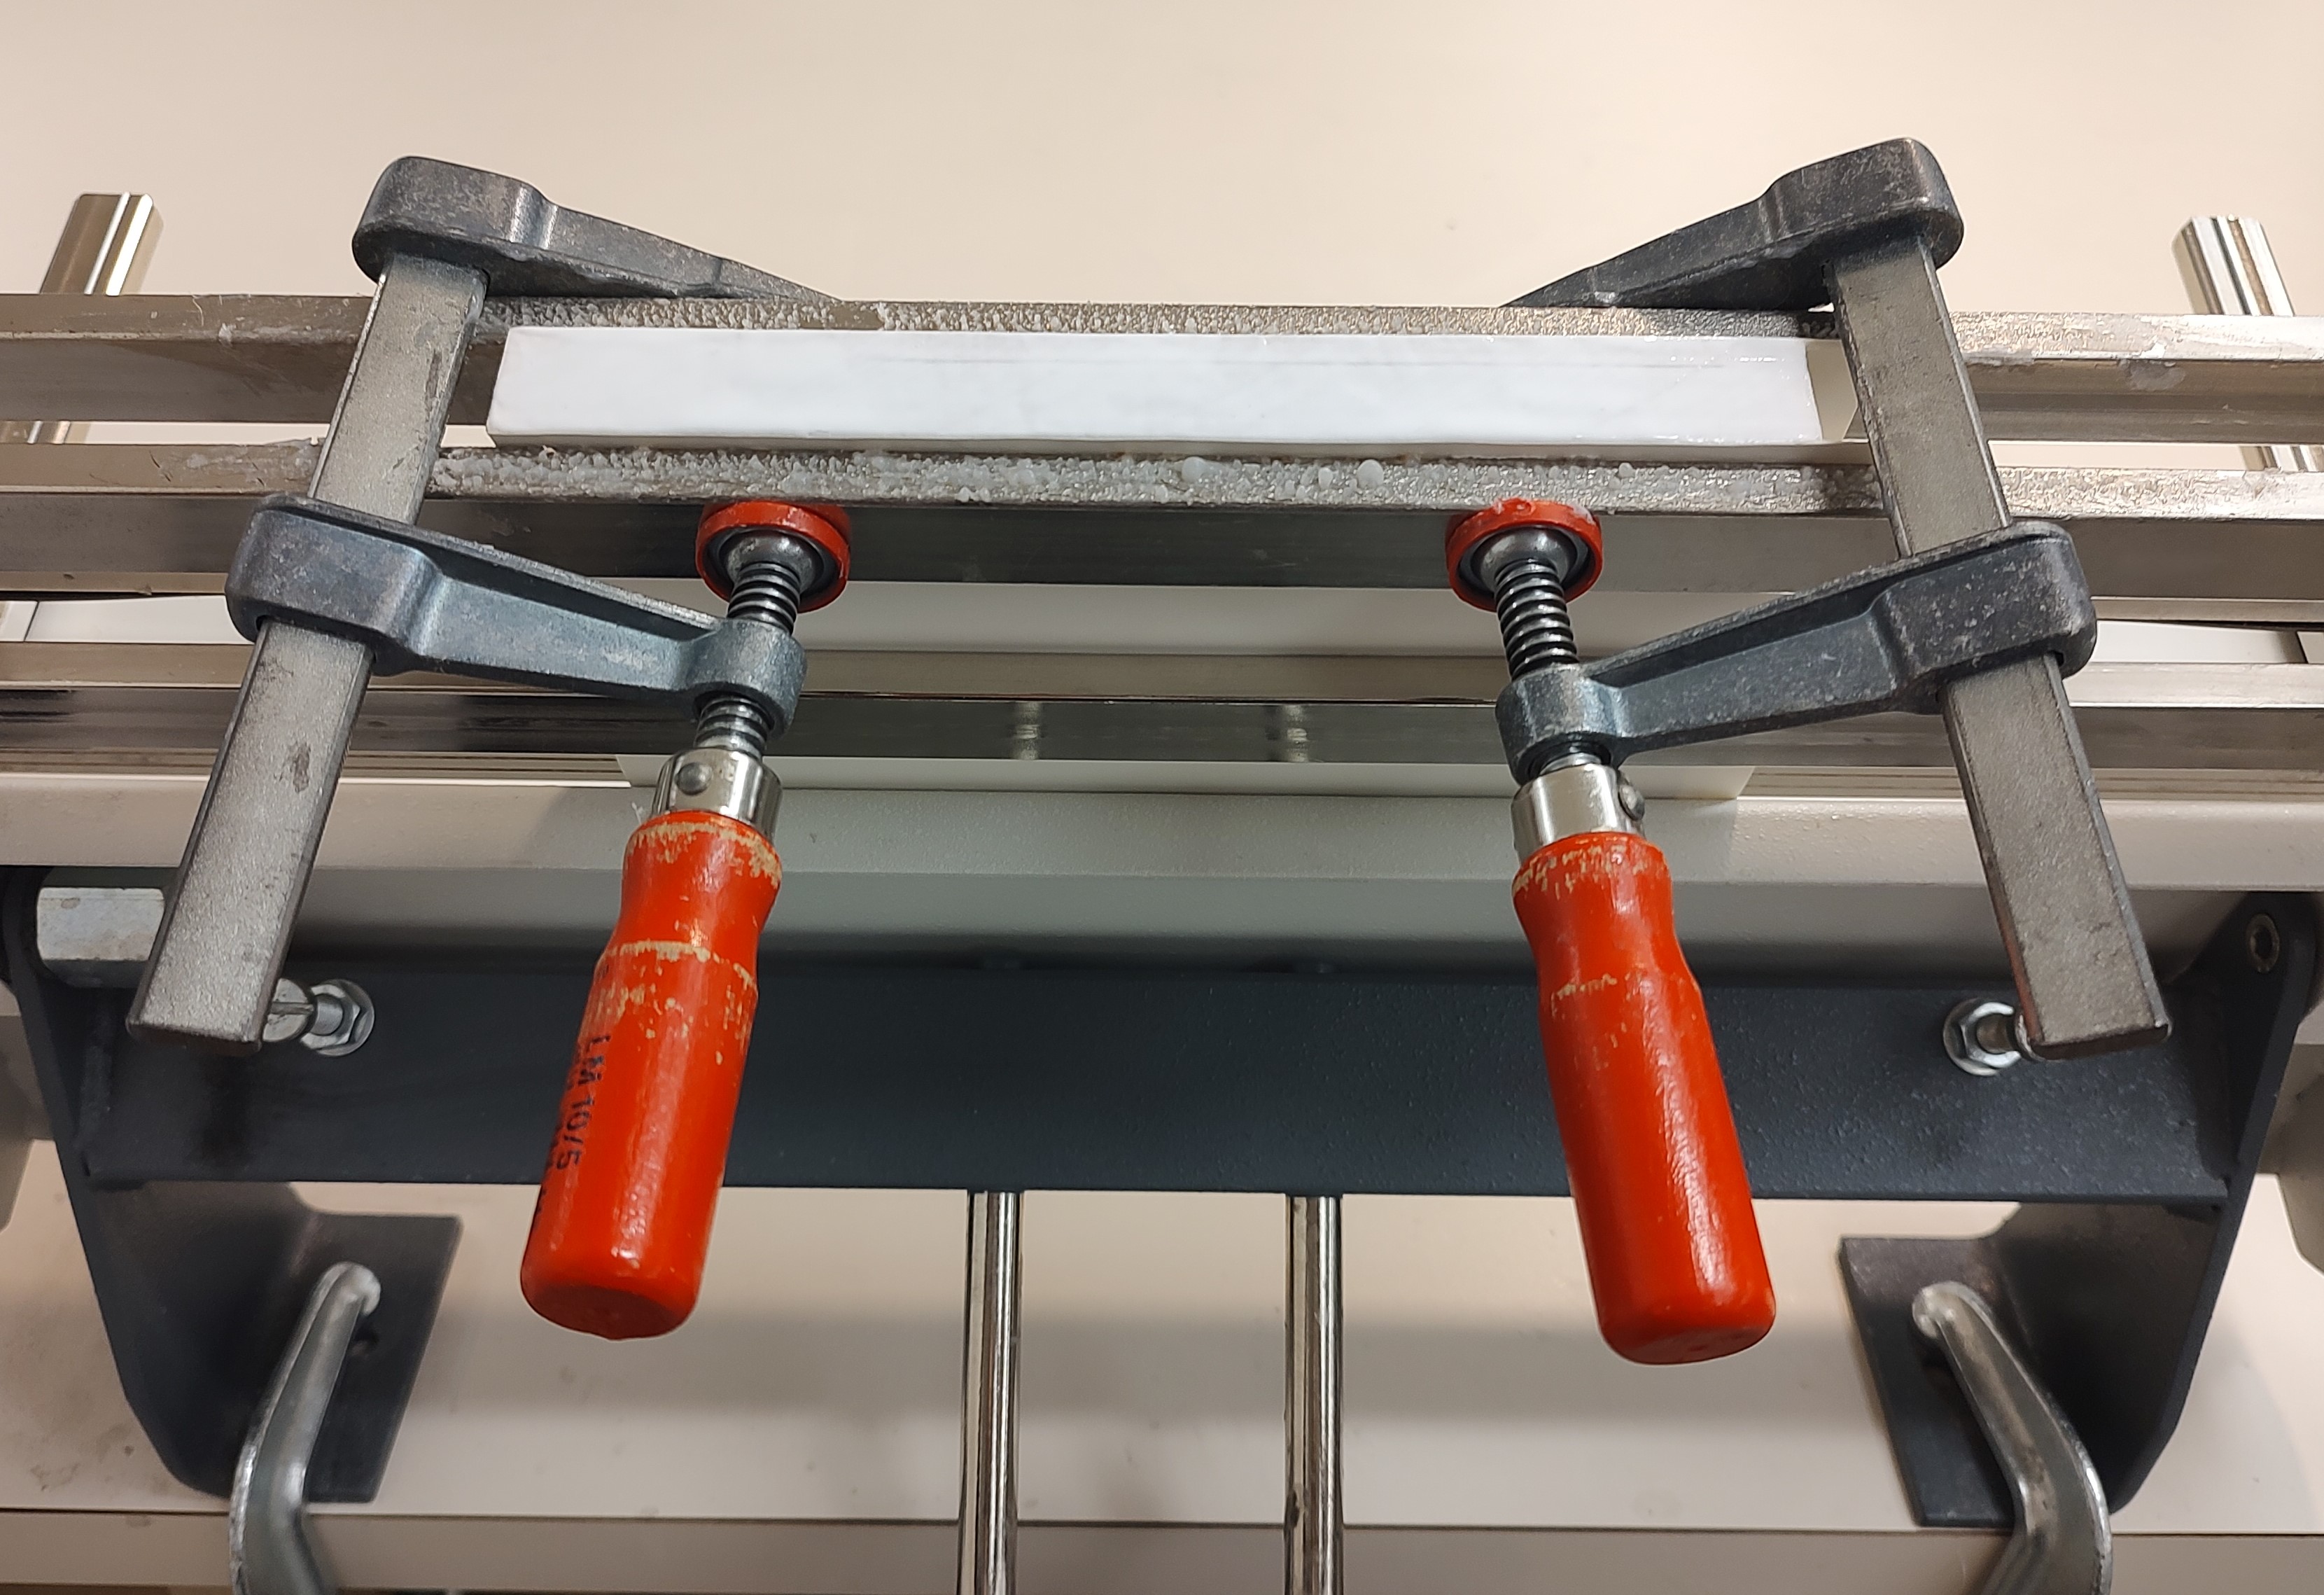
The planax is what holds the text block (now all loose pages!) in place while it is glued. We set the pages on the little shelf, a few chunks at a time, to get them as perfectly aligned possible. You’ll notice the new blank end sheets that have been added, front and back. Then everything is clamped in place.
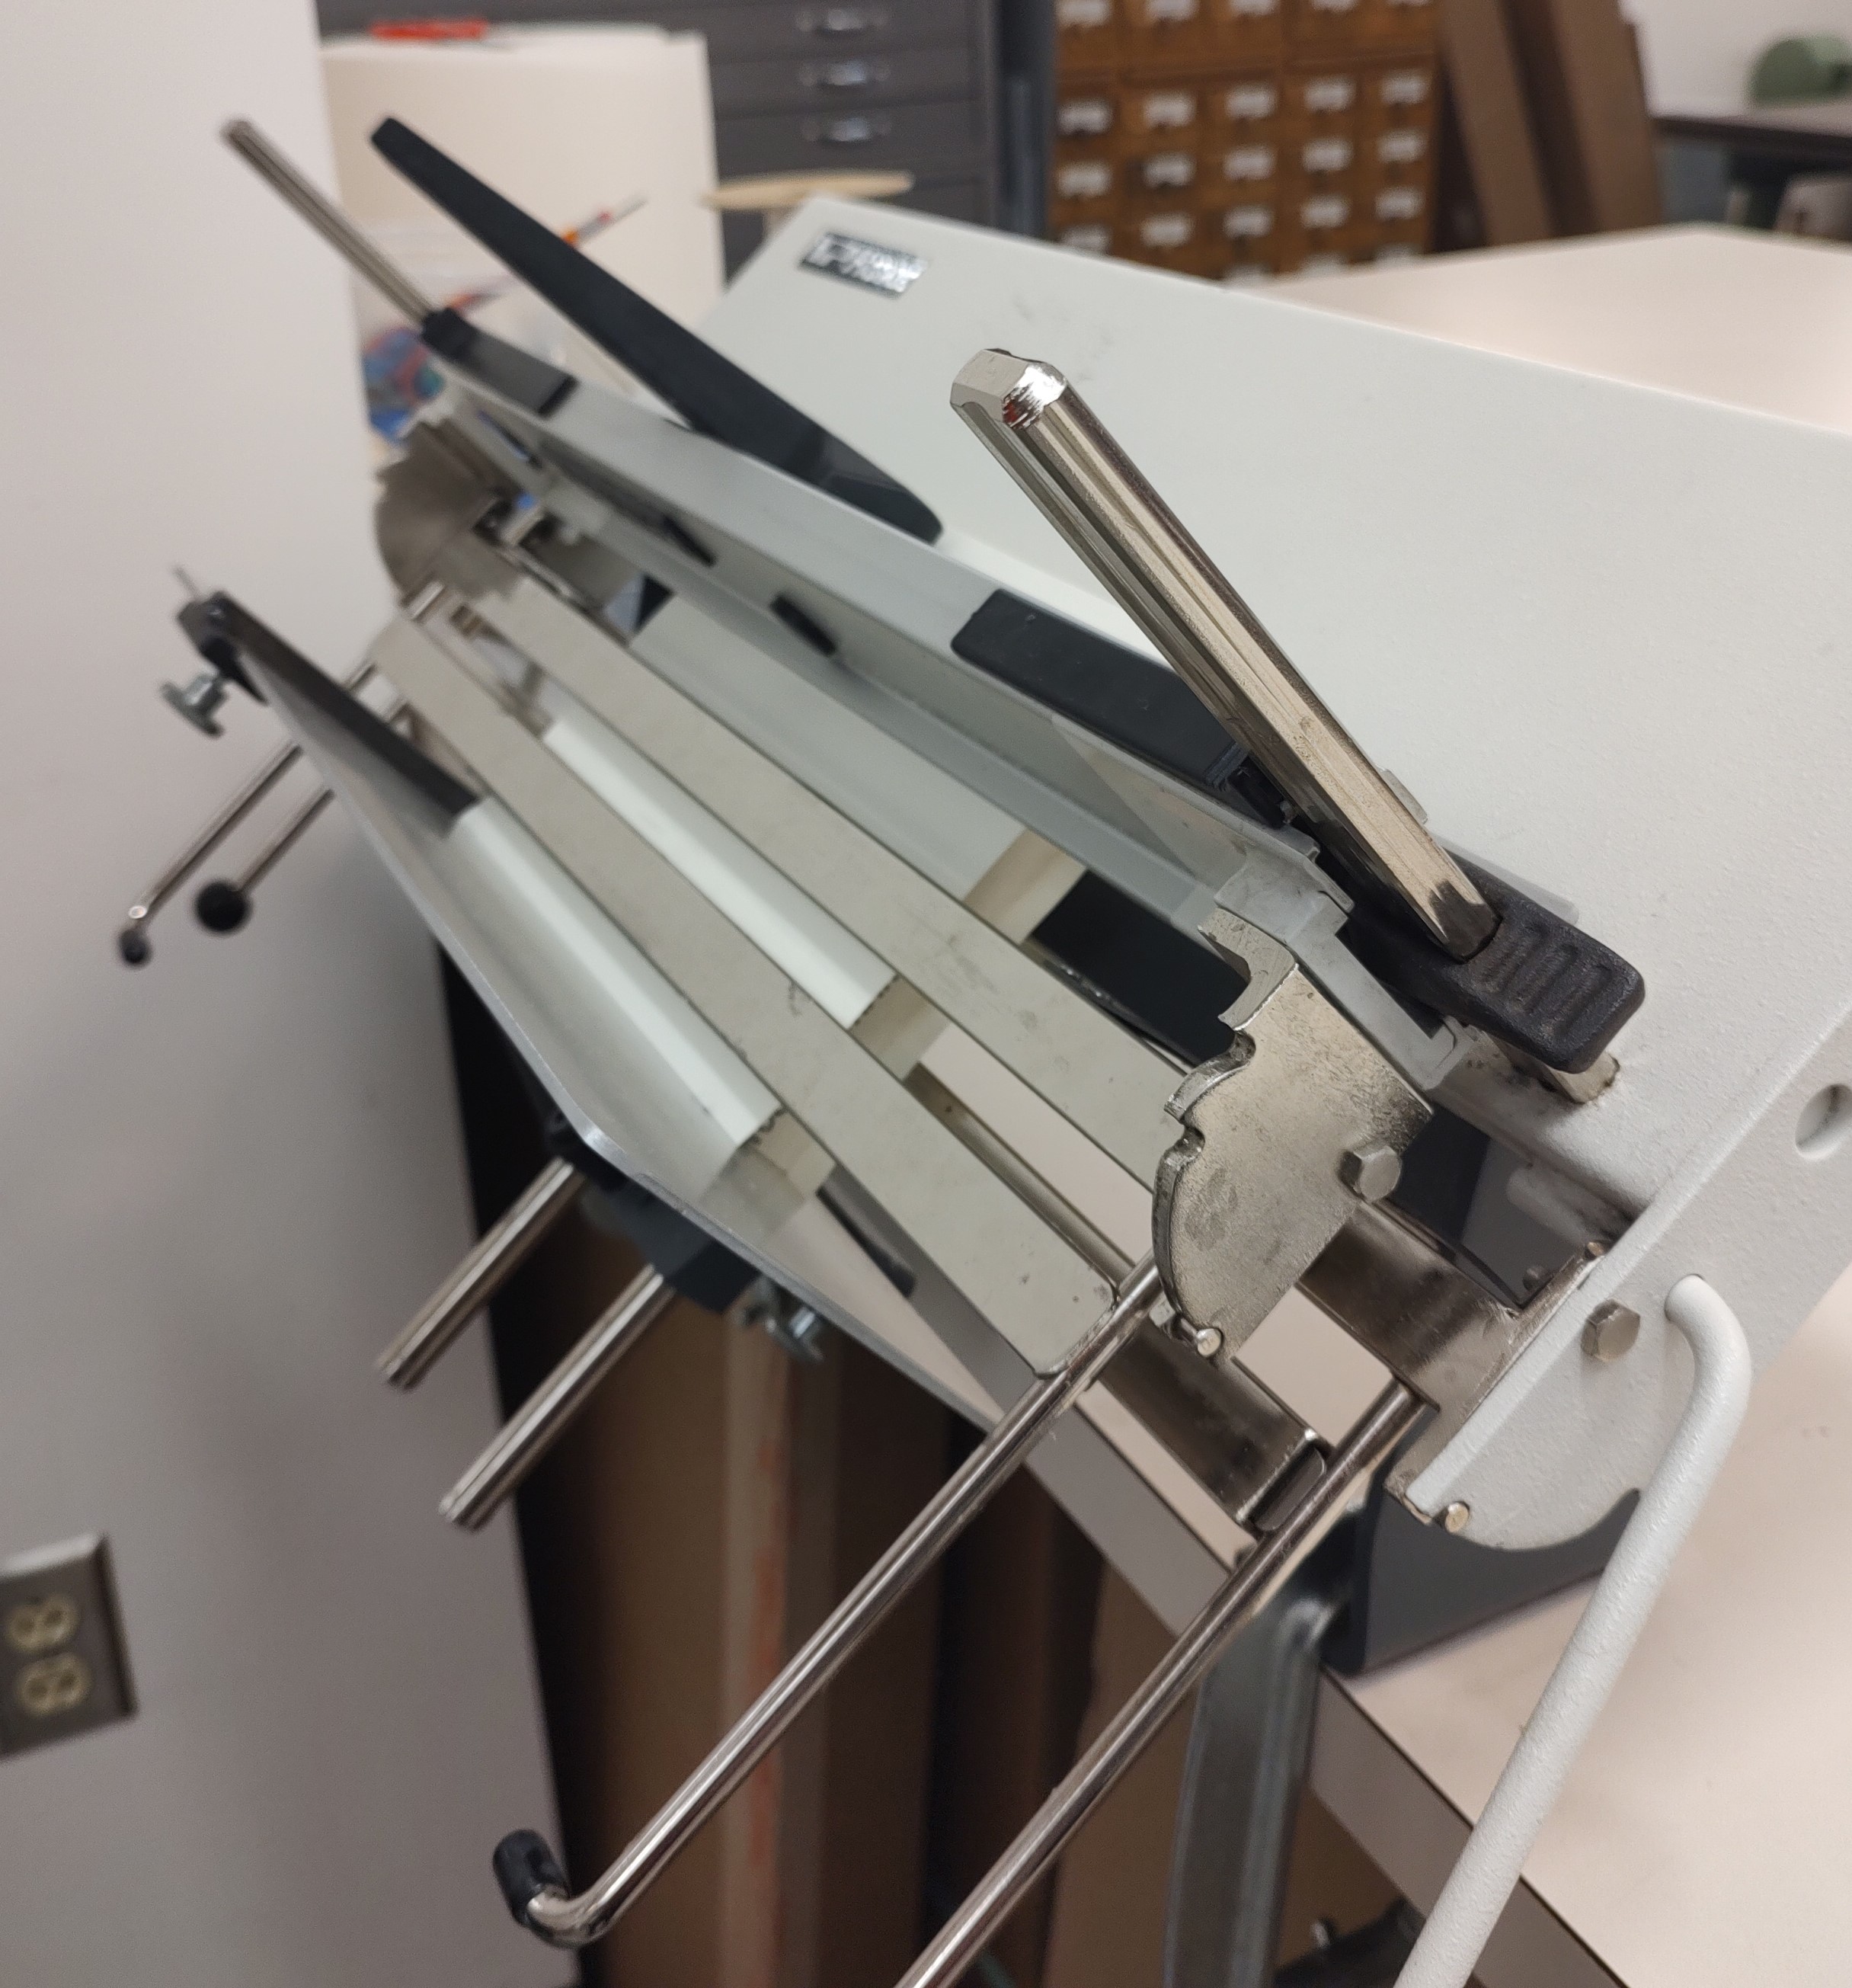
In this picture, I am building a flat-back adhesive bind. We also have the option of building a curved-back adhesive bind, which we do when the text block is more than one inch thick.
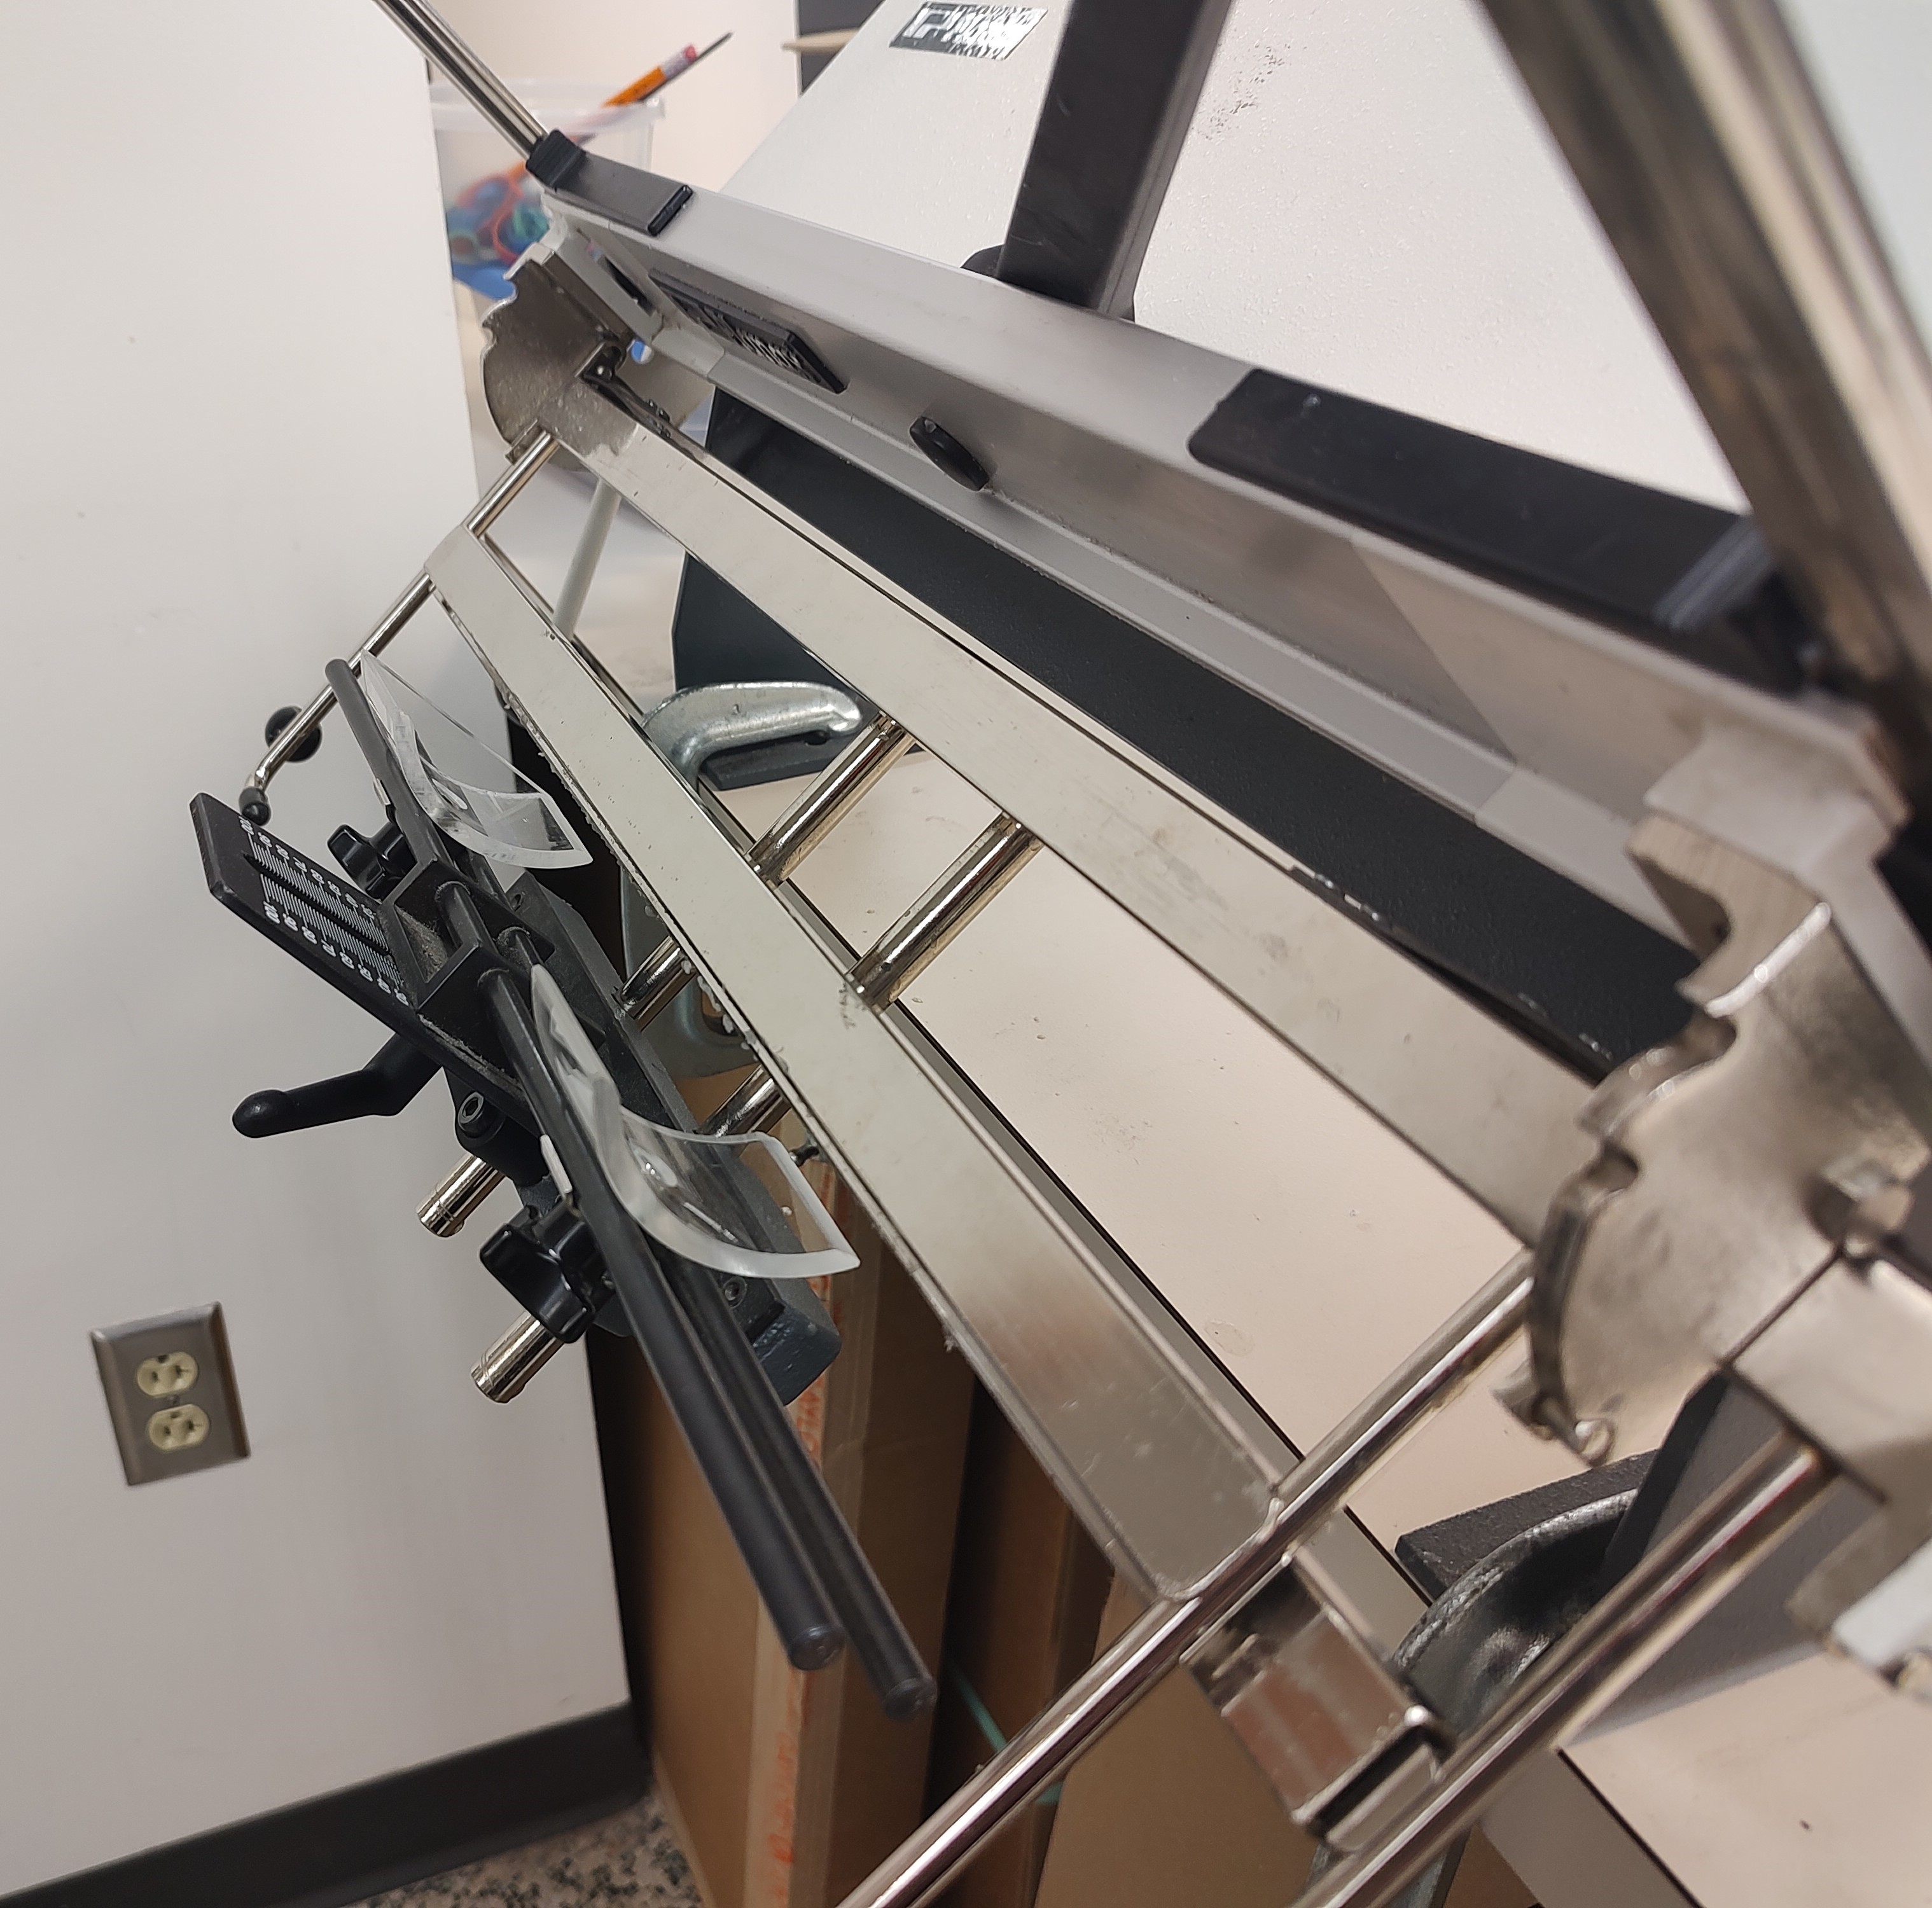
You can see in this picture the different kind of shelf that we use, when making a curved-back.
Using its many Kraken-like arms, the planax flips the text block upside down. By moving one set of arms and then another, we are able to fan the pages first in one direction and then the other, creating a double-fan adhesive bind.
Finally it is all clamped down, another coat of glue is applied, and it is allowed to dry.
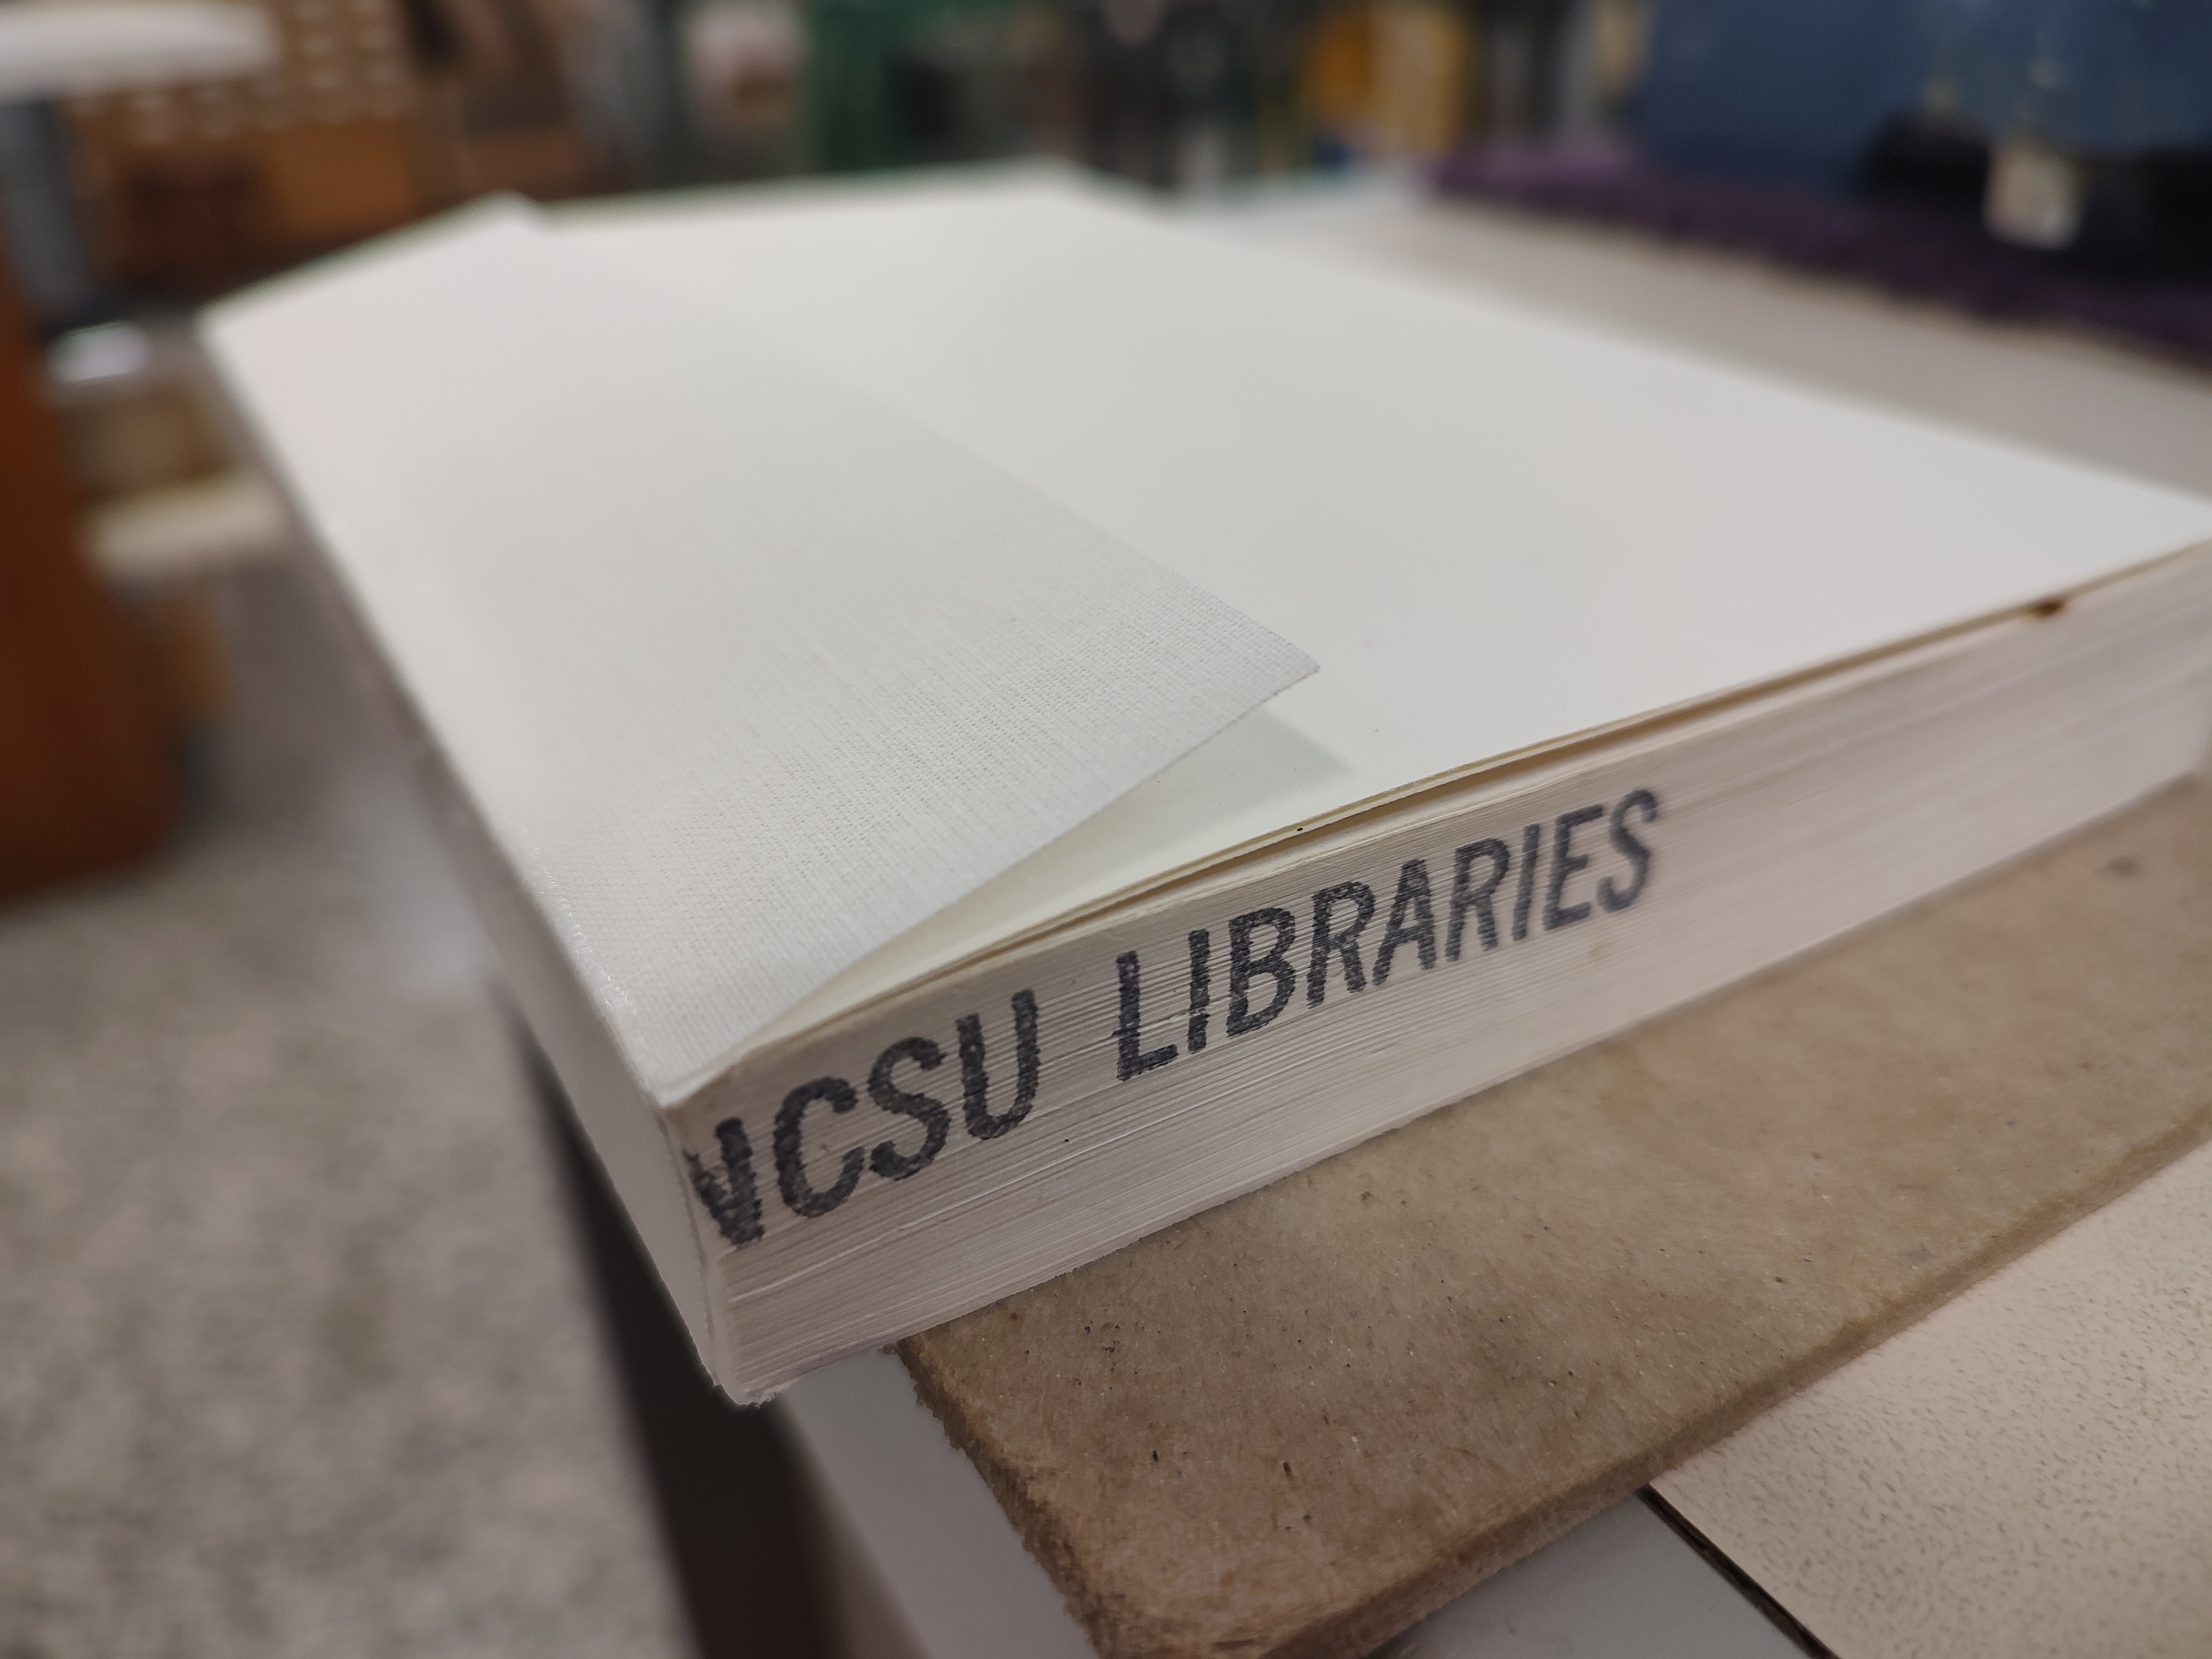
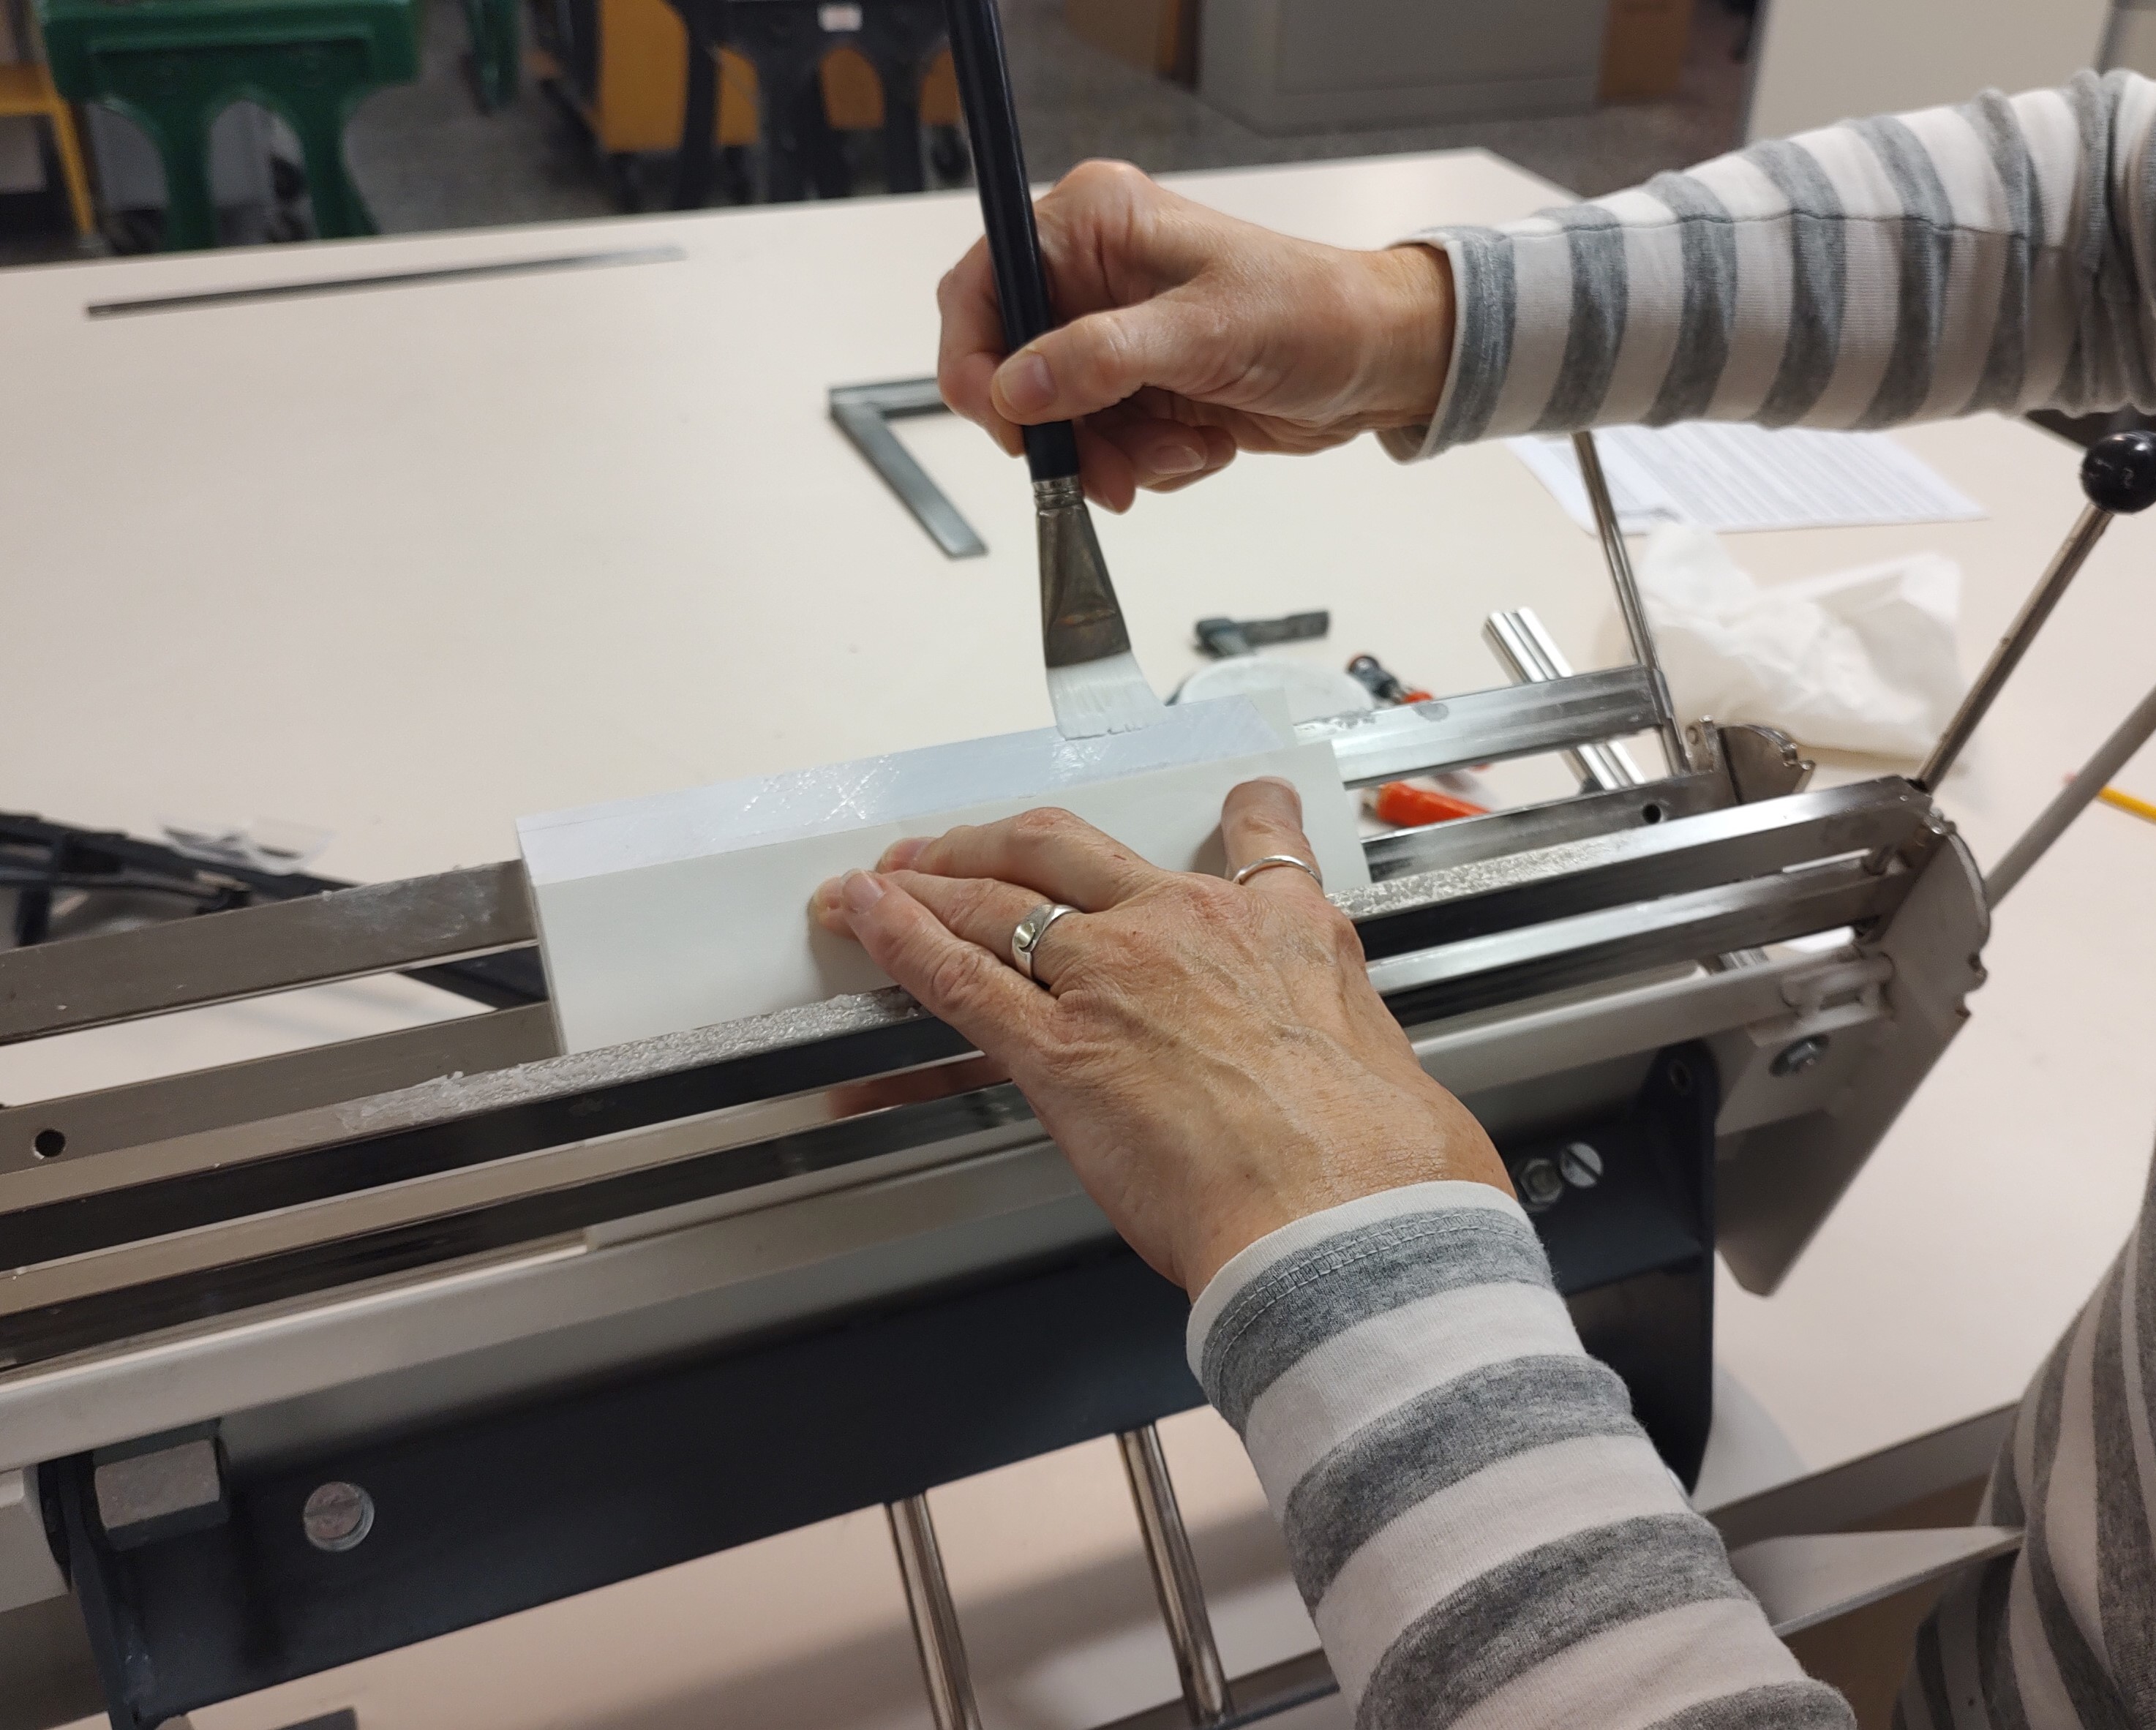
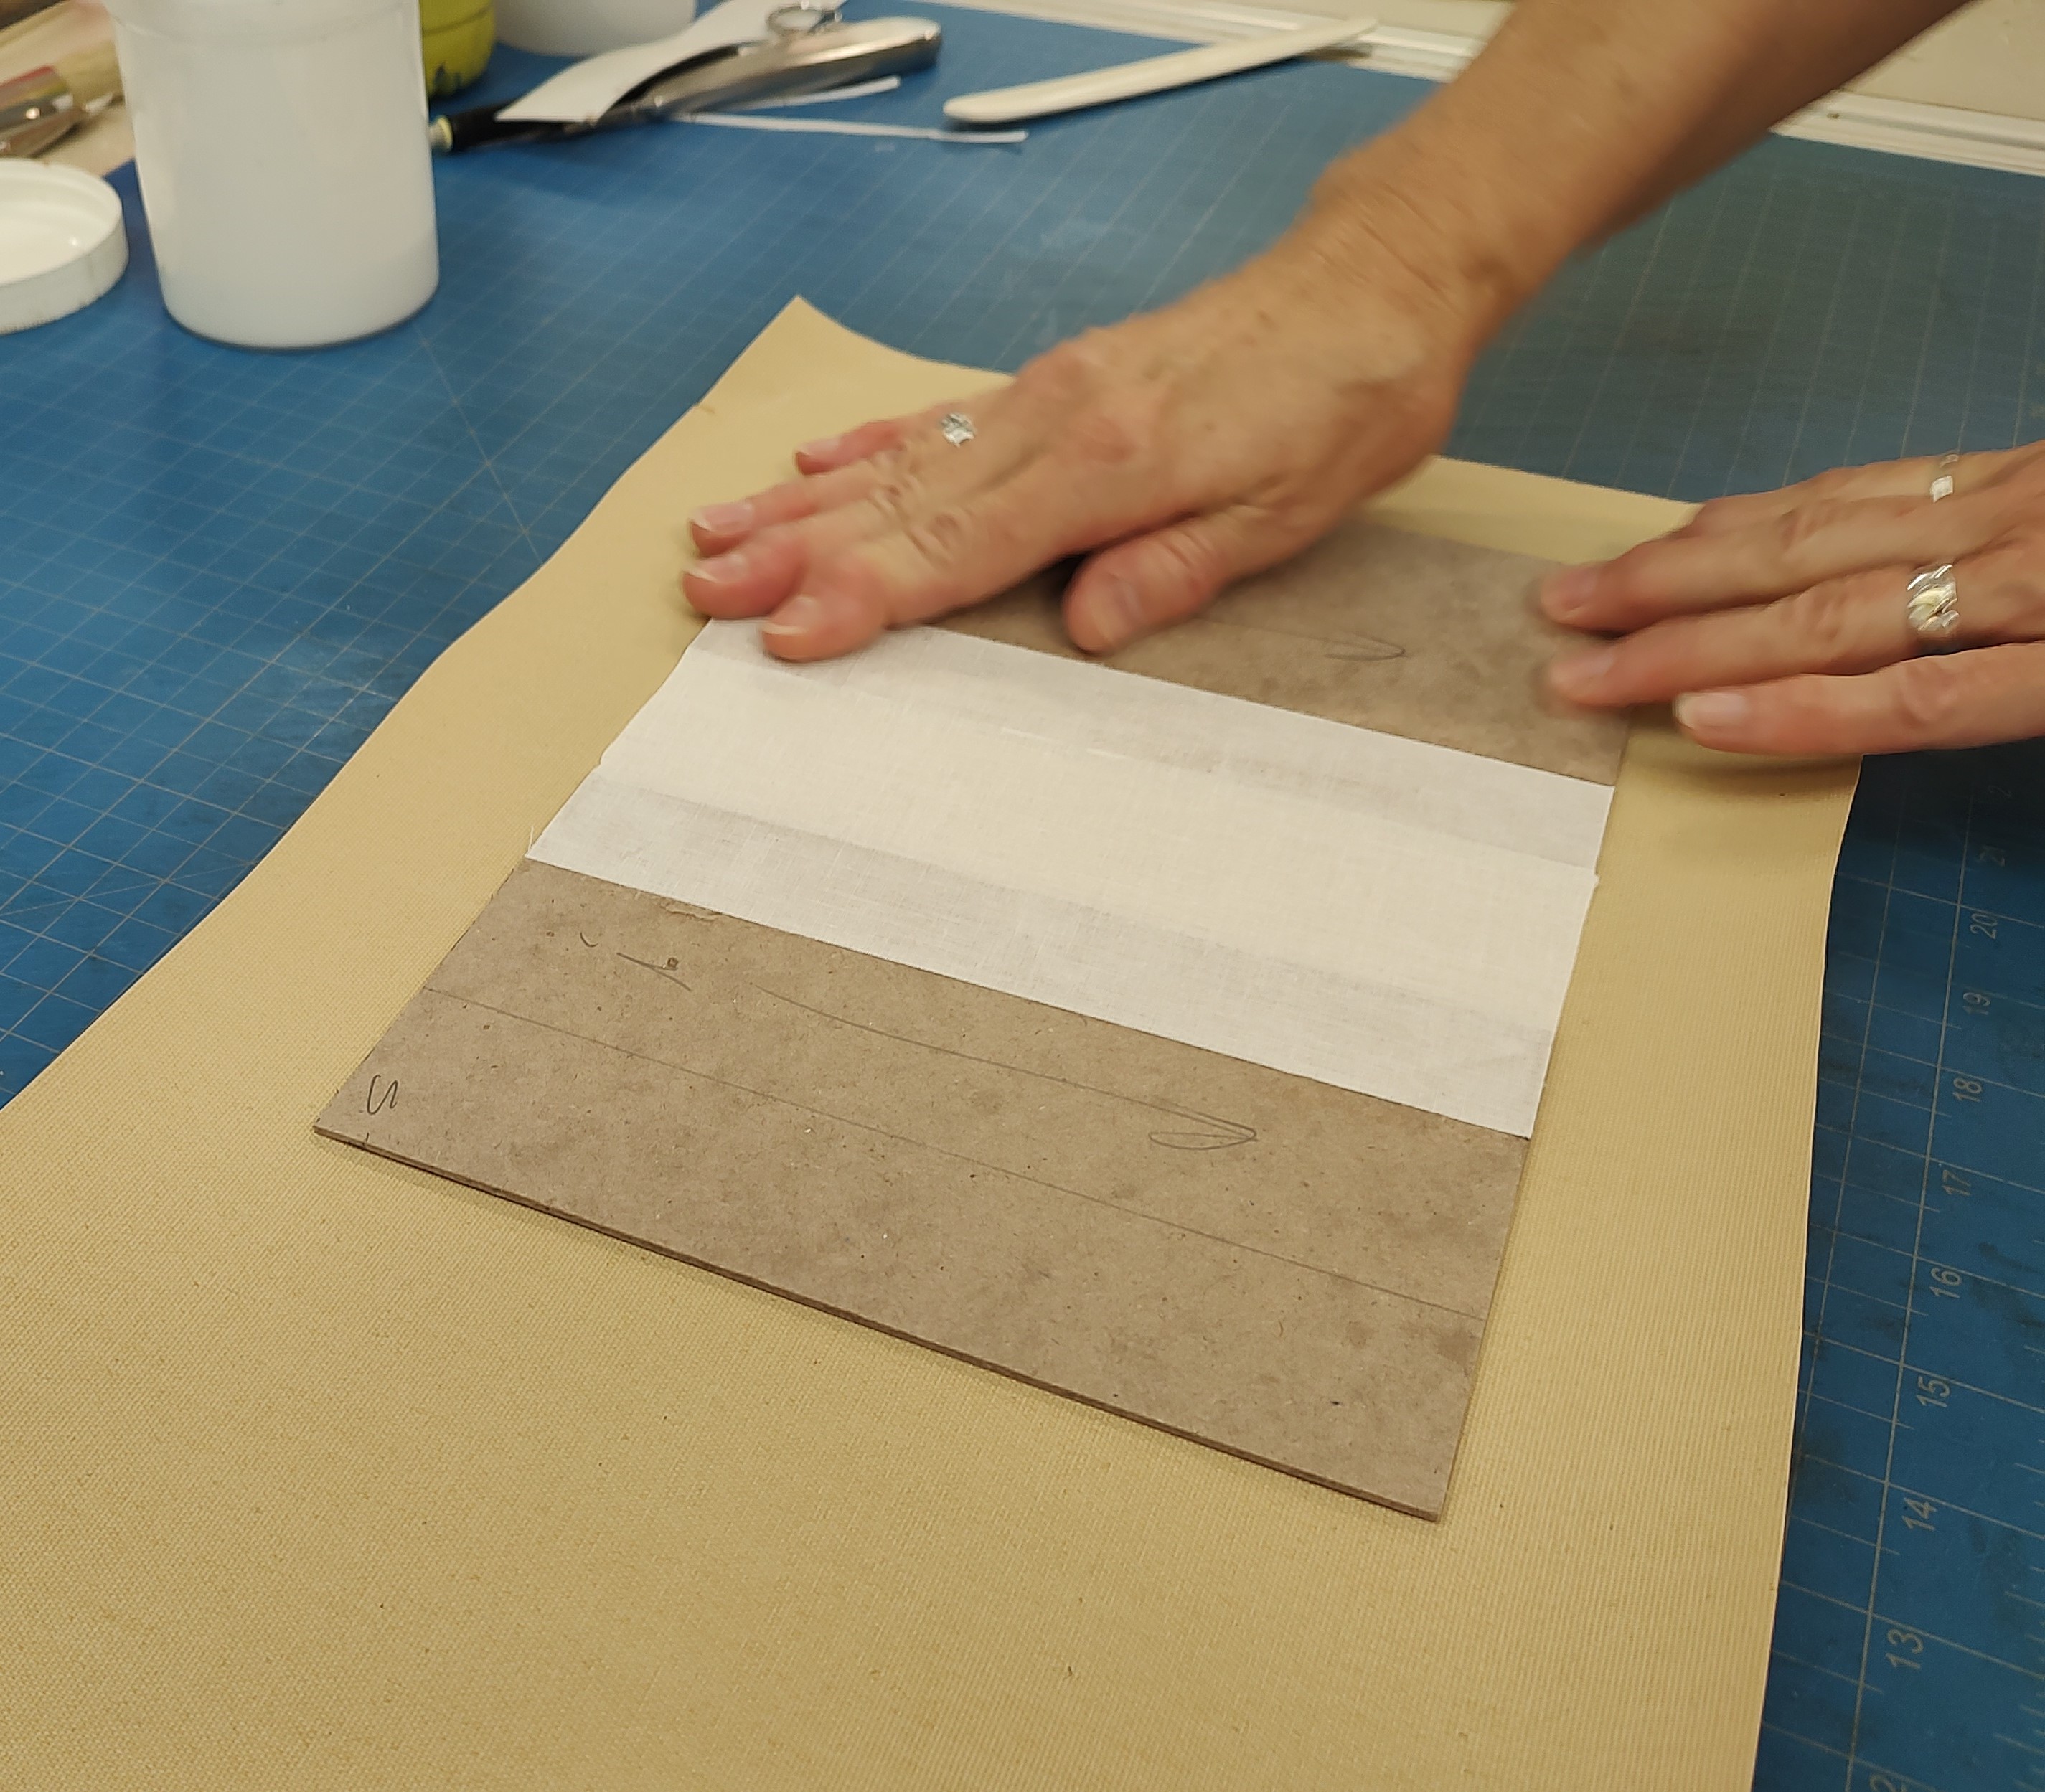
Once dry, a piece of stretch linen is glued to the spine. This is also coated with glue, and allowed to dry. How many coats of glue are we up to now? Five by my count!

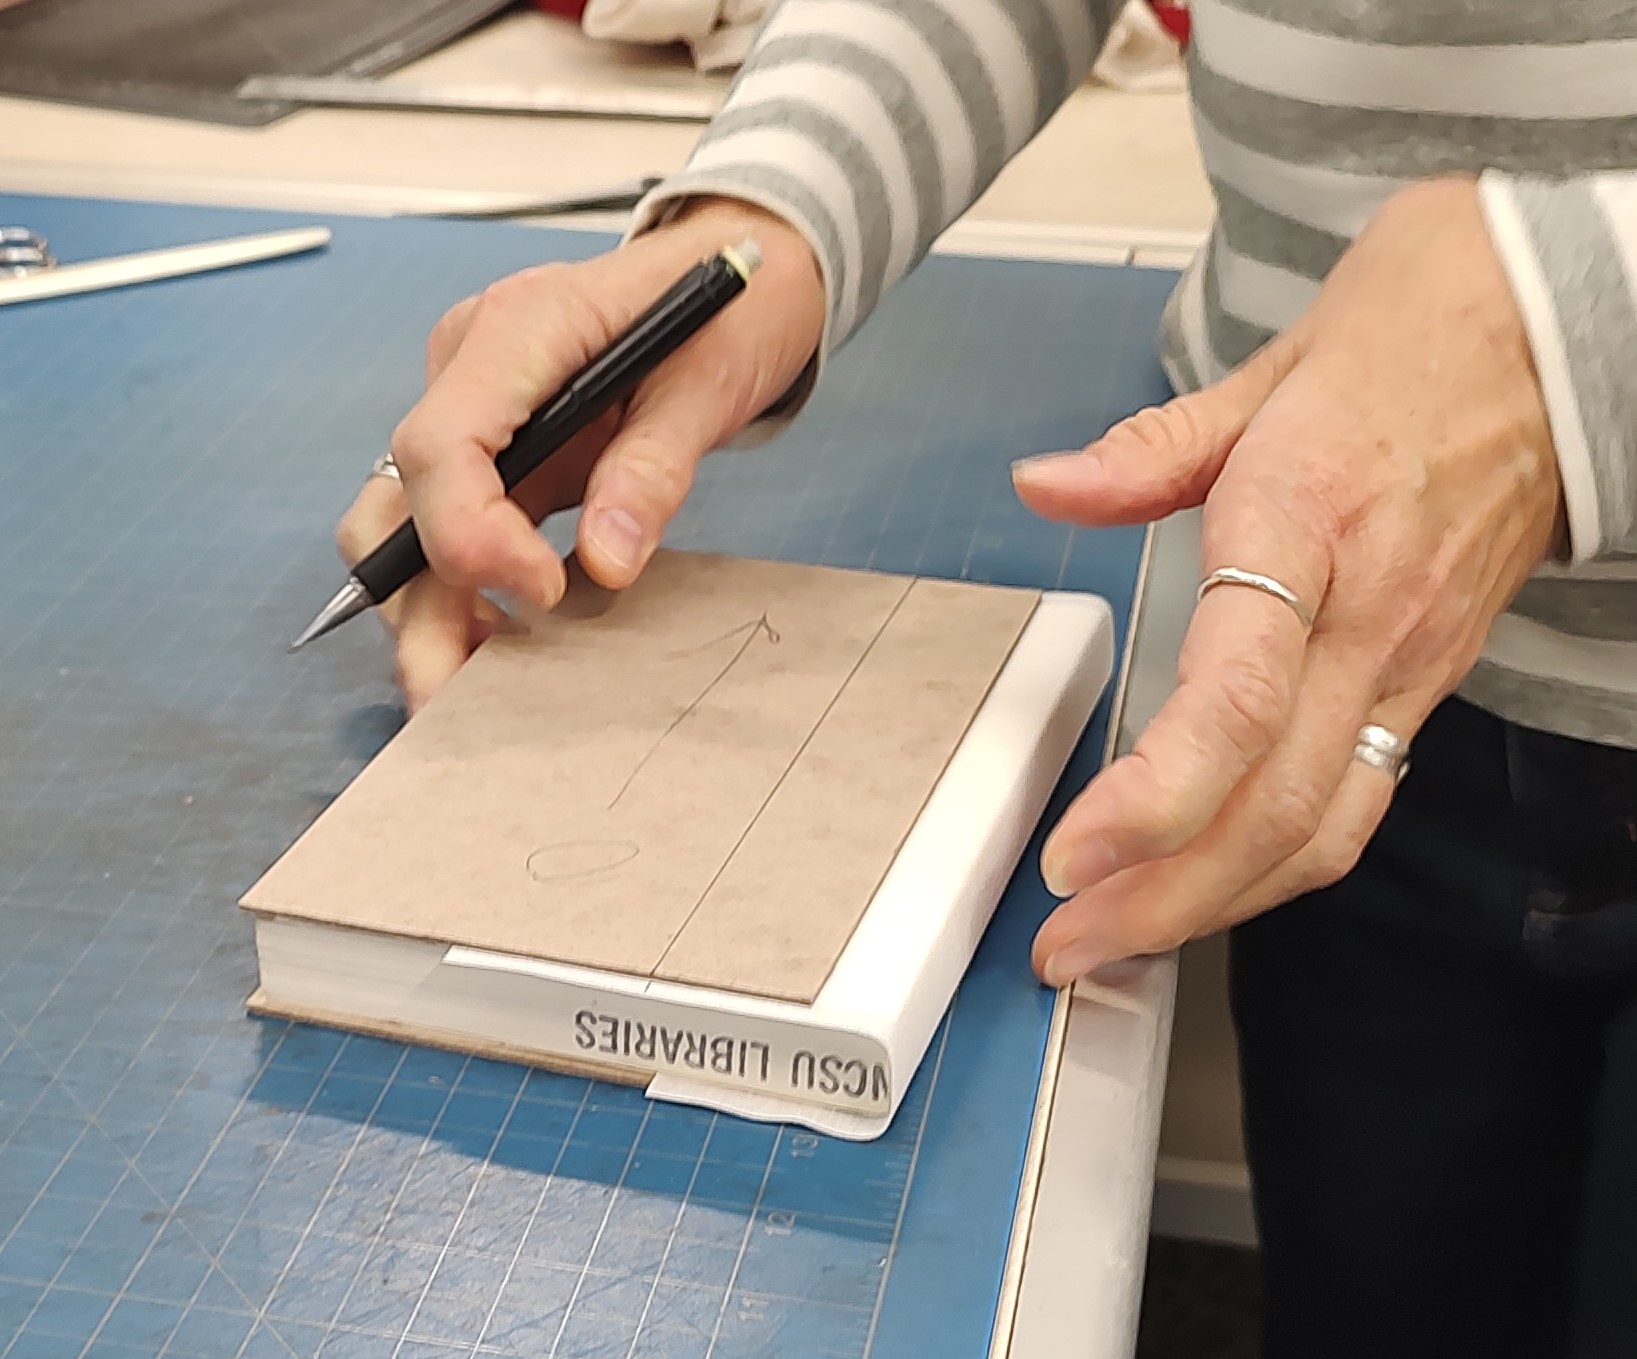
After everything is good and dry, we are ready to build a new case for the text block. Boards are measured and cut to size (using another potentially deadly piece of equipment, the board shear!), then a piece of stretch linen is cut to fit exactly around the text block and hinge the boards together.
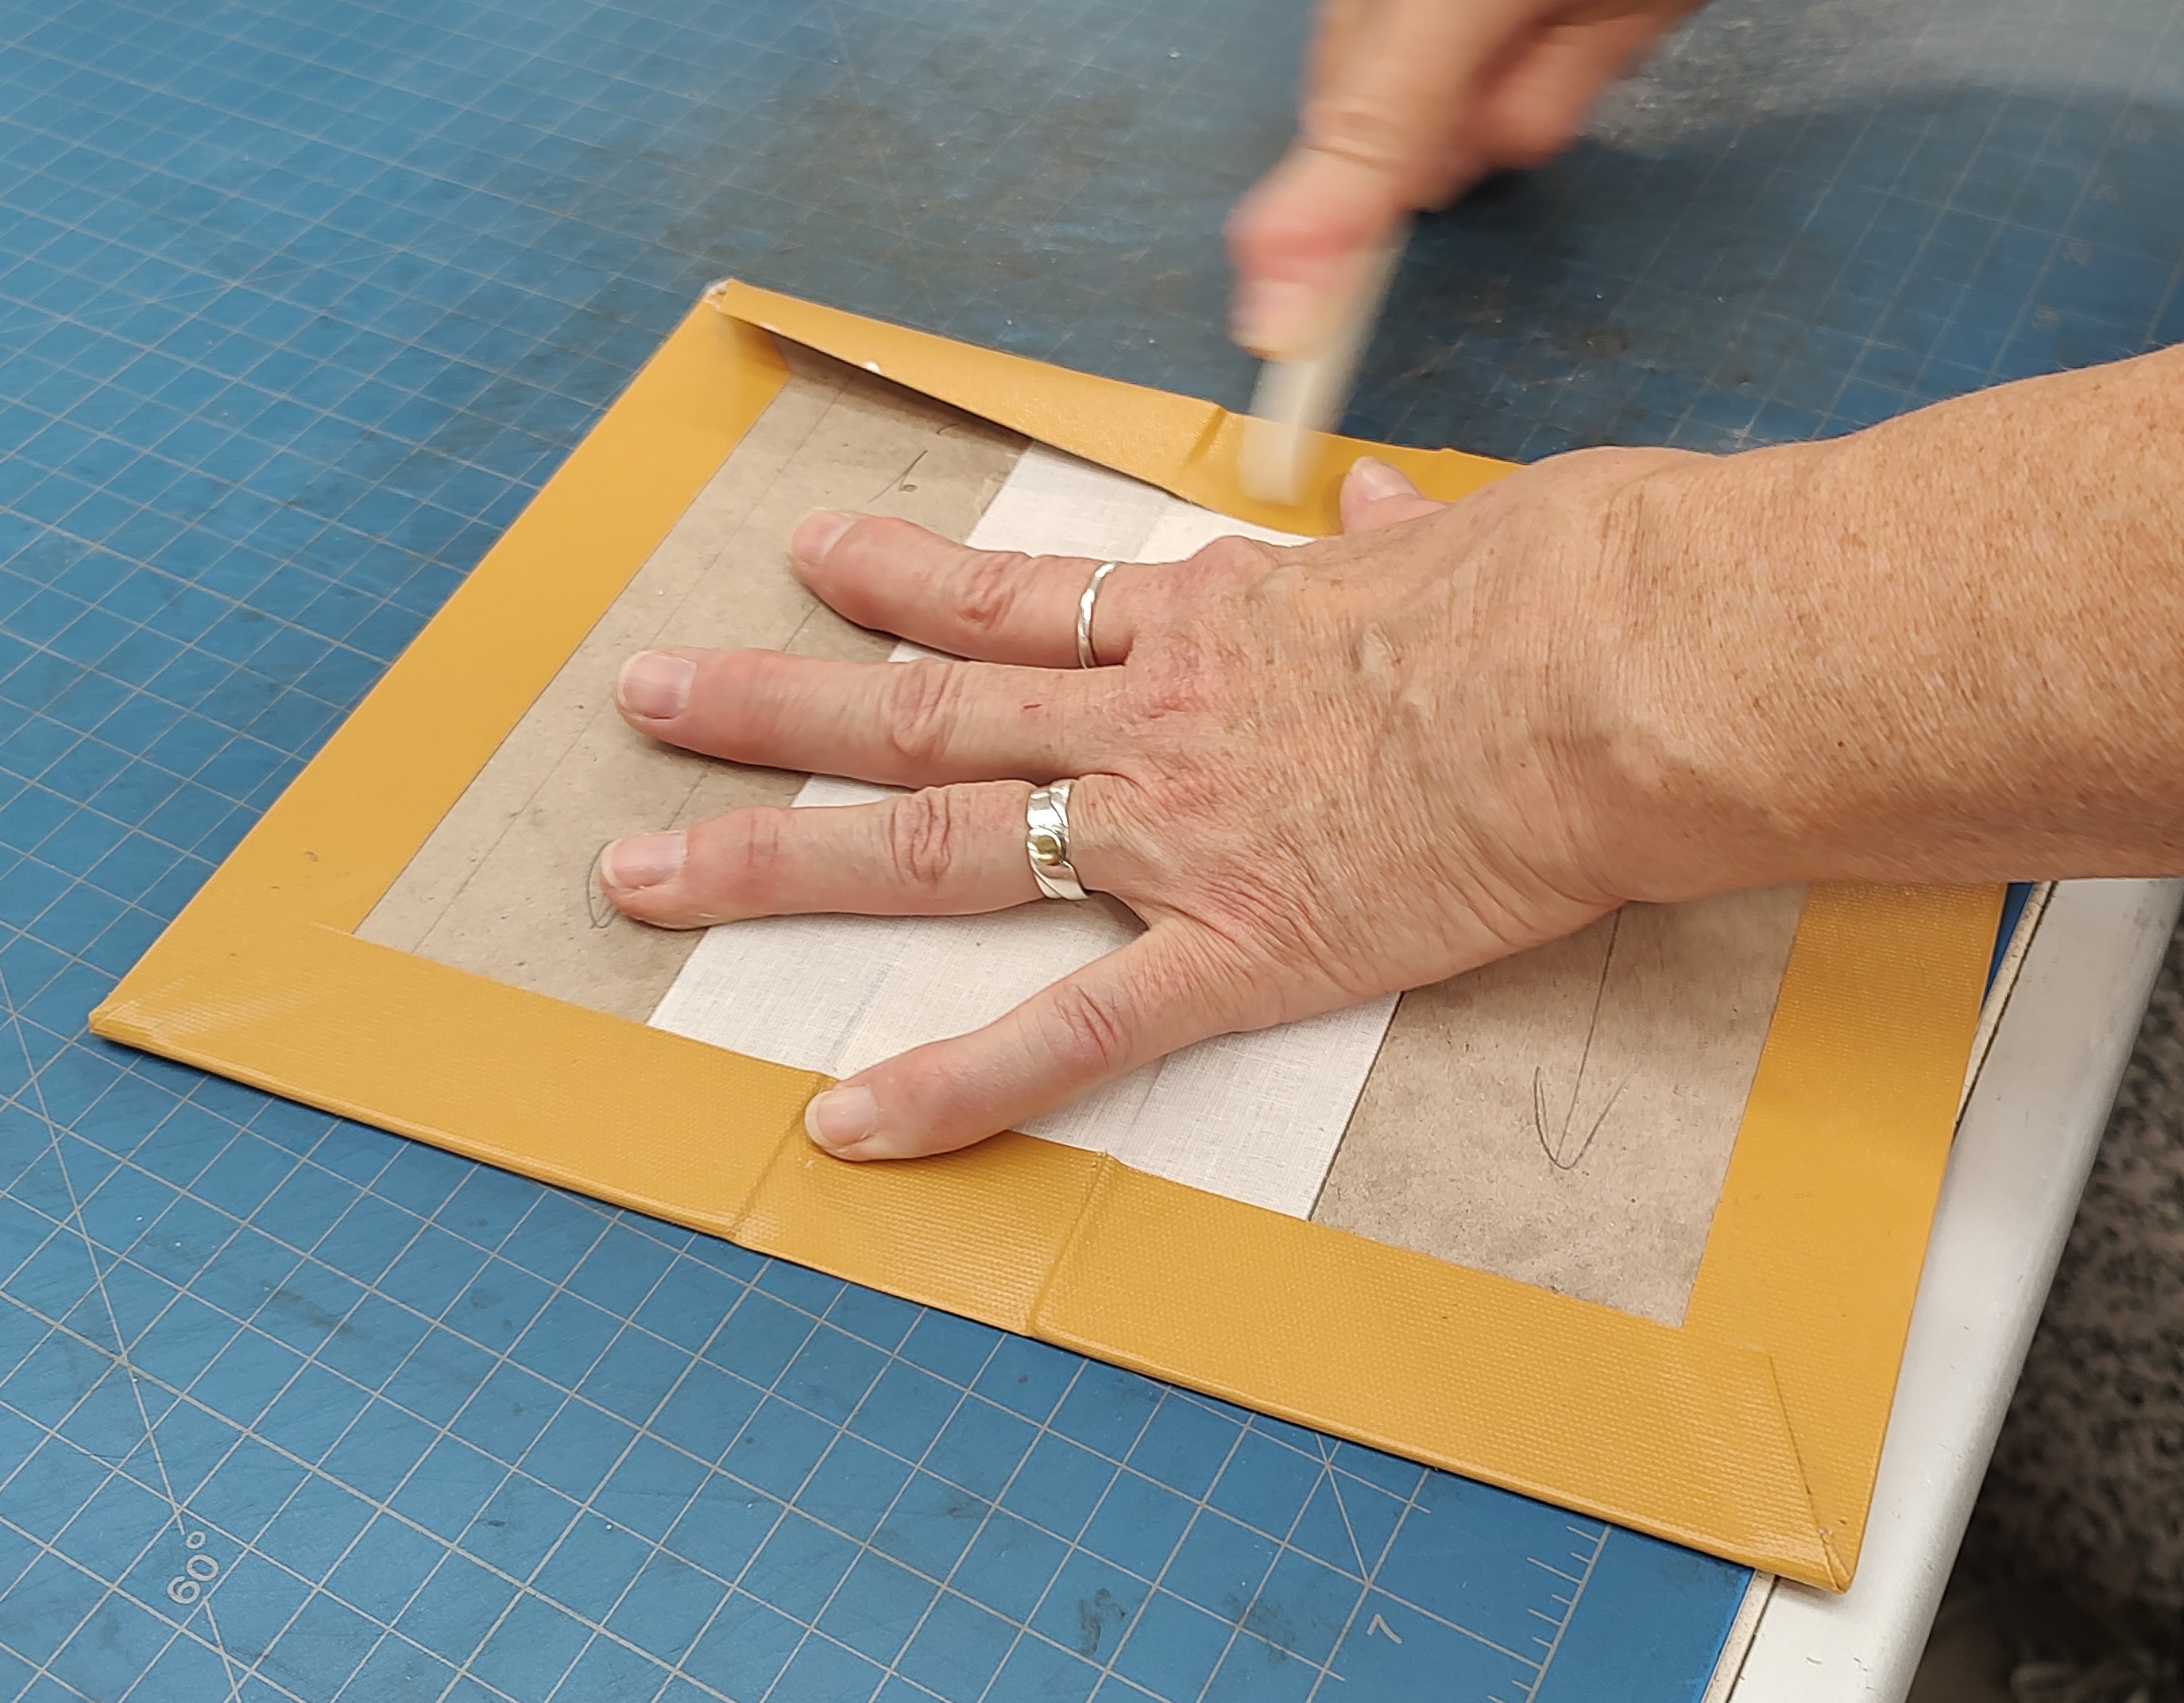
We like to choose a color of cloth to match the old cover as closely as we can. Then the cloth is cut and the boards are covered.
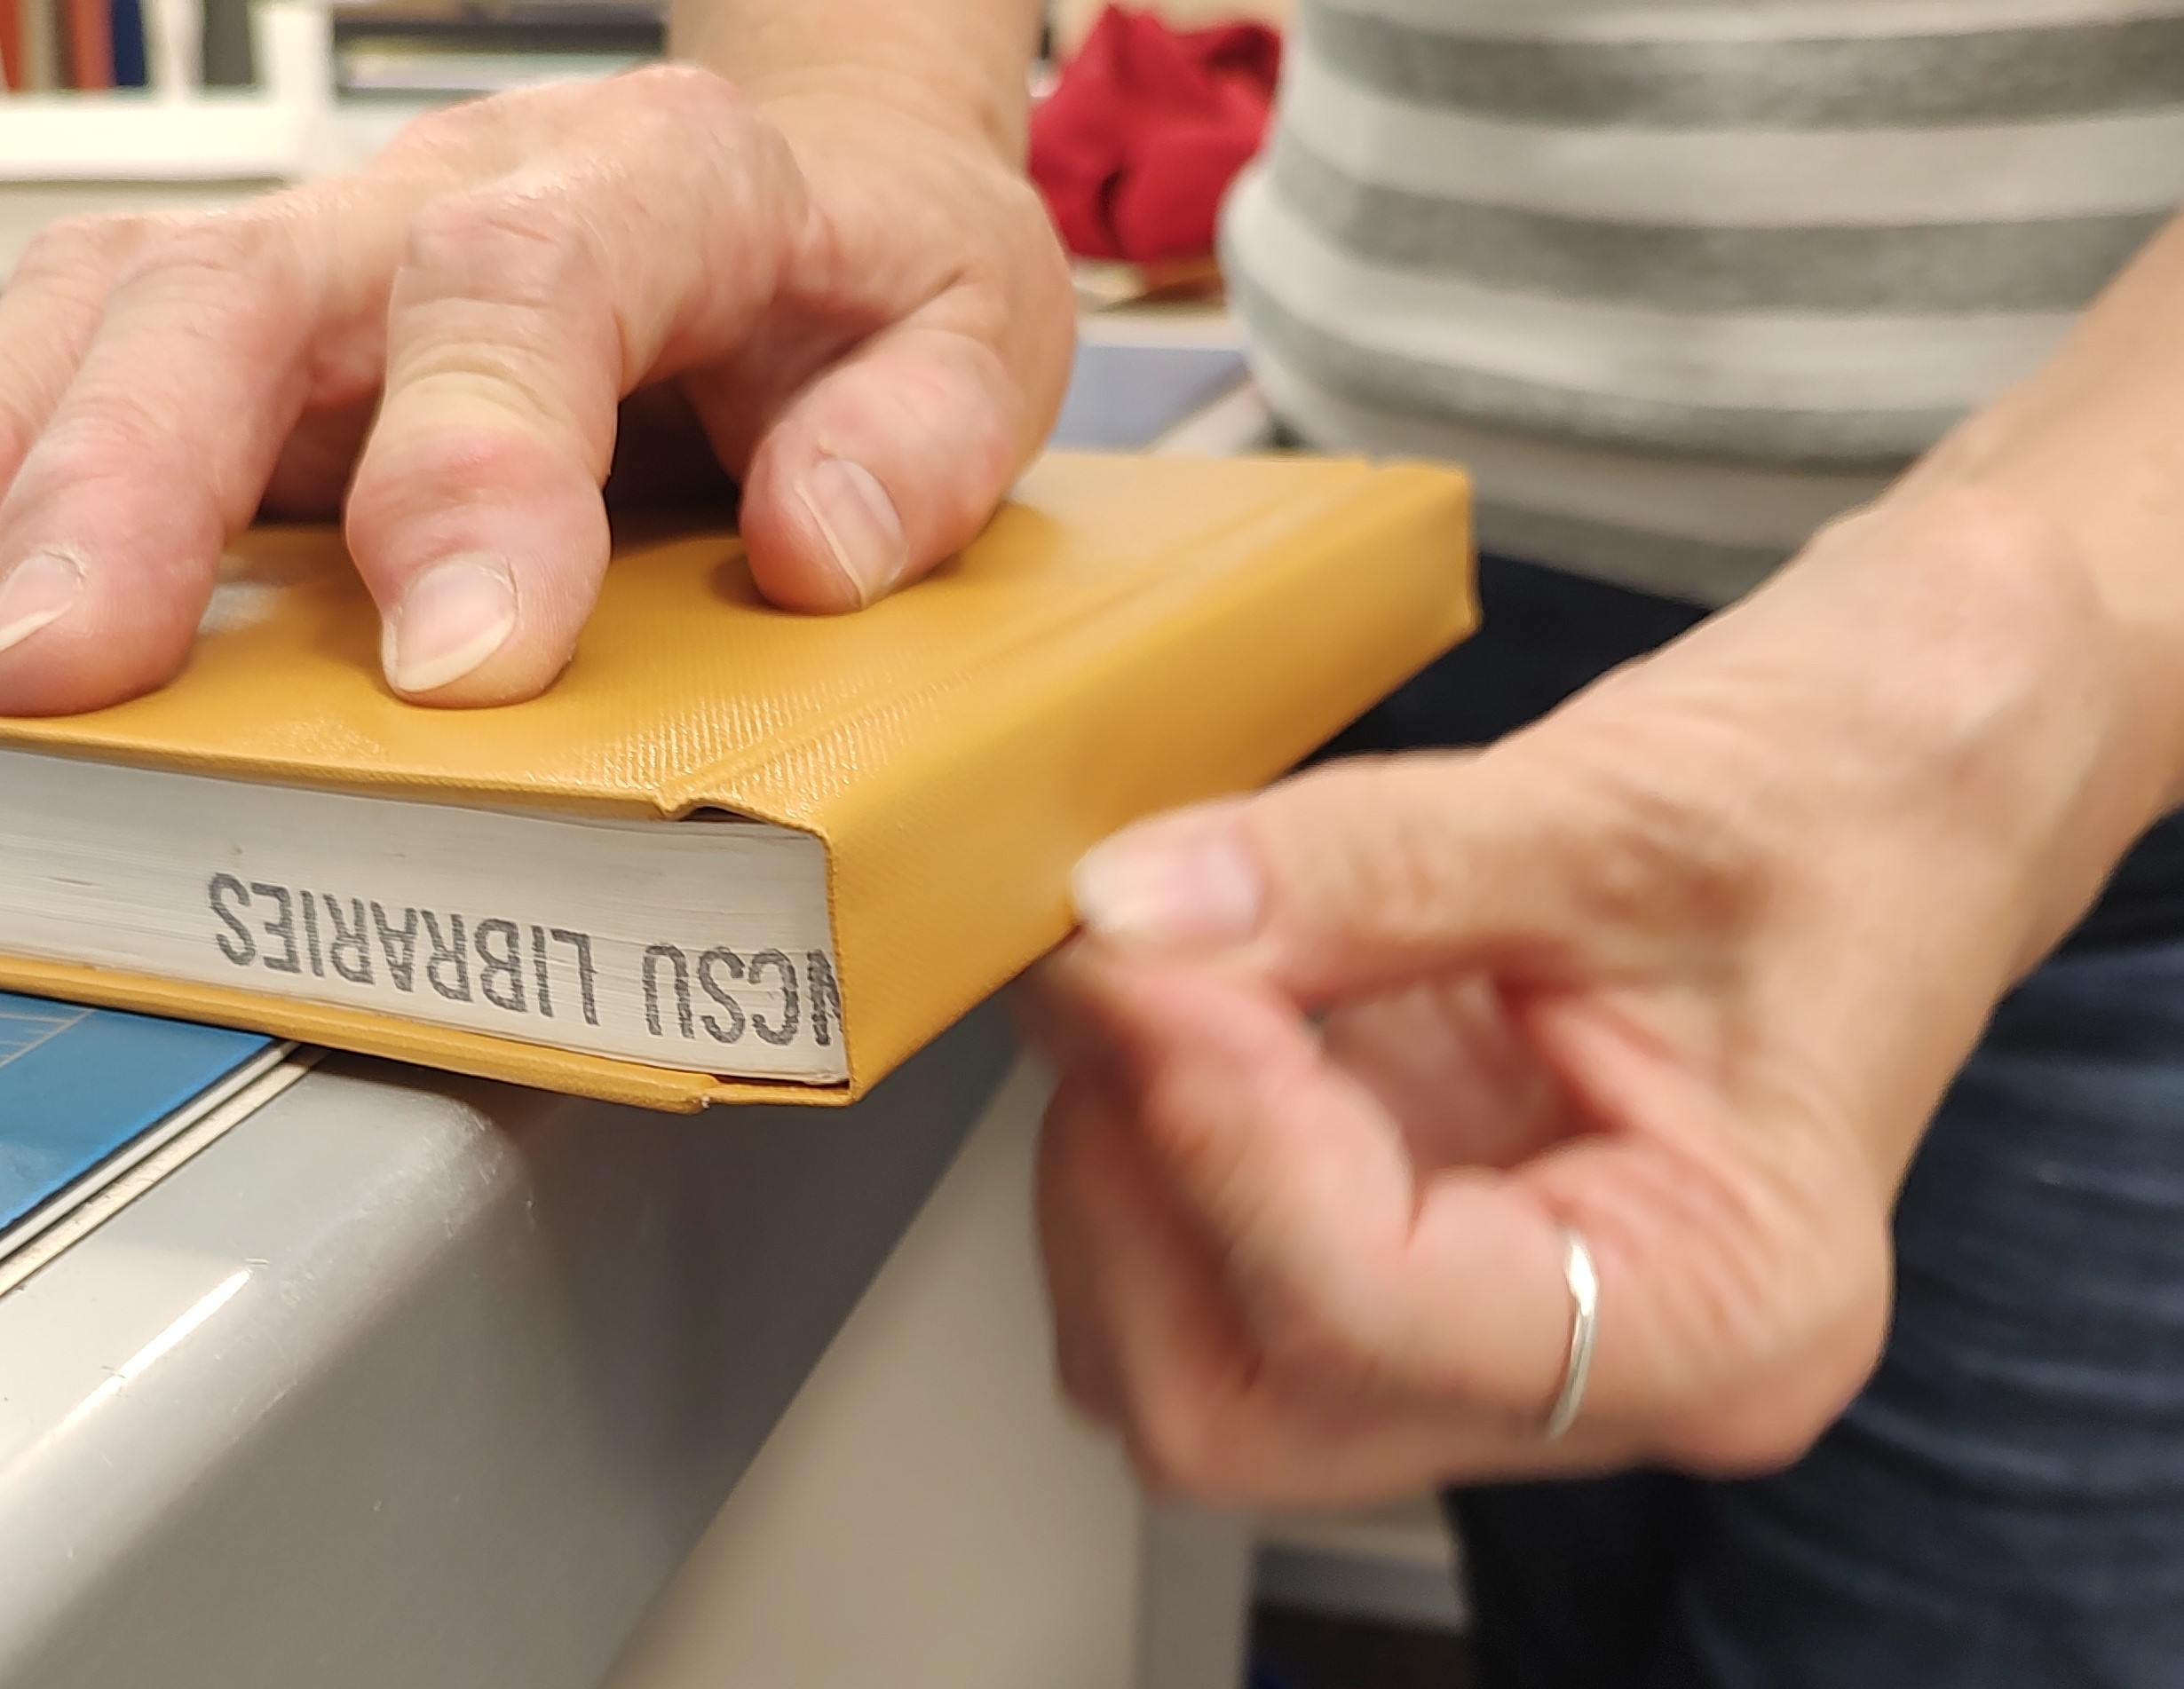
Sharp creases are made where the cover will go around the spine.
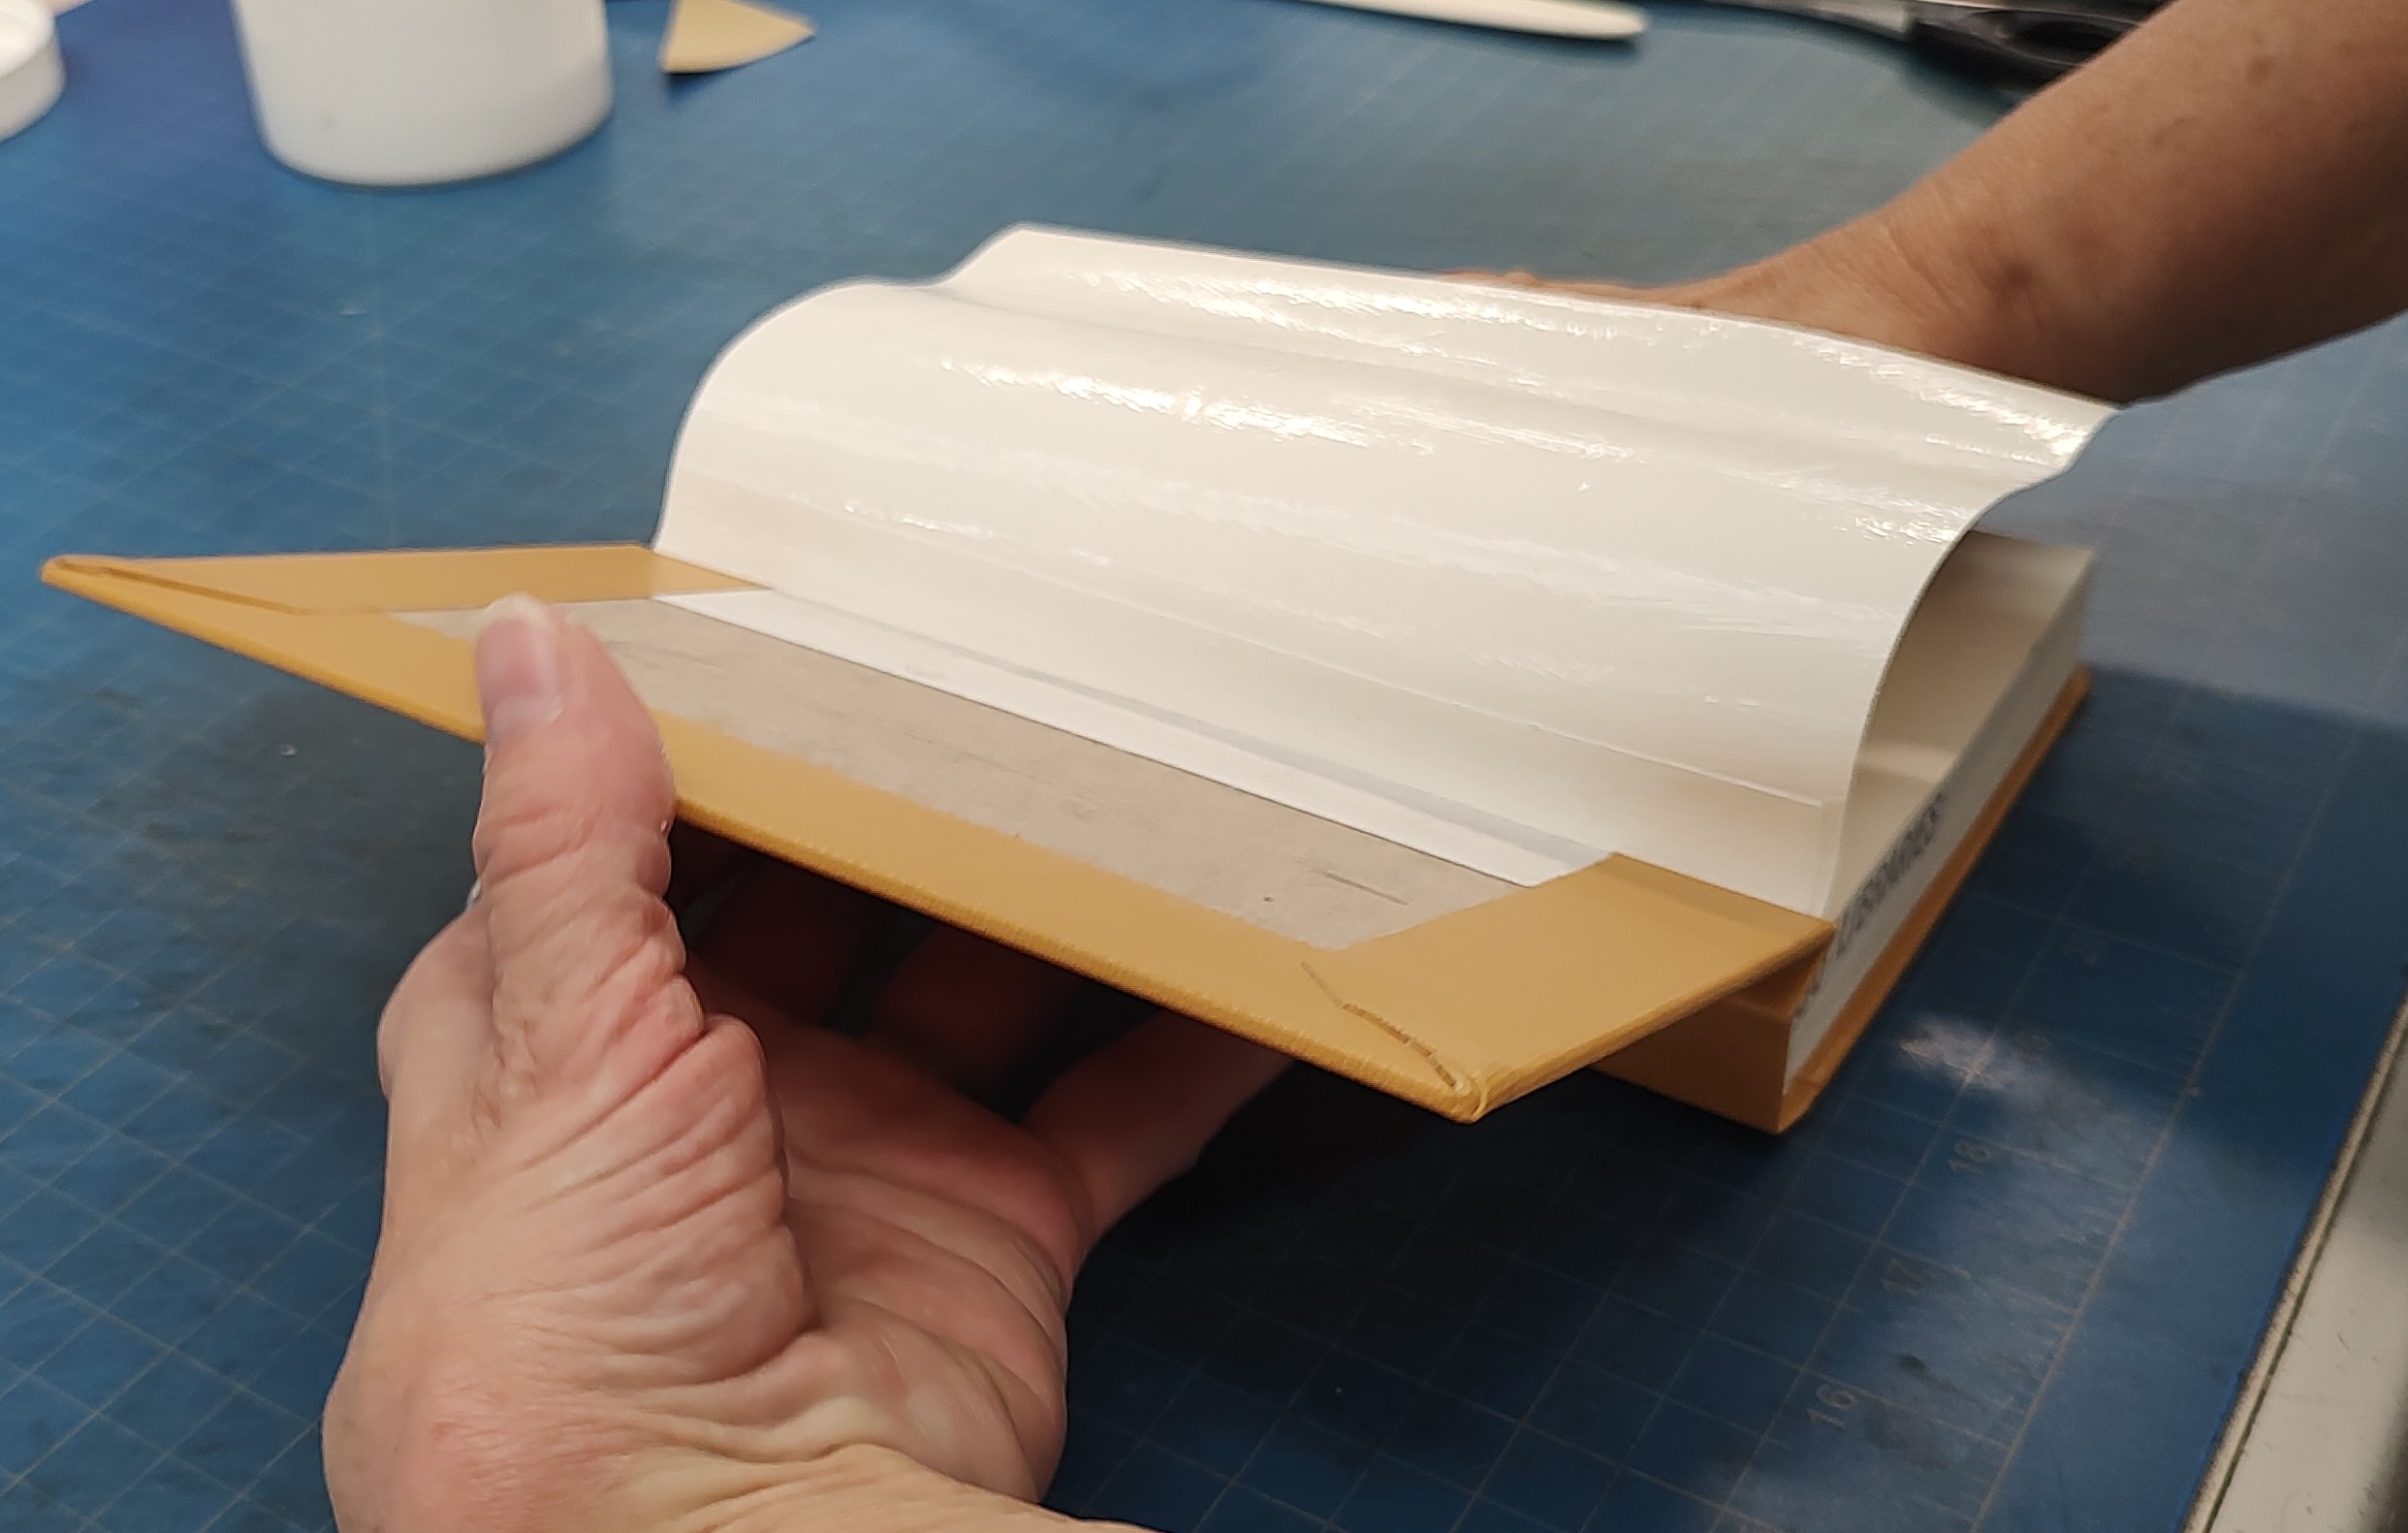
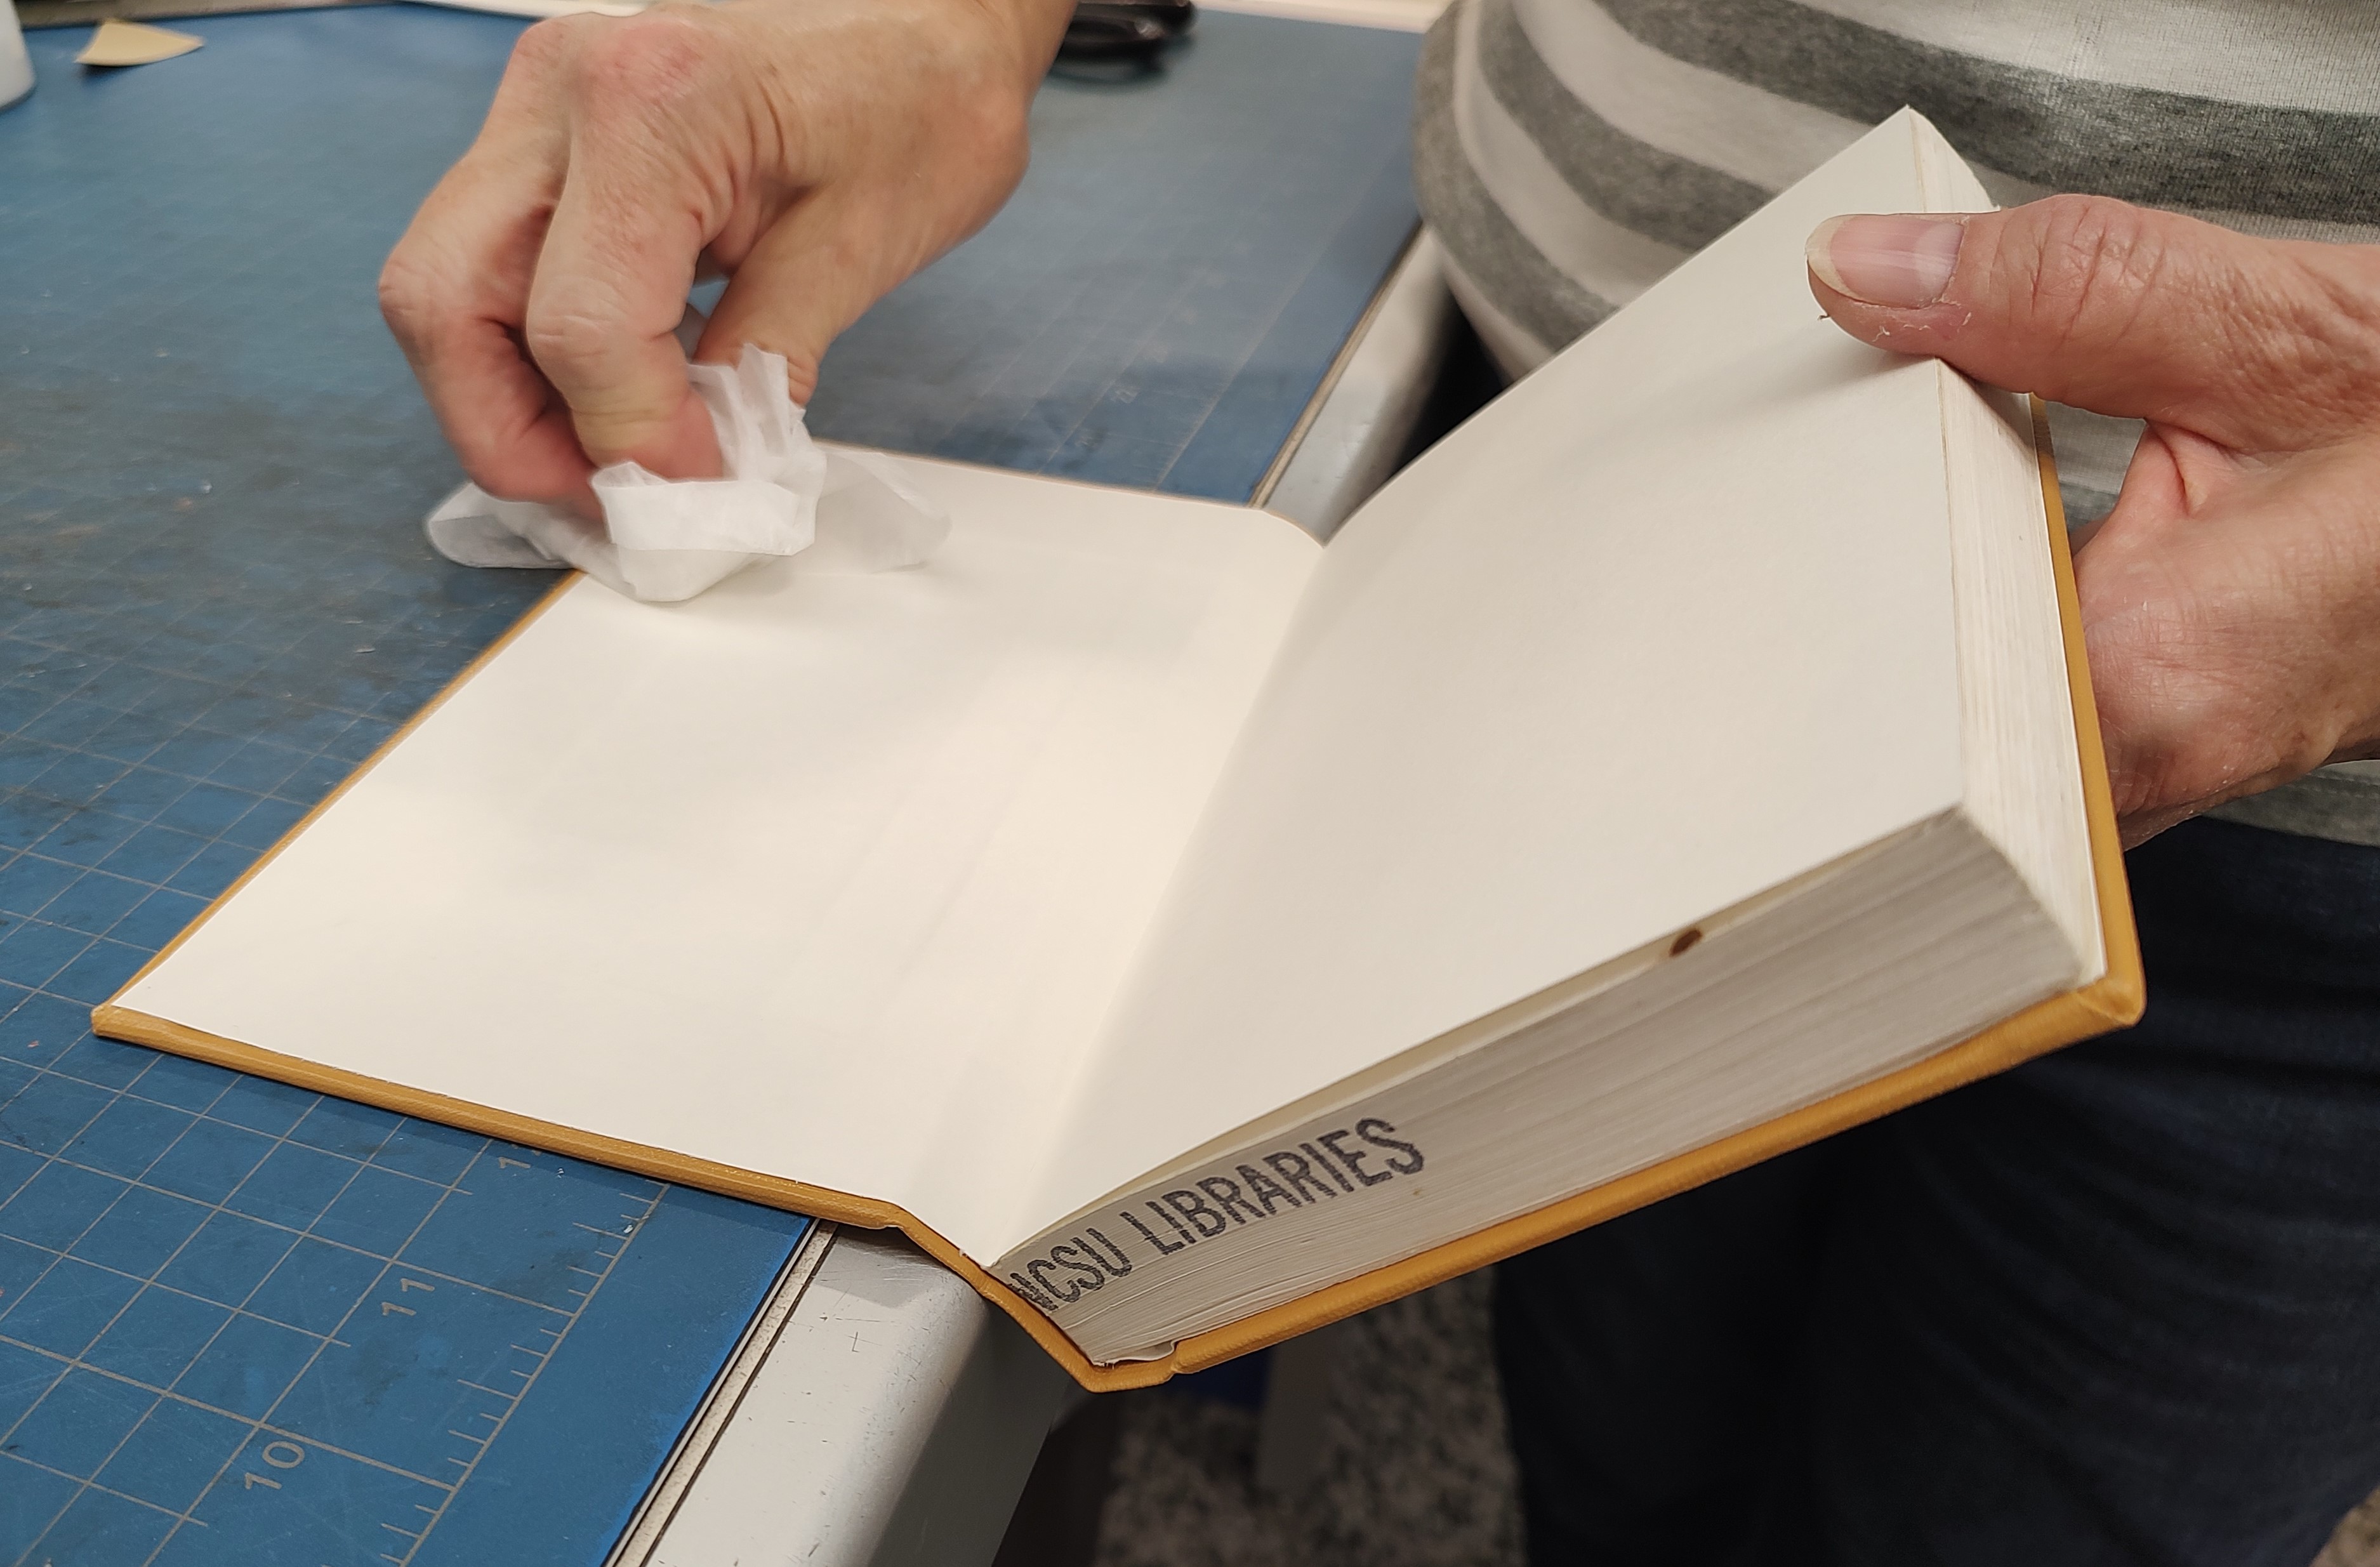
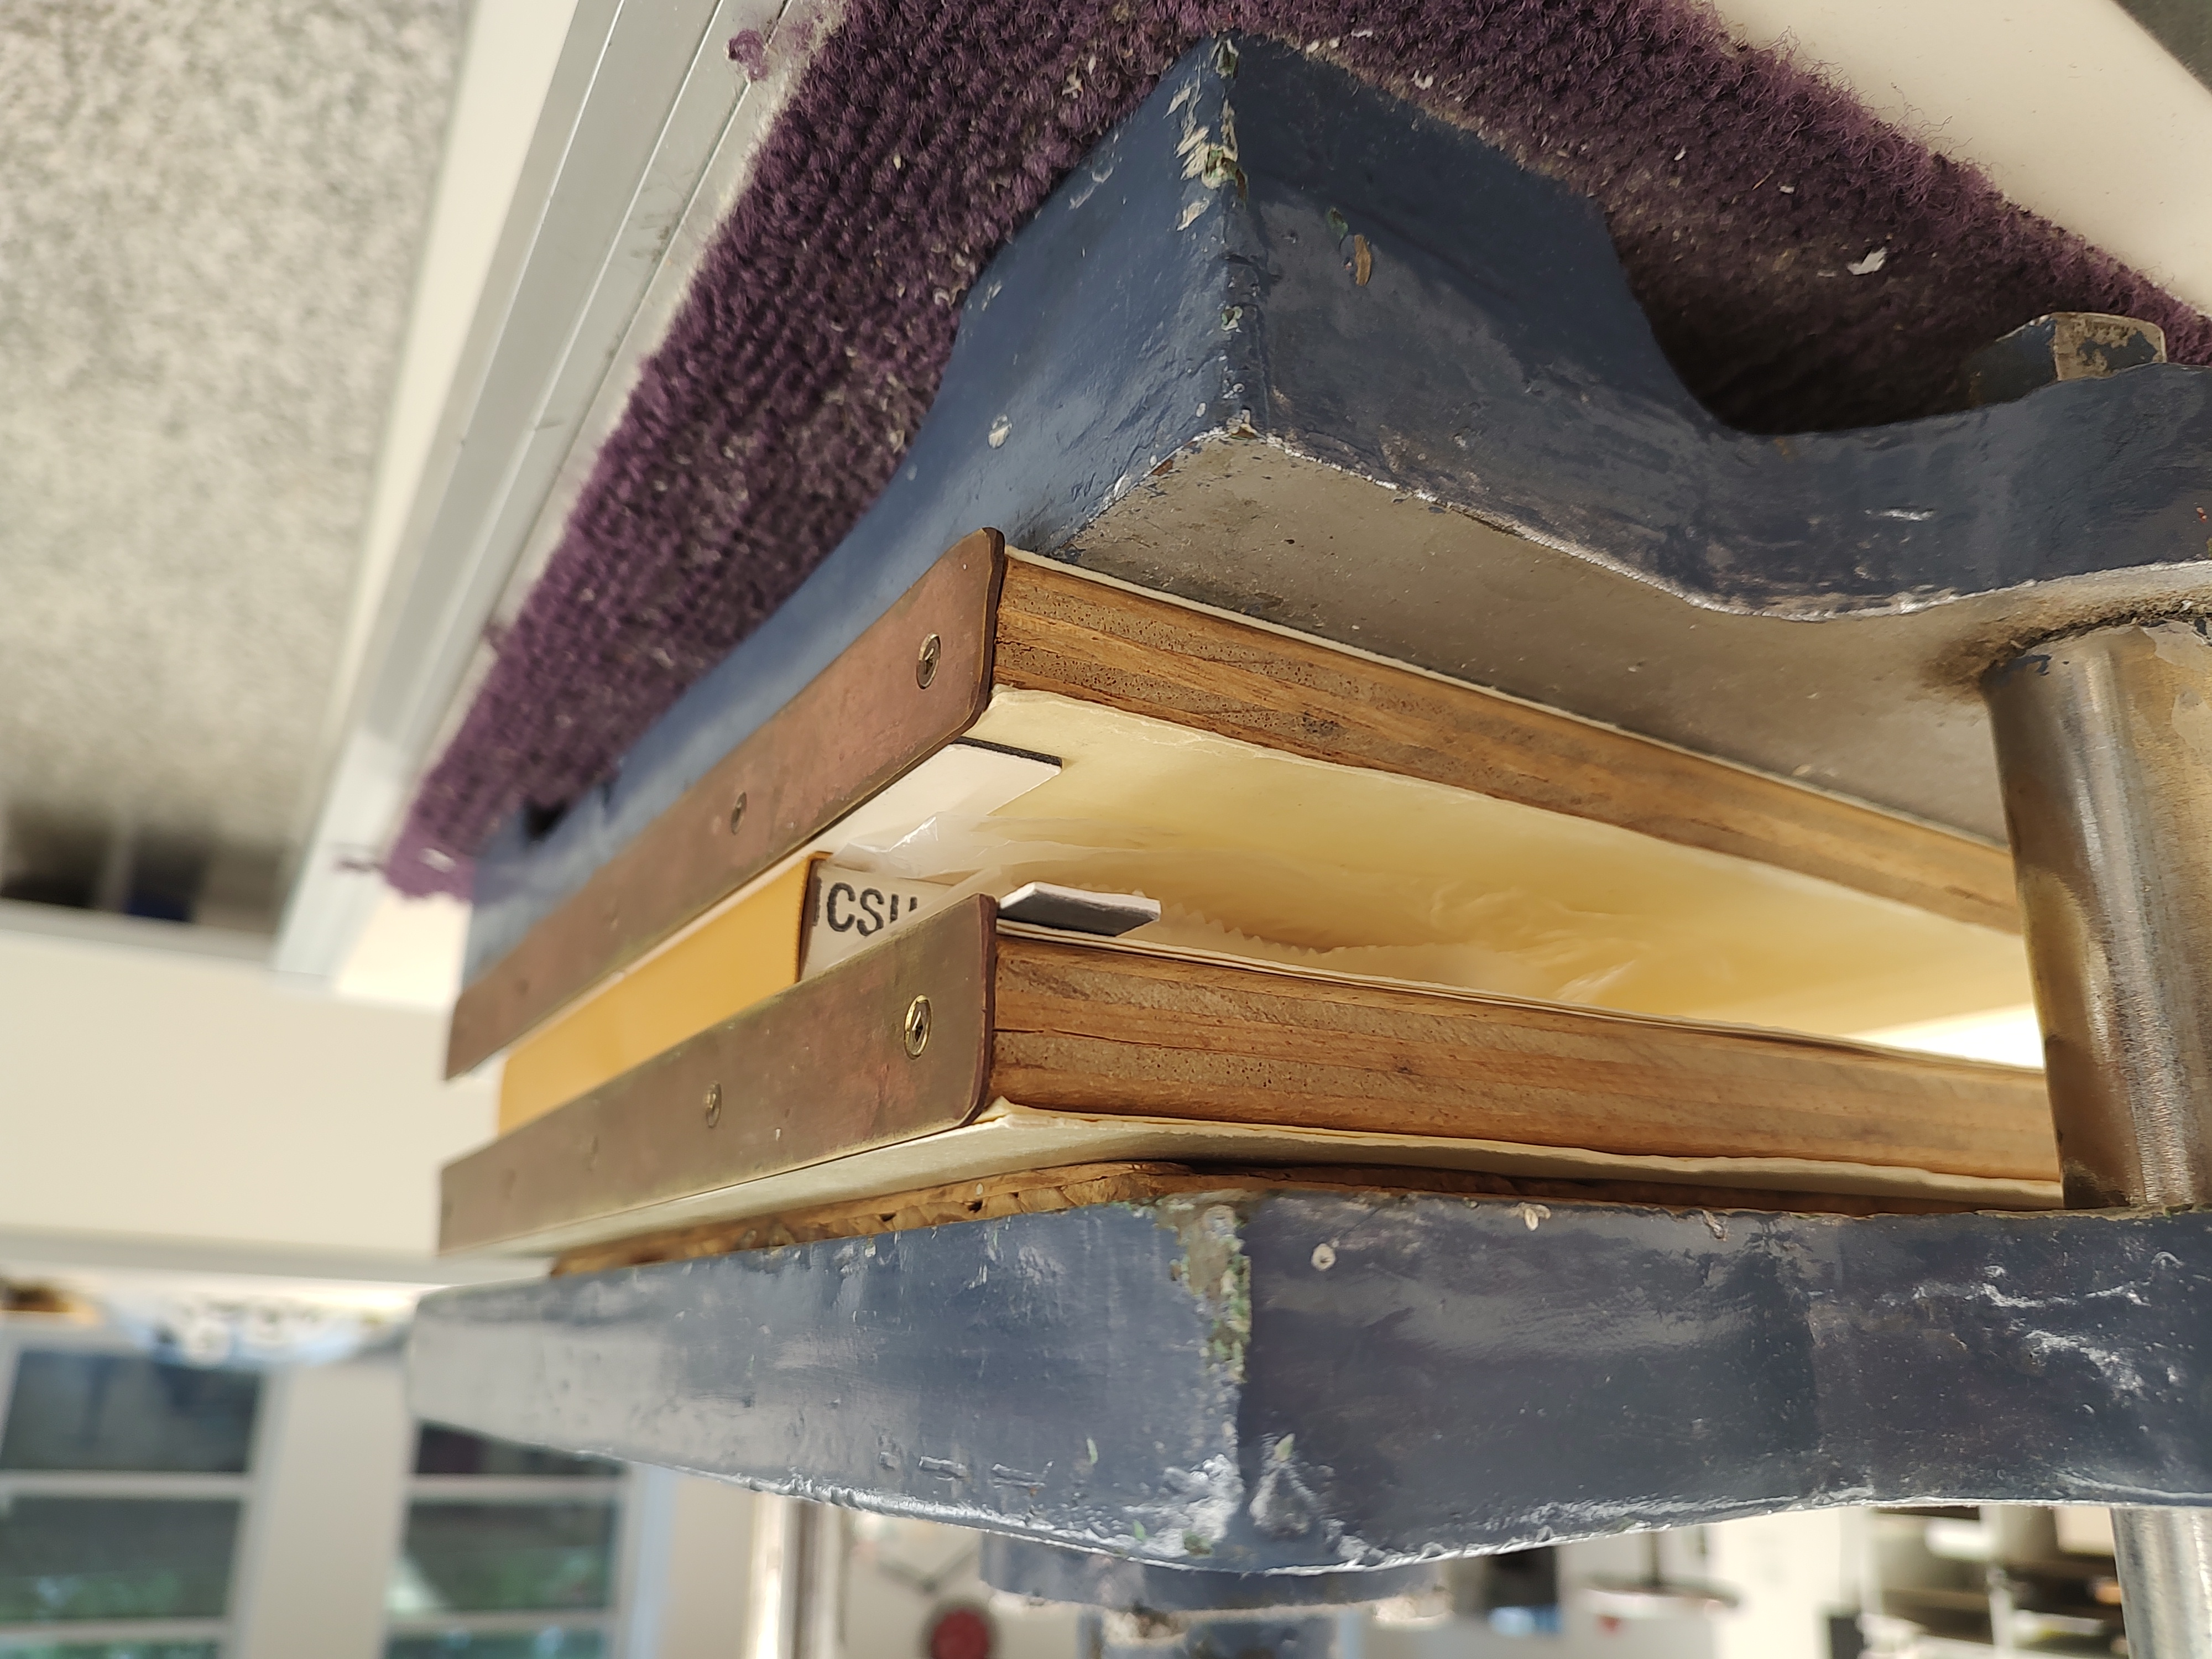
Sometimes I call the next step the “marriage” of text block and cover. The text block is seated carefully onto the cover, and glue is then applied to the stretch linen and end sheet. Then the cover is closed. Repeat on the other side. We make sure the glued sheets are neatly and firmly in place, then use a bone folder to reinforce the hinges. This reinforcement is to remind the text block and cover that they are now joined for life! The volume is then placed in the press overnight to fully dry.

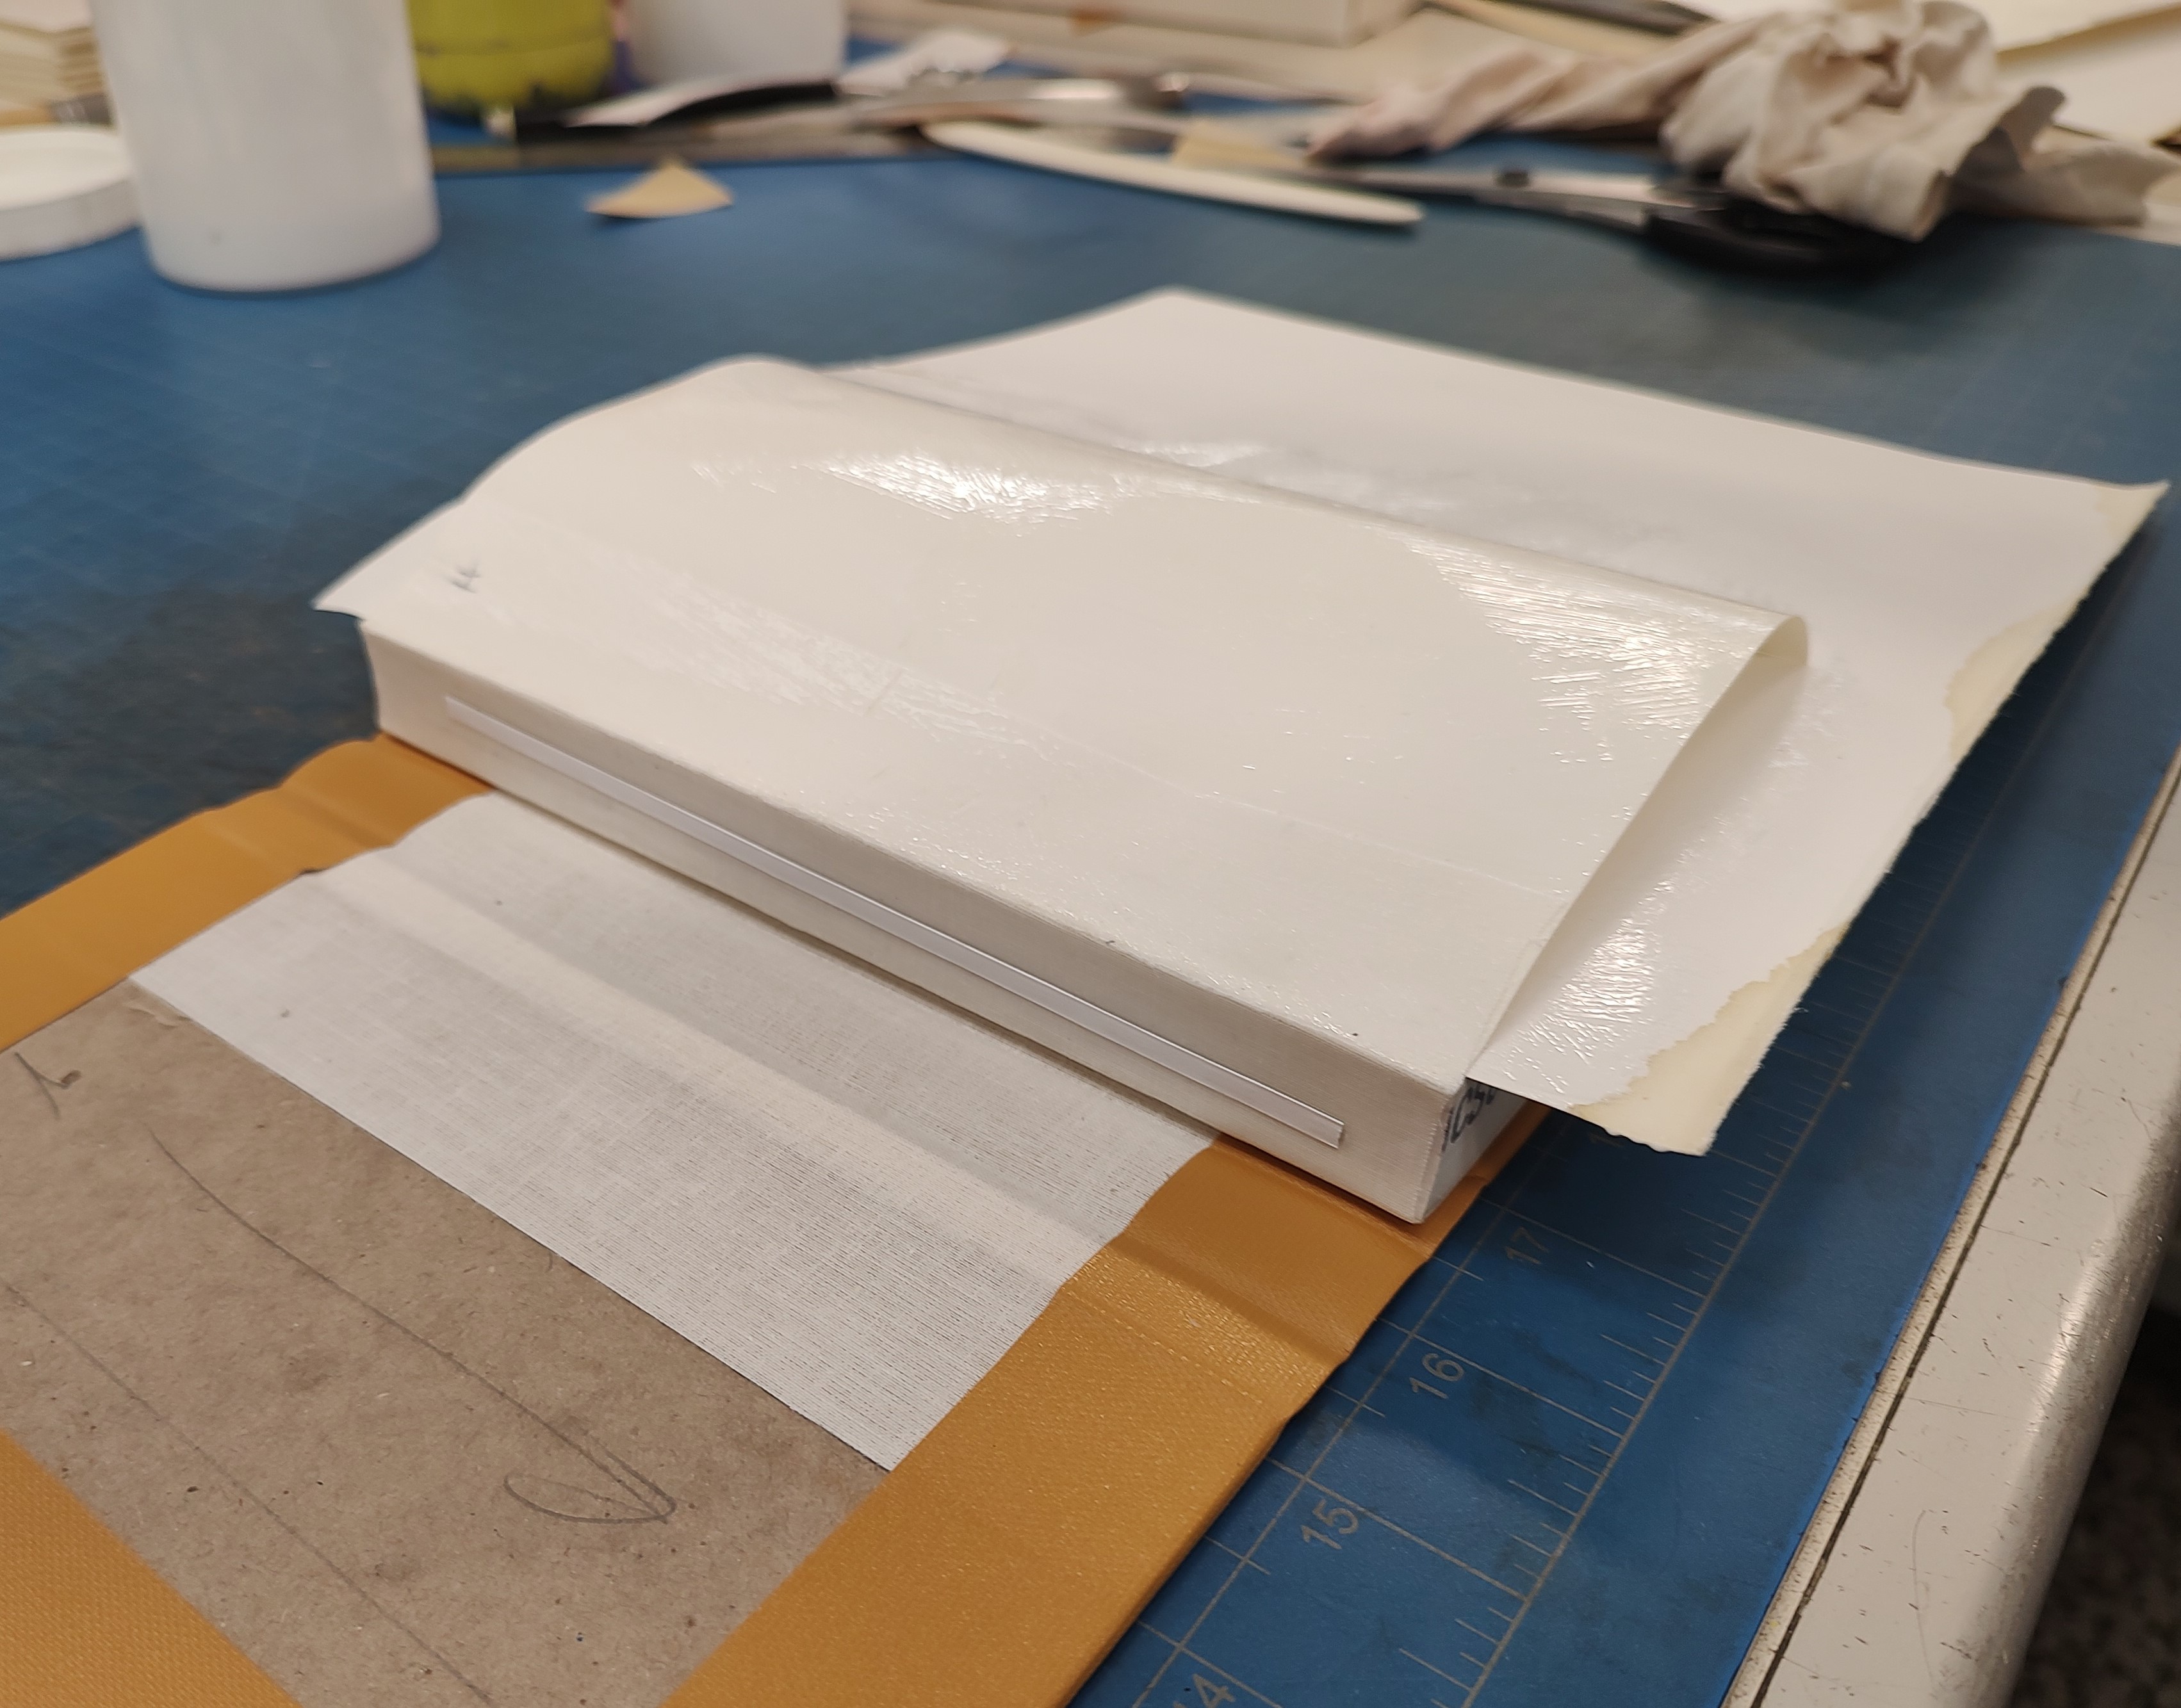
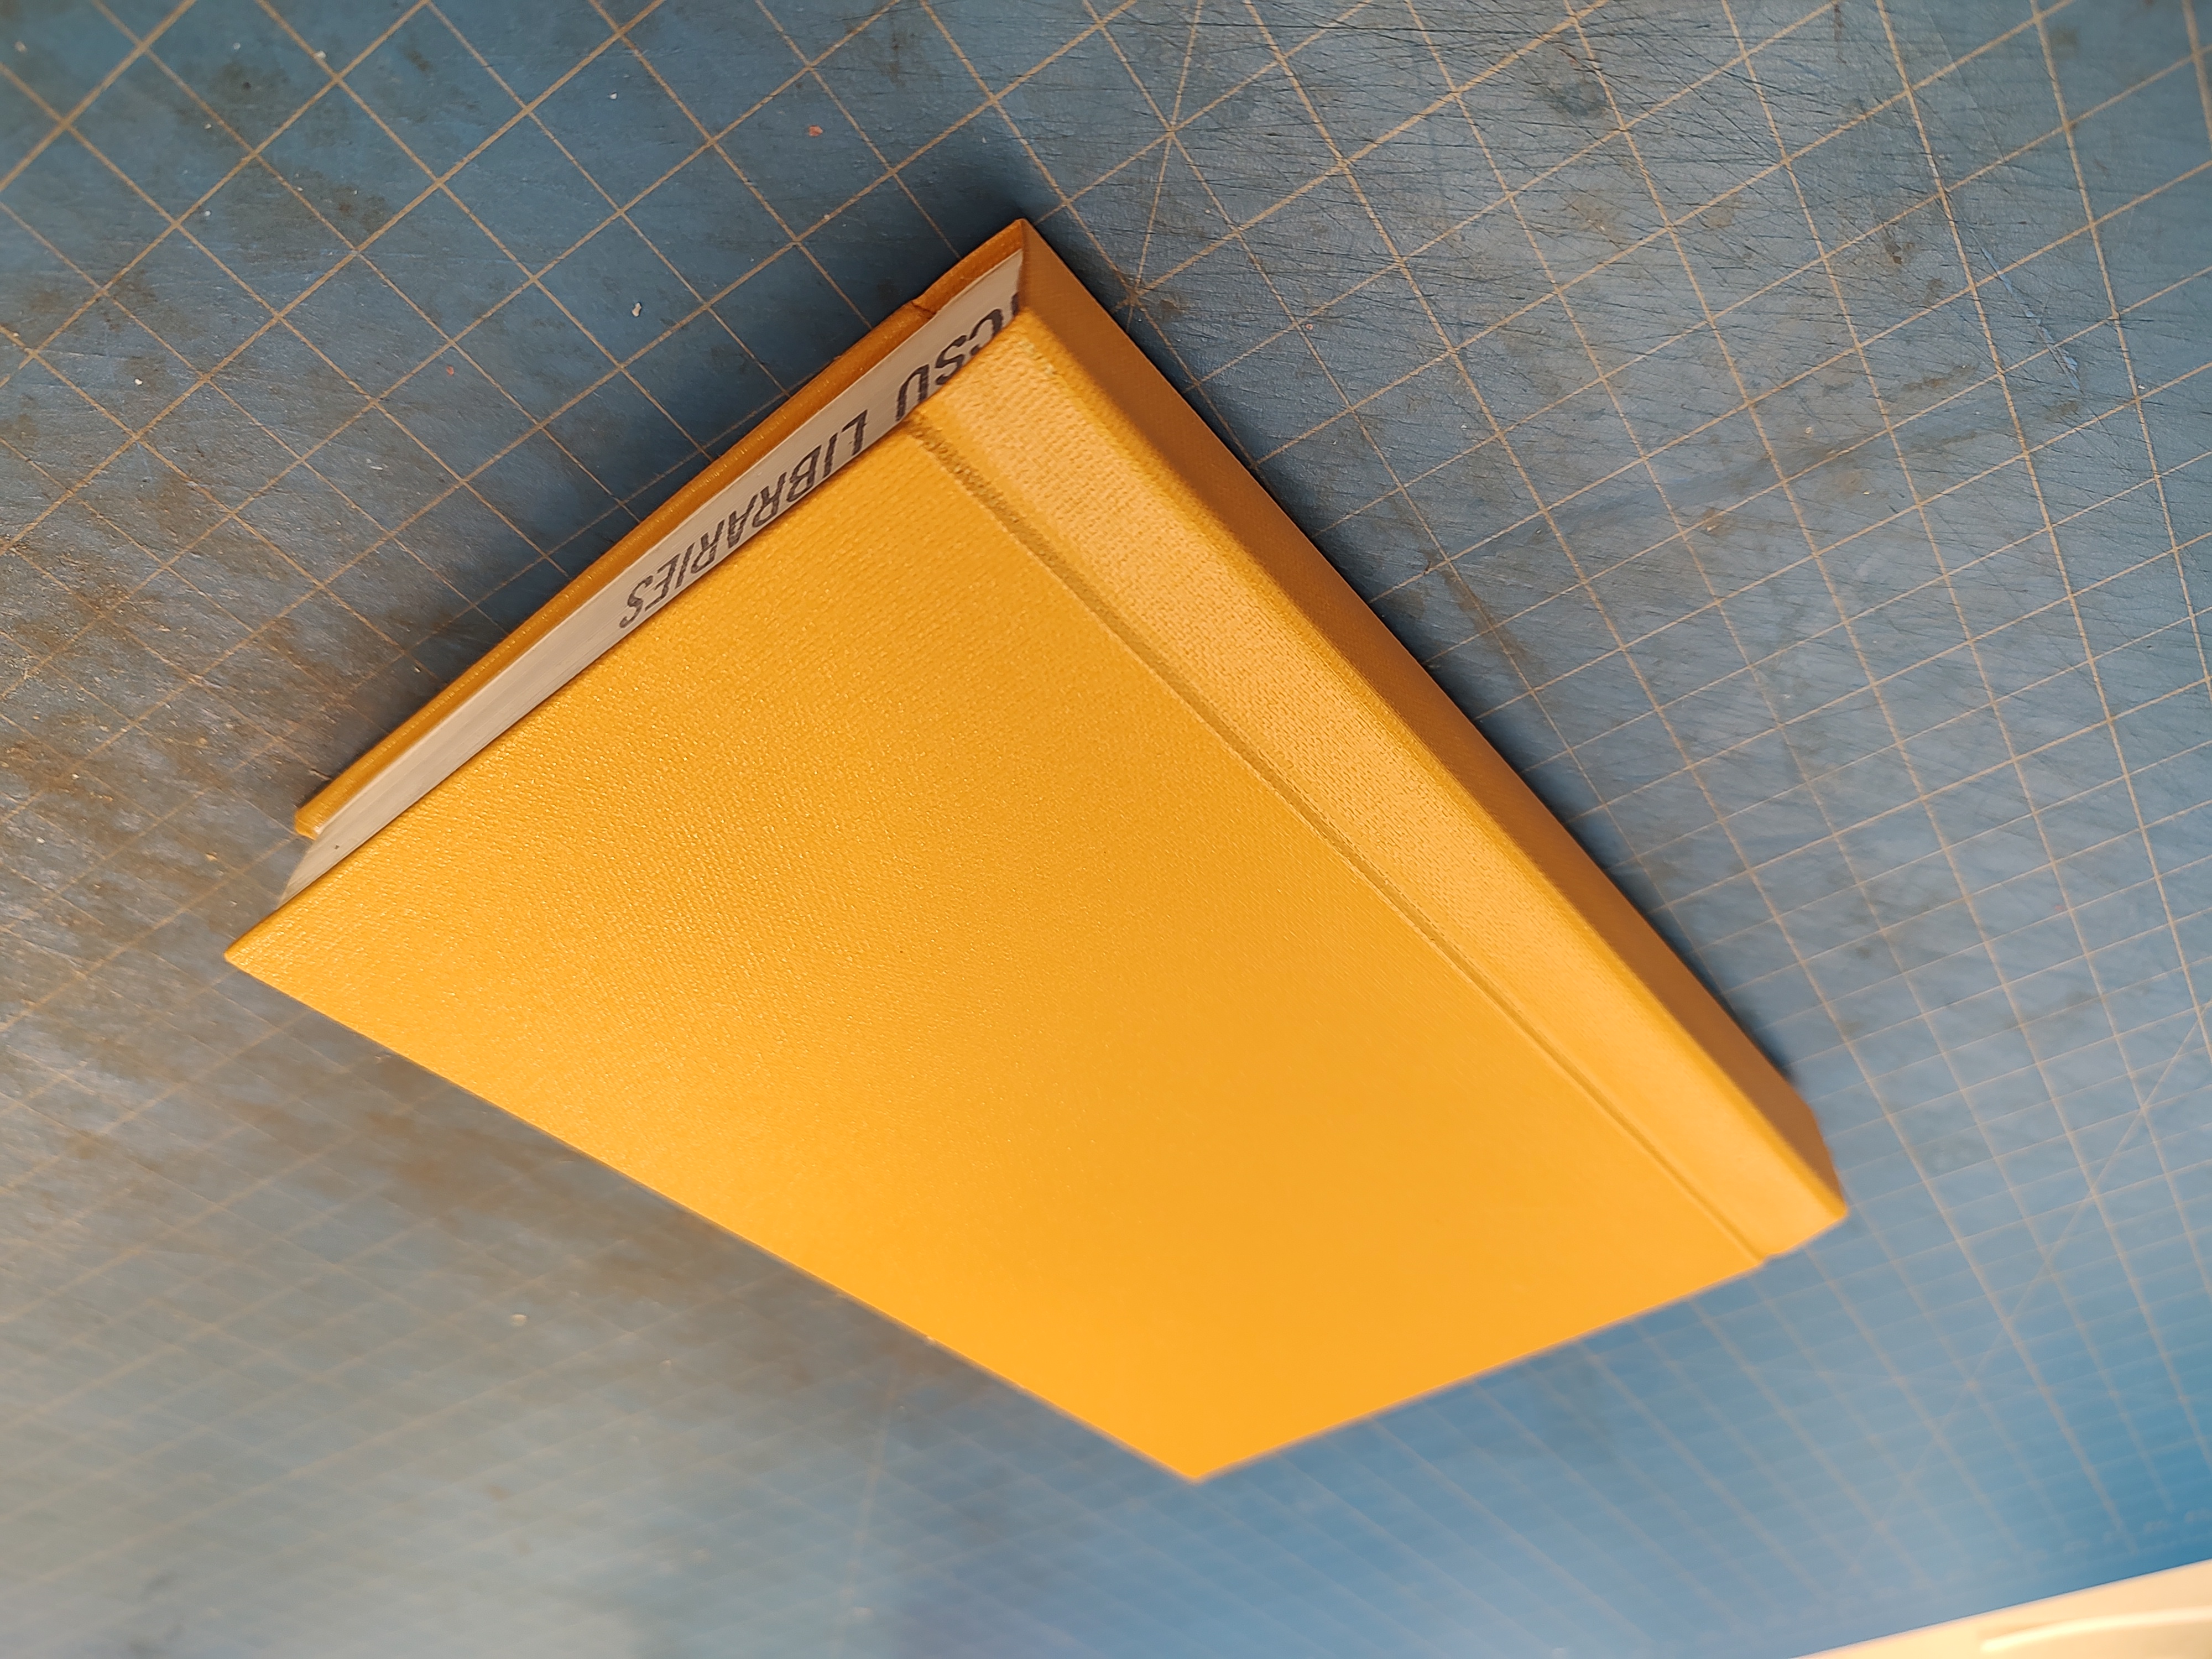
Another book has been safely and successfully bound, with no loss of life or limb!
Join us in the future for the next installment in our At the Book Spa! series.
If you have any questions or are interested in viewing Special Collections materials, please contact us at library_specialcollections@ncsu.edu or submit a request online. The Special Collections Research Center is open by appointment only. Appointments are available Monday–Friday, 9am–6pm and Saturday, 1pm–5pm. Requests for a Saturday appointment must be received no later than Tuesday of the same week.
Opens in your default email client
URL copied to clipboard.